LIGHT UP NAME BADGE
Not all projects come from somewhere interesting or unexpected.
Most of them are planned ahead of time, happen for good and logical reasons, and fit in some sort of schedule.
Other projects come out of nowhere, hit you upside the head, and eventually transform beyond what you had initially imaged.
My Light Up Name Badge project is very much one of the latter, something completely unplanned in origin that also turned into something unexpected.
In October 2022, while on my way to my ceramics studio, I was blindsided by a cyclist and landed in hospital for two weeks with a dramatically broken leg. This horrible incident actually spawned another unexpected project coincidentally, my Slip Cast Knee Vase, but well before that, I was itching to create and eager for something to do with my hands and mind.
I was also keen to thank the incredible team of nurses that looked after me in two of the darkest weeks of my life, and so before I even checked out of the hospital to go home, I was hit by that Out of the Blue project idea.
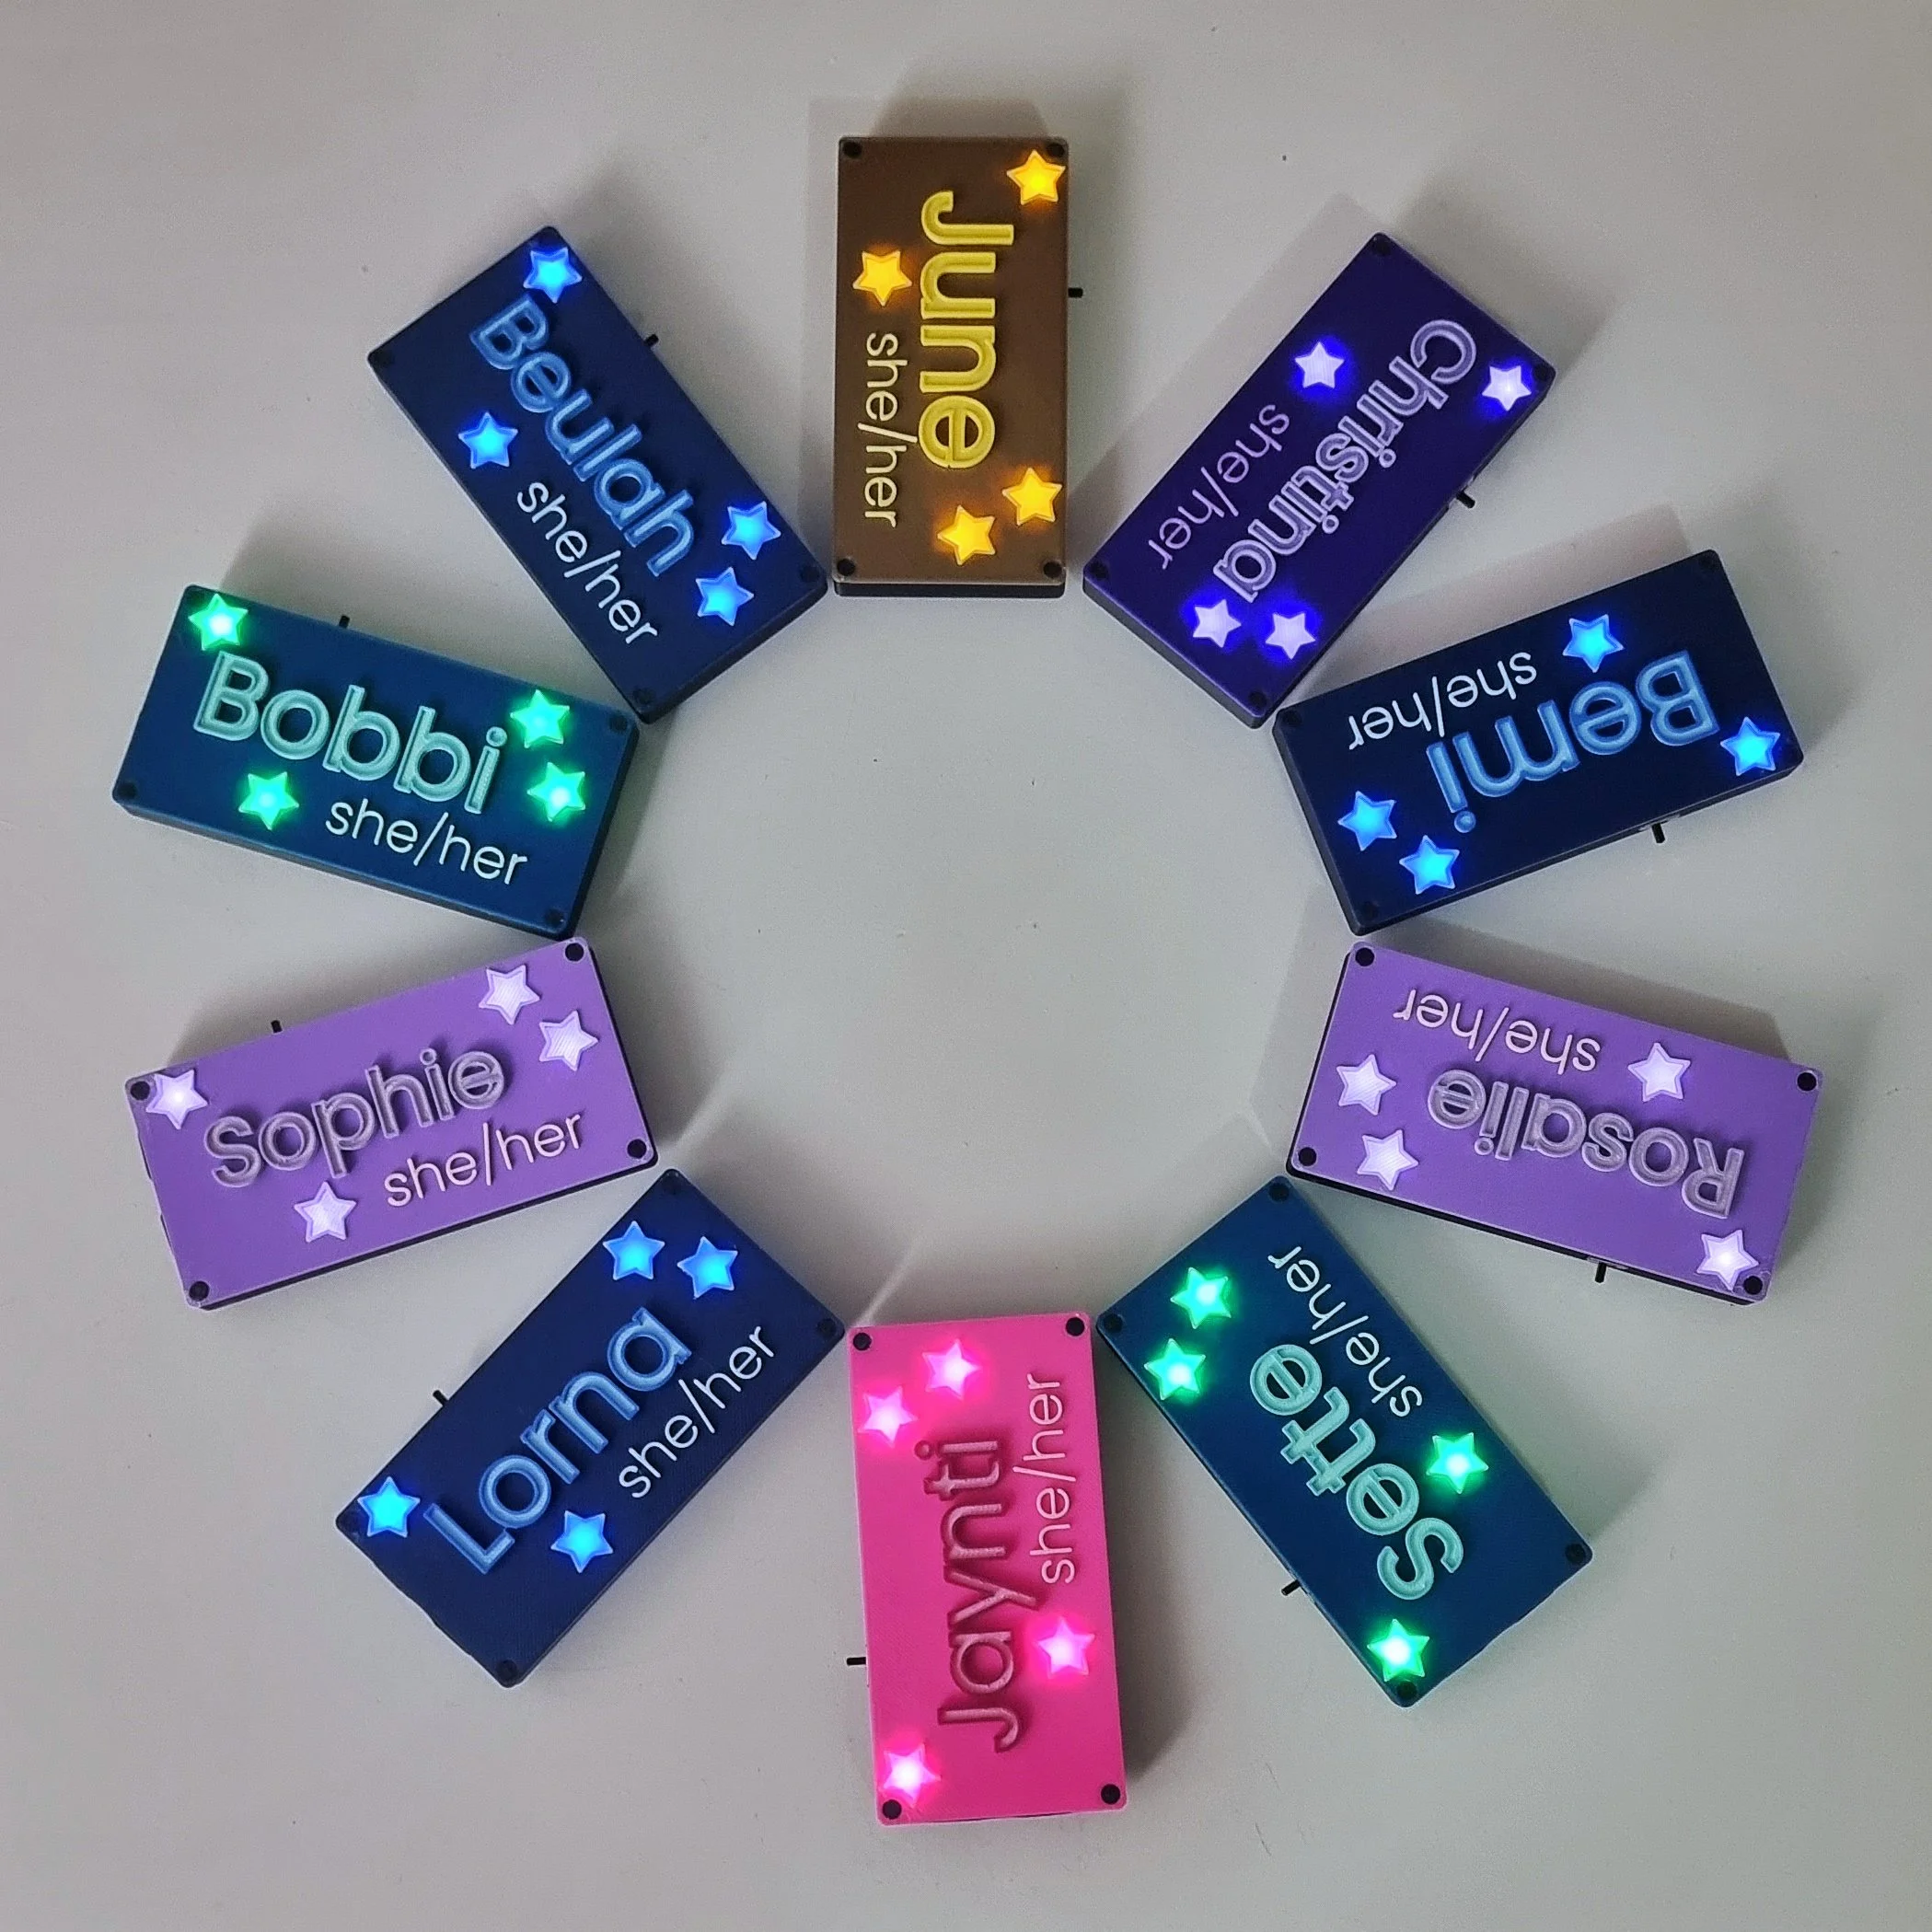
I was going to make them all light up name badges.
I’m happy to say that name badges for my nurses was the perfect project to help get me back on my feet again (both literally and metaphorically) and the results were incredibly well received. I even got to hand deliver them and walk into the ward fully of my own volition. Needless to say, they were quite surprised to see me.
This first iteration of the project got it’s own video on YouTube, which can be viewed here or further down the page.
I loved the concept though, so I wanted to play with it a bit more and see what else I could do with it.
The second iteration of this design was a close sibling to the first, swapping out the stars for autumnal shapes and using them as table cards at Thanksgiving.
From there it was hard to NOT become preoccupied with what it might look like to have the name light up instead of embellishments around the name.
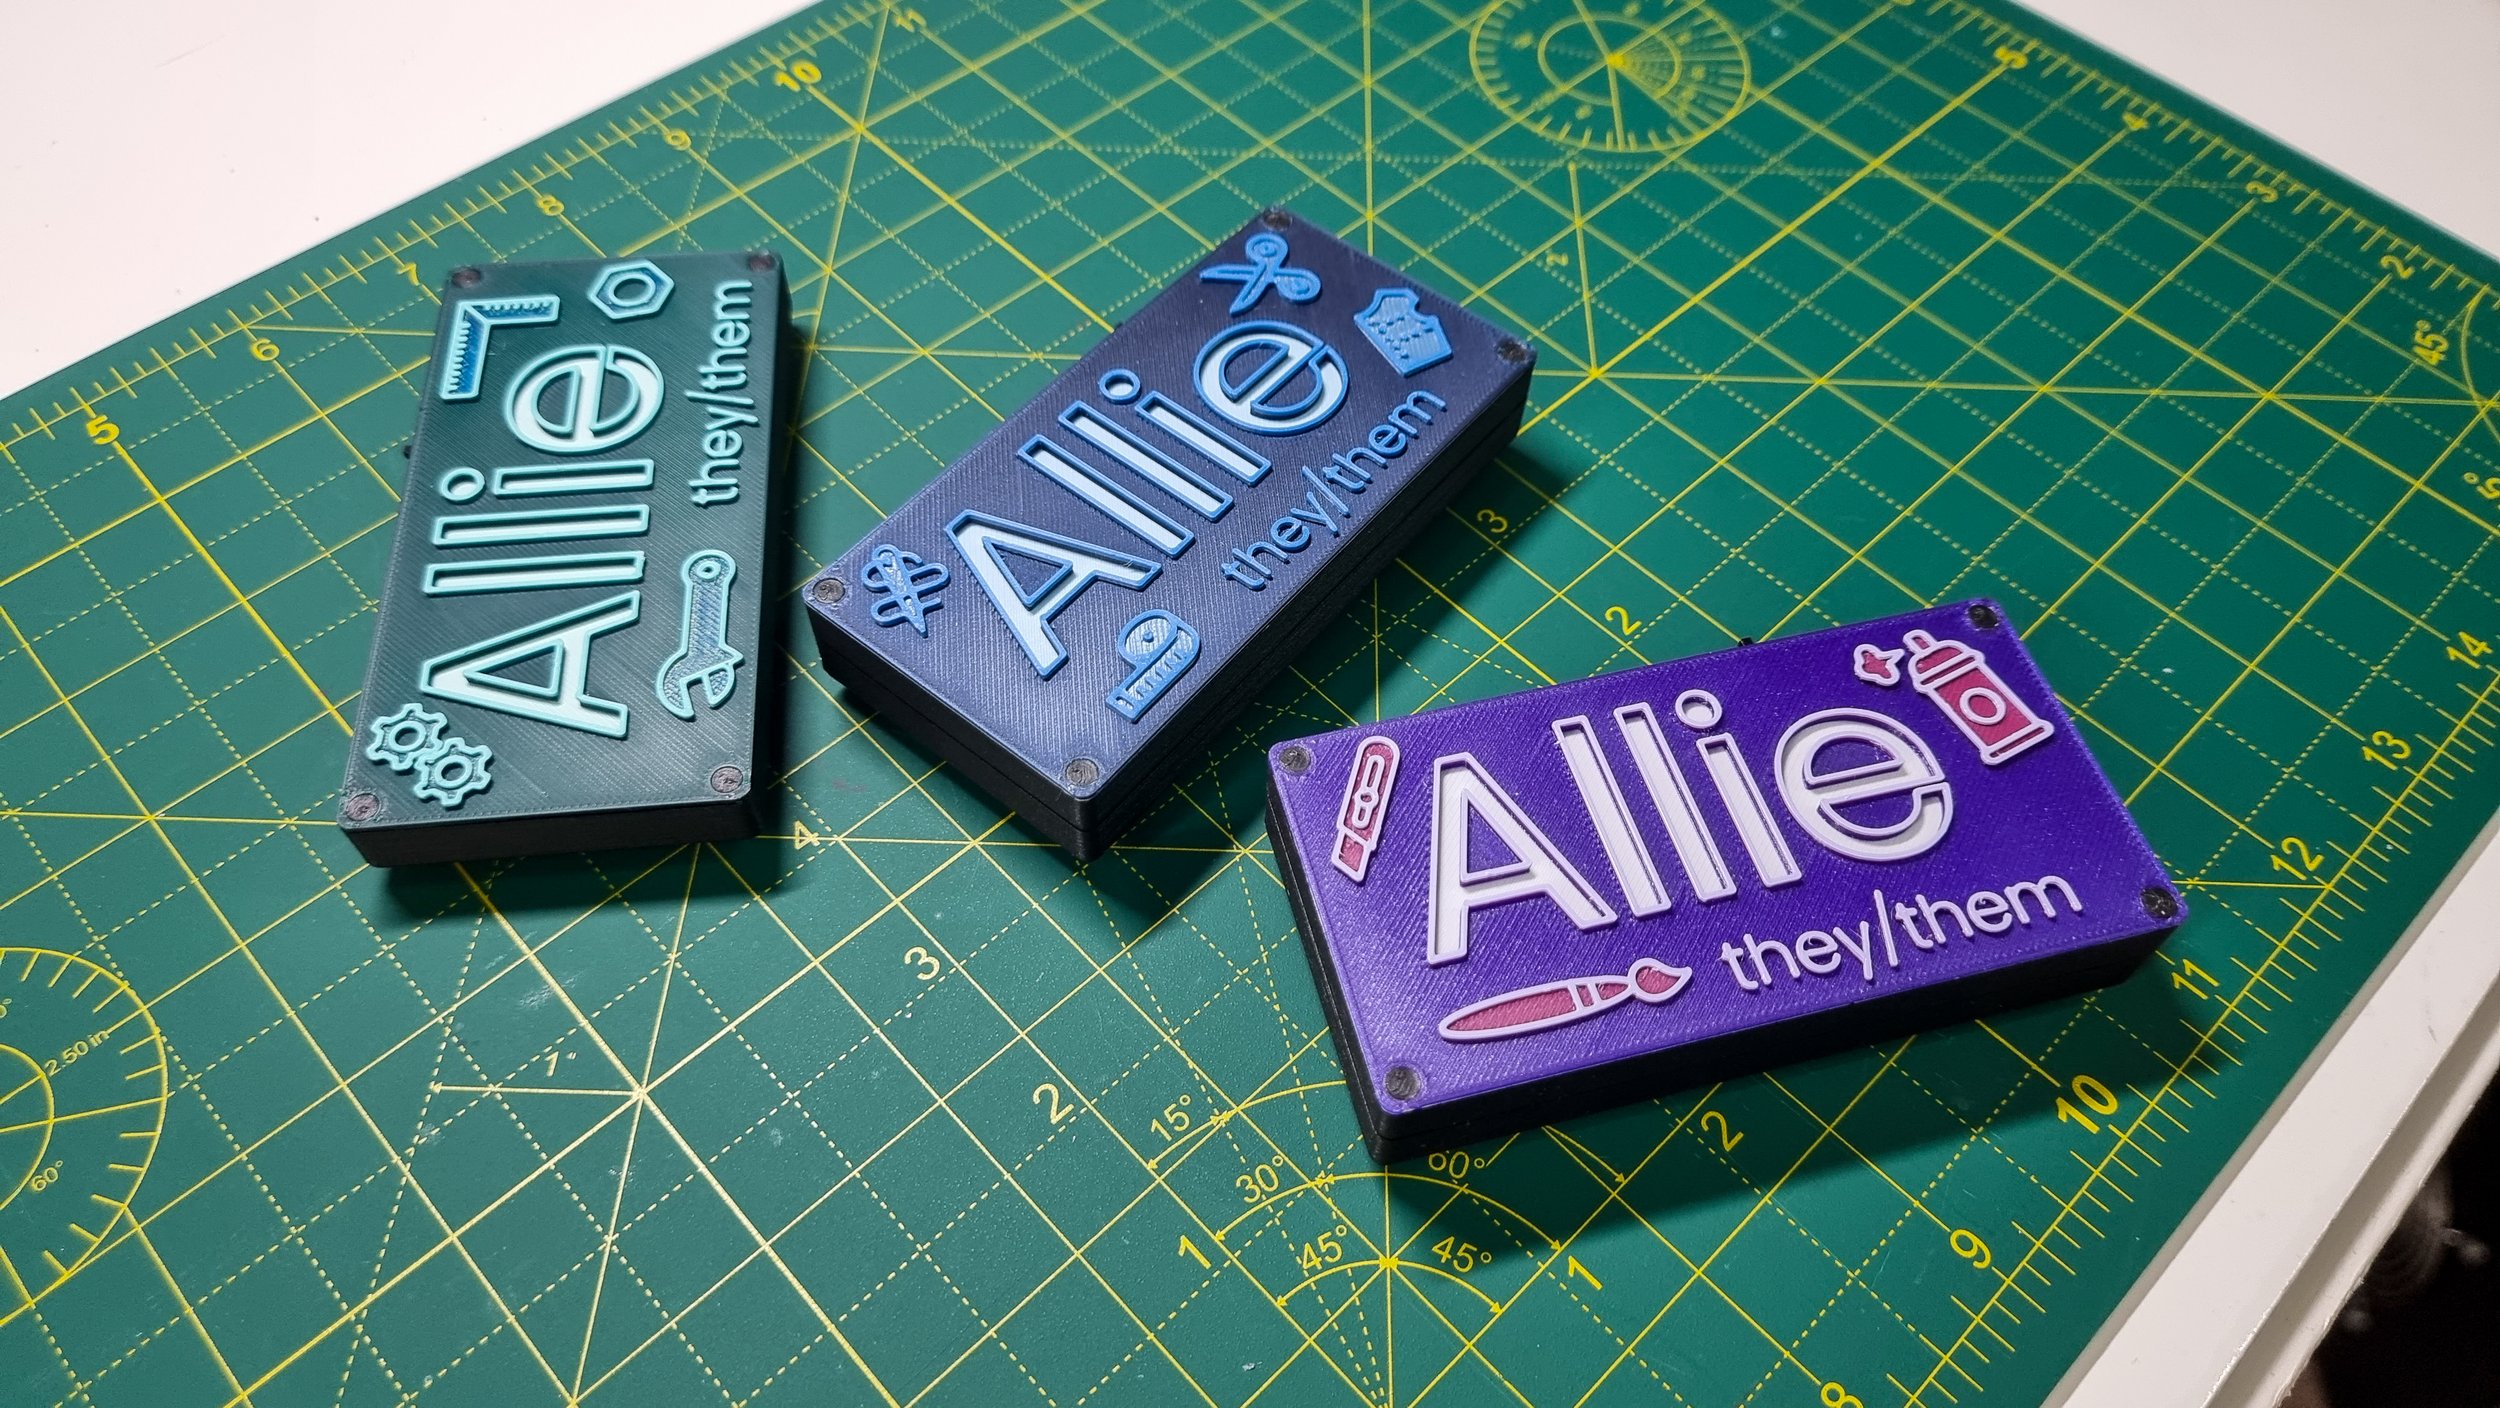
Being someone who goes to events quite often, or finds themselves in situations where a name tag would be helpful, it only felt like a natural progression to try and make myself some kind of name badge I could use when out and about.
I made an effort to keep the components small and simple as with the original idea, but I would rapidly discover that the adorable Lilypad LEDs that I was using did not give me the kind of backlight I needed. I was going to need to look elsewhere and see what else I could make work.
Little did I know I was embarking on a path that would eventually lead to no less than six iterations of the name badge and creating my second ever custom PCB.
Of course, as with most of these things, I have no regrets.
I really enjoyed the gentle play and exploration that came with this project.
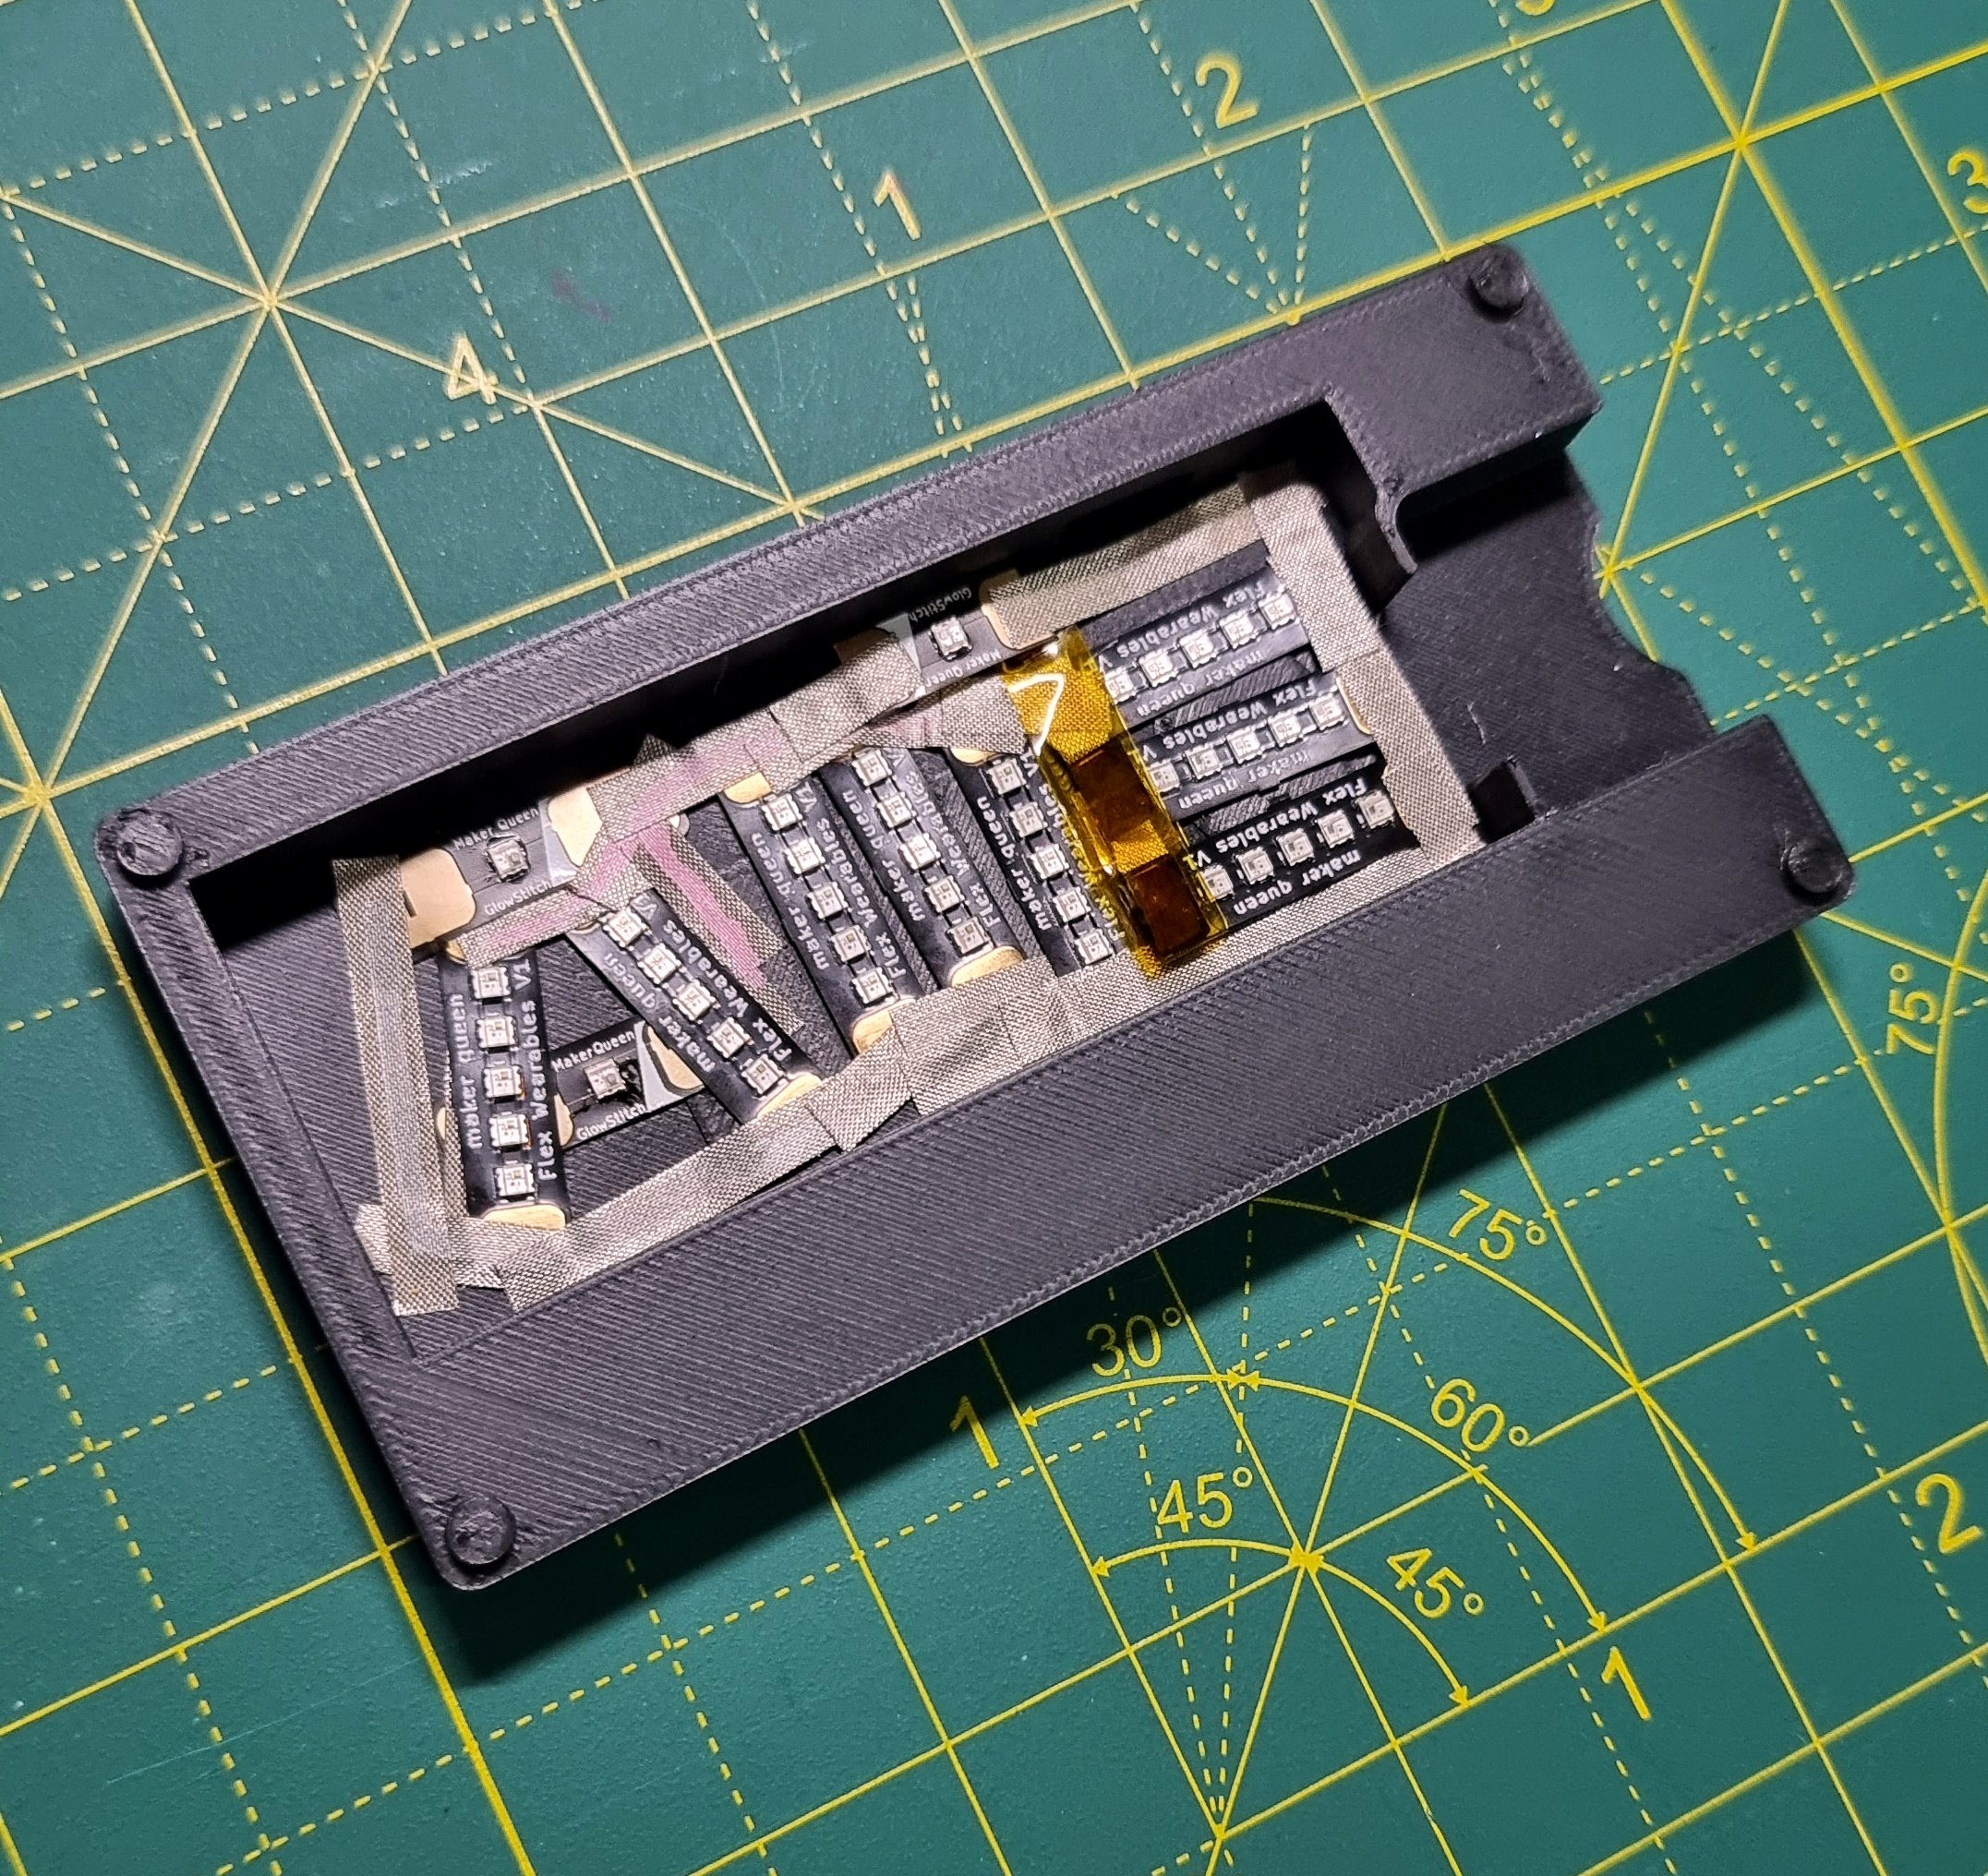
I got to toy with new kinds of LEDs in a fun and unique way to try and create the end result I was dreaming of. An LED noodle was a clever way to fill the backing with light but was a little dim with the coin cell battery I’d been desperately holding on to as my power source. Steph Piper’s incredible Glowstitch LEDs gave me a way to arrange tiny LEDs in the shape of my name, but also struggled with the lack of current from a coin cell battery.
I eventually succumbed to the need for more power, and all following iterations would use a 3.7V lithium polymer battery instead.
The next two versions were excruciatingly painstaking manual labor to make as I made the decision to transition to smaller and smaller individual LEDs. I found pre-wired 1206 and 0805 LEDs that I placed into lines of Blu-tak, but the task of stripping and soldering those tiny wires was nightmarish. Still, the end result was the closest yet to what I was hoping for, with bright lights that lasted for several hours.
At this point though, there was nothing left to do but create a custom PCB. And if I was going to do it, I was going to go hard.
Thankfully, I was able to get some help starting this iteration of the project, as PCB design is not something I am the most knowledgeable about.
I am also grateful to PCBWay for being willing to sponsor this project and continue to enable my ridiculous play in the world of PCBs and electronics.
Since we were already going to the trouble of making a custom PCB, I knew I couldn’t skimp on the LEDs. I went for the smallest individually addressable LEDs on the market (Xinglight XL-1010RGBC-WS2812Bs to be precise) and packed them in there. Total final count came out to 112 LEDs that would all need to be placed by hand.
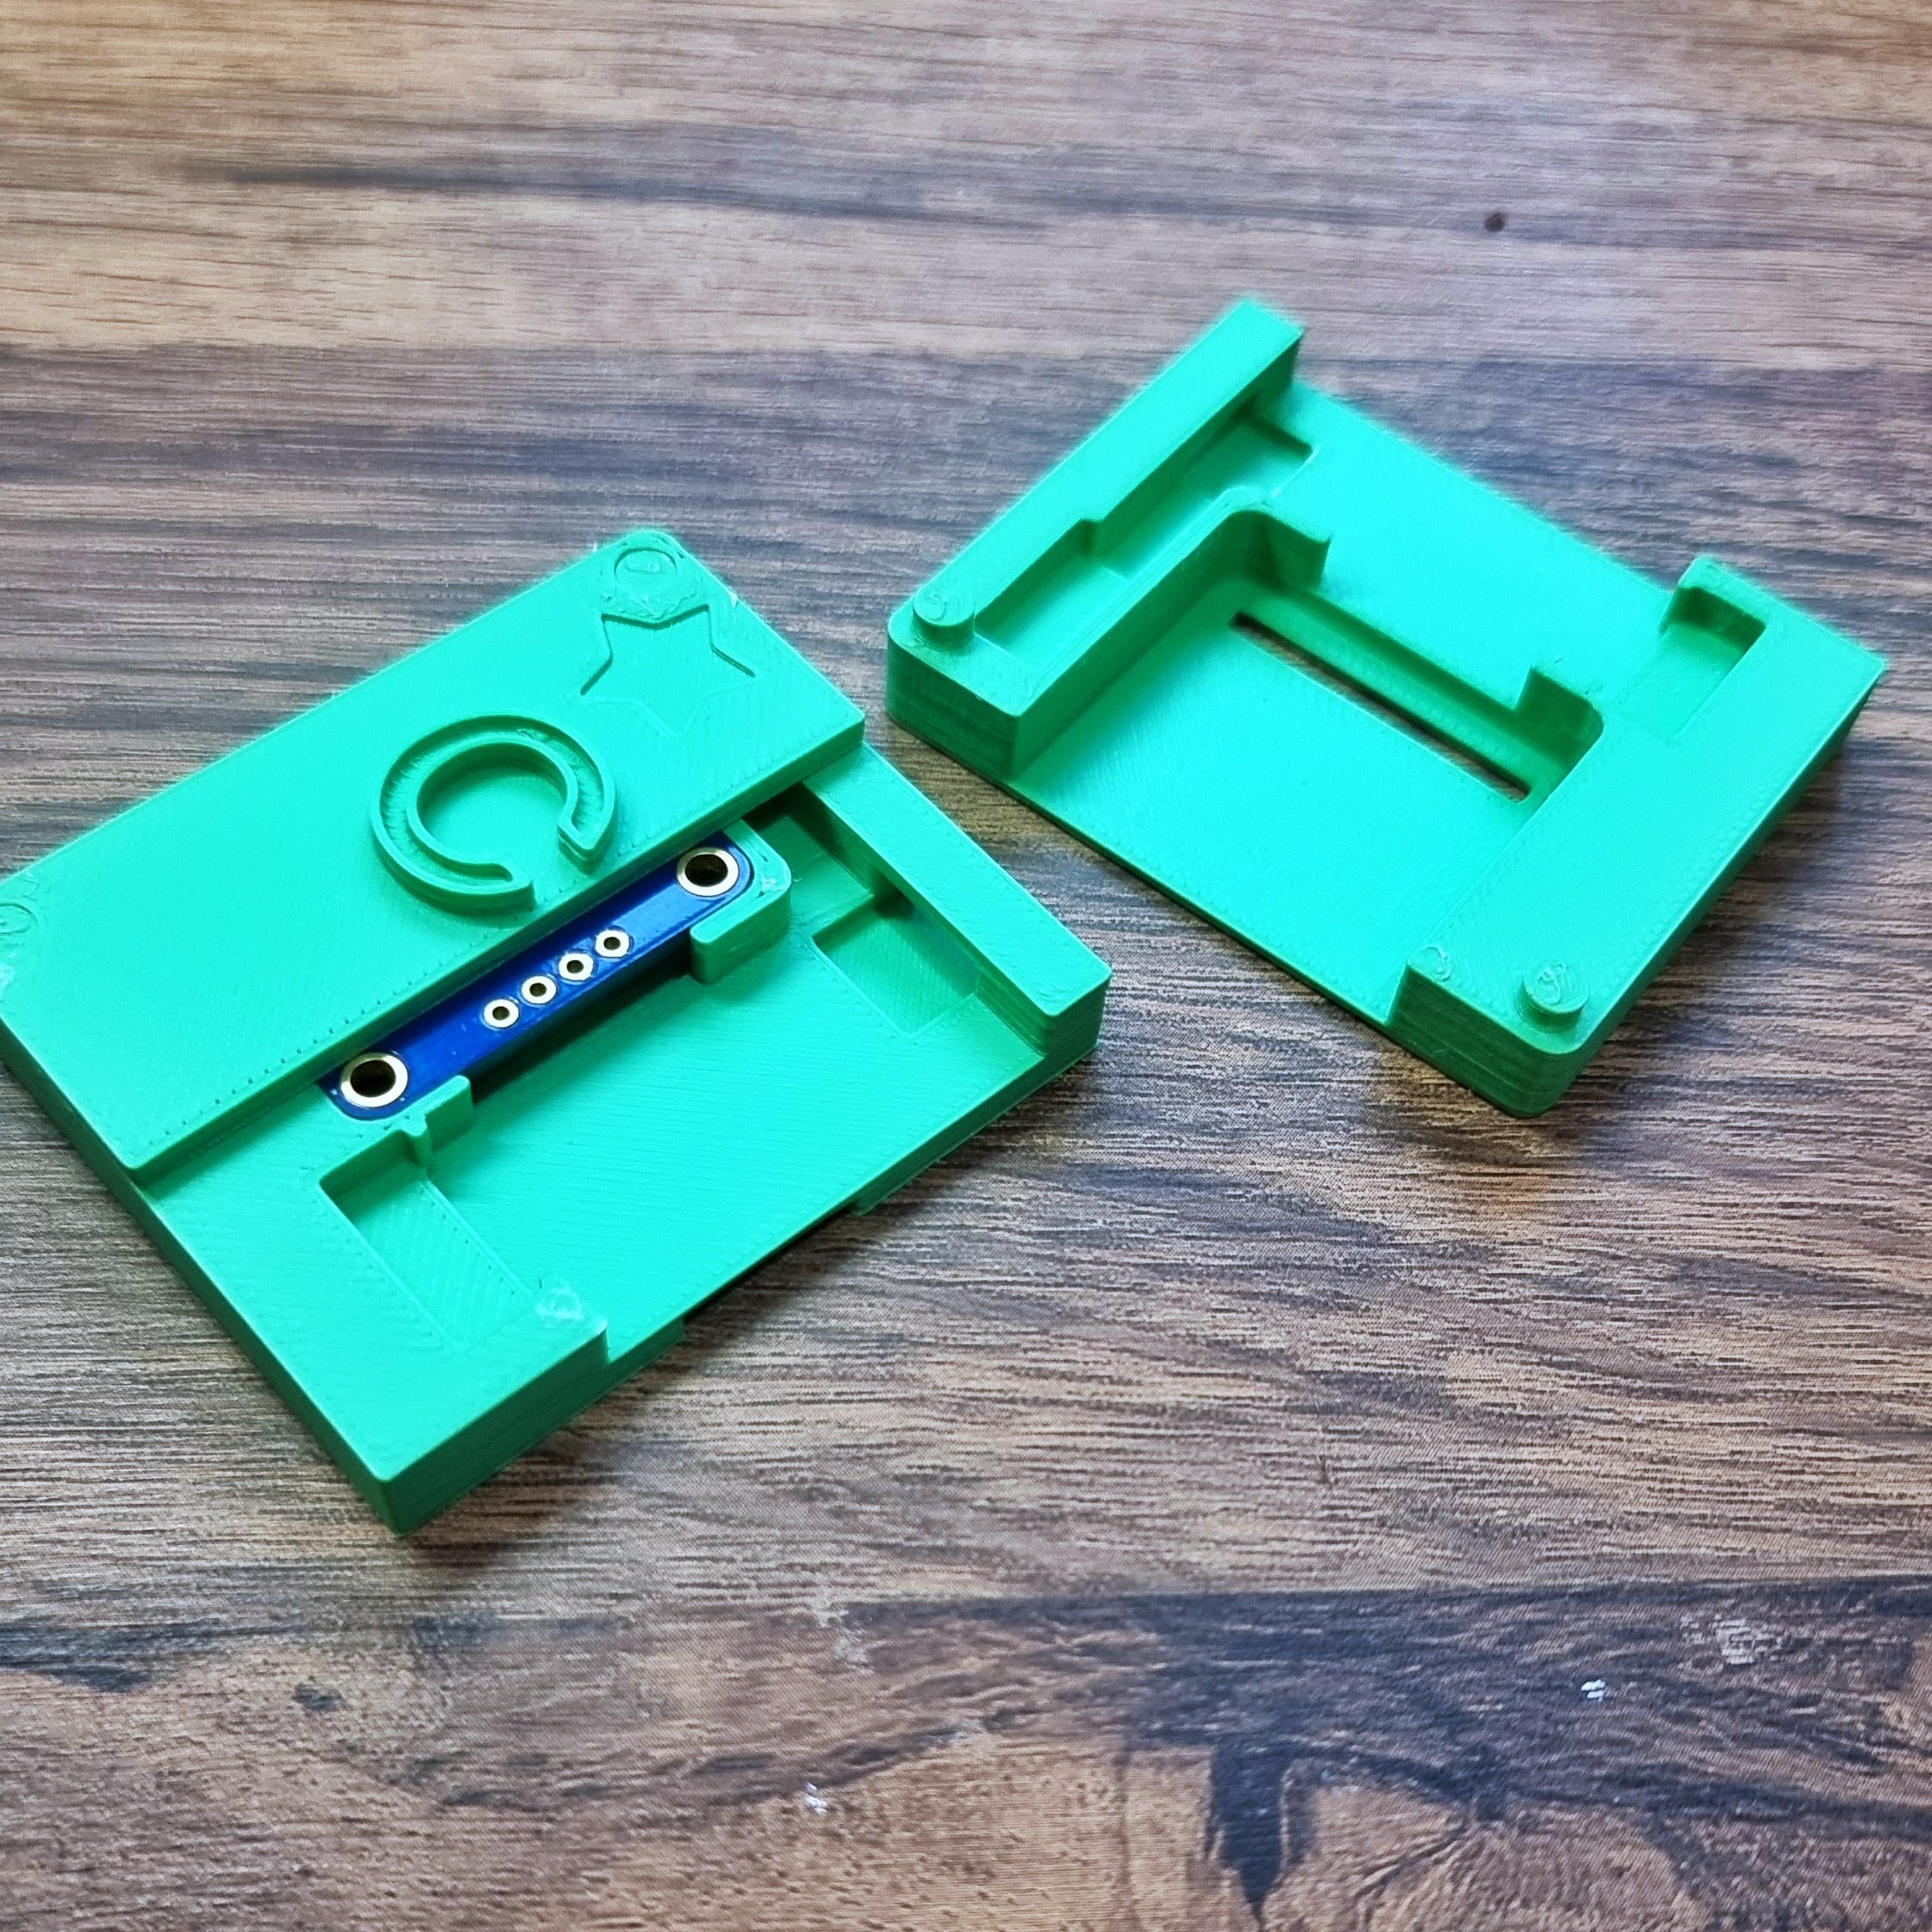
For this final iteration, I also wanted to add in animation and movement, so of course my first choice for small size and ease of use was the Pixelblaze Pico. I designed the PCB to have the Pico be soldered directly onto the back of the board, and then slot perfectly into the 3D printed case.
This was of course an enormous undertaking for me, given that I had never done surface mount soldering before. Unable to do the easy version of anything, of course I would make THIS PCB, complete with 112 one millimeter LEDs be the first time I did anything like this.
Needless to say, the end result is magnificent and absolutely worth all the hassle.
I now wear this name badge to pretty much every event I go to. Little did I know that breaking my leg would lead to this!


