Dynamax Ball
Dynamax Ball
A fully functional and almost completely FDM 3D printed shoulder bag in the shape of the iconic Dynamax Ball from Pokemon Sword and Shield. The project features wireless networking, 3D mapped LEDs, and custom mechanical engineering.
A fully functional and almost completely FDM 3D printed shoulder bag in the shape of the iconic Dynamax Ball from Pokemon Sword and Shield. The project features wireless networking, 3D mapped LEDs, and custom mechanical engineering.
Project Type
Interactive Hardware & Product Design
Interactive Hardware & Product Design
Key Skills
Parametric CAD Design, Electromechanical Integration, FDM 3D Printing, Advanced Post-Processing & Finishing
Parametric CAD Design, Electromechanical Integration, FDM 3D Printing, Advanced Post-Processing & Finishing
Primary Tools
Autodesk Fusion 360, PixelBlaze Microcontroller, QT Py C3 ESP-32, WS2812 (NeoPixel) LEDs, PVB and PLA filament
Autodesk Fusion 360, PixelBlaze Microcontroller, QT Py C3 ESP-32, WS2812 (NeoPixel) LEDs, PVB and PLA filament

Overview
The Dynamax Ball is a life-sized, fully functional reimagining of a fictional item from the Pokémon universe. Built as an interactive costume piece, the goal was to create a visually striking prop that could display dynamic, 3D-mapped light animations while discreetly doubling as a functional handbag. The project required over a year of research, design, and prototyping, pushing the limits of desktop 3D printing and custom electronics.
The Dynamax Ball is a life-sized, fully functional reimagining of a fictional item from the Pokémon universe. Built as an interactive costume piece, the goal was to create a visually striking prop that could display dynamic, 3D-mapped light animations while discreetly doubling as a functional handbag. The project required over a year of research, design, and prototyping, pushing the limits of desktop 3D printing and custom electronics.


The Challenges
Seamless Illumination: Creating shimmering, animated light effects that shine brightly through a spherical grid without revealing the internal structure or electronics when powered off.
Mechanical Functionality: Designing a mechanism that allowed a fully-loaded electronic sphere weighing over 2kg and measuring 30cm across to securely latch closed, yet spring open seamlessly on command to function as a bag.
Remote Activation: Engineering a way to wirelessly trigger the lights from a distance without breaking character.

The Solution & Process
Custom Electronics & Wireless Networking: To achieve the "magic" of remote activation, I engineered a discrete control system hidden inside a secondary, palm-sized Poké Ball. This remote features a twist-lock shell housing a 5000 mAh lithium-ion battery and a QT Py C3 ESP-32 board. Pressing the external metal button triggers code that communicates wirelessly with the primary Dynamax Ball to turn on or off depending on previous state.
The main ball is driven by a PixelBlaze microcontroller and powered by four 3000mAh 18650 batteries. The PixelBlaze handles the complex 3D mapping required to animate 535 individually soldered WS2812 LEDs, which are arranged in a serpentine layout to create fluid, multi-dimensional light shows across the sphere's surface without visible seams.
Mechanical Engineering & Latching Mechanisms: Turning a rigid, 30cm plastic sphere into a functional bag required precise mechanical balancing. The internal latching system relies entirely on custom 3D-printed levers and nine compression springs featuring four different tension levels. This mechanism perfectly balances the upward force required to lift nearly a kilogram of plastic and electronics with the exact pressure needed to keep the internal latches secured until the primary release button is pressed.
Digital Fabrication & Finishing: Modeled in Autodesk Fusion 360, the ball was designed to be printed in multi-part assemblies that maxed out the build volume of a Creality CR-10S Pro V2. The design utilizes a black structural inner core for the LED housing, a 2mm white outer diffusion layer, and structural red rims to conceal the custom hinges.
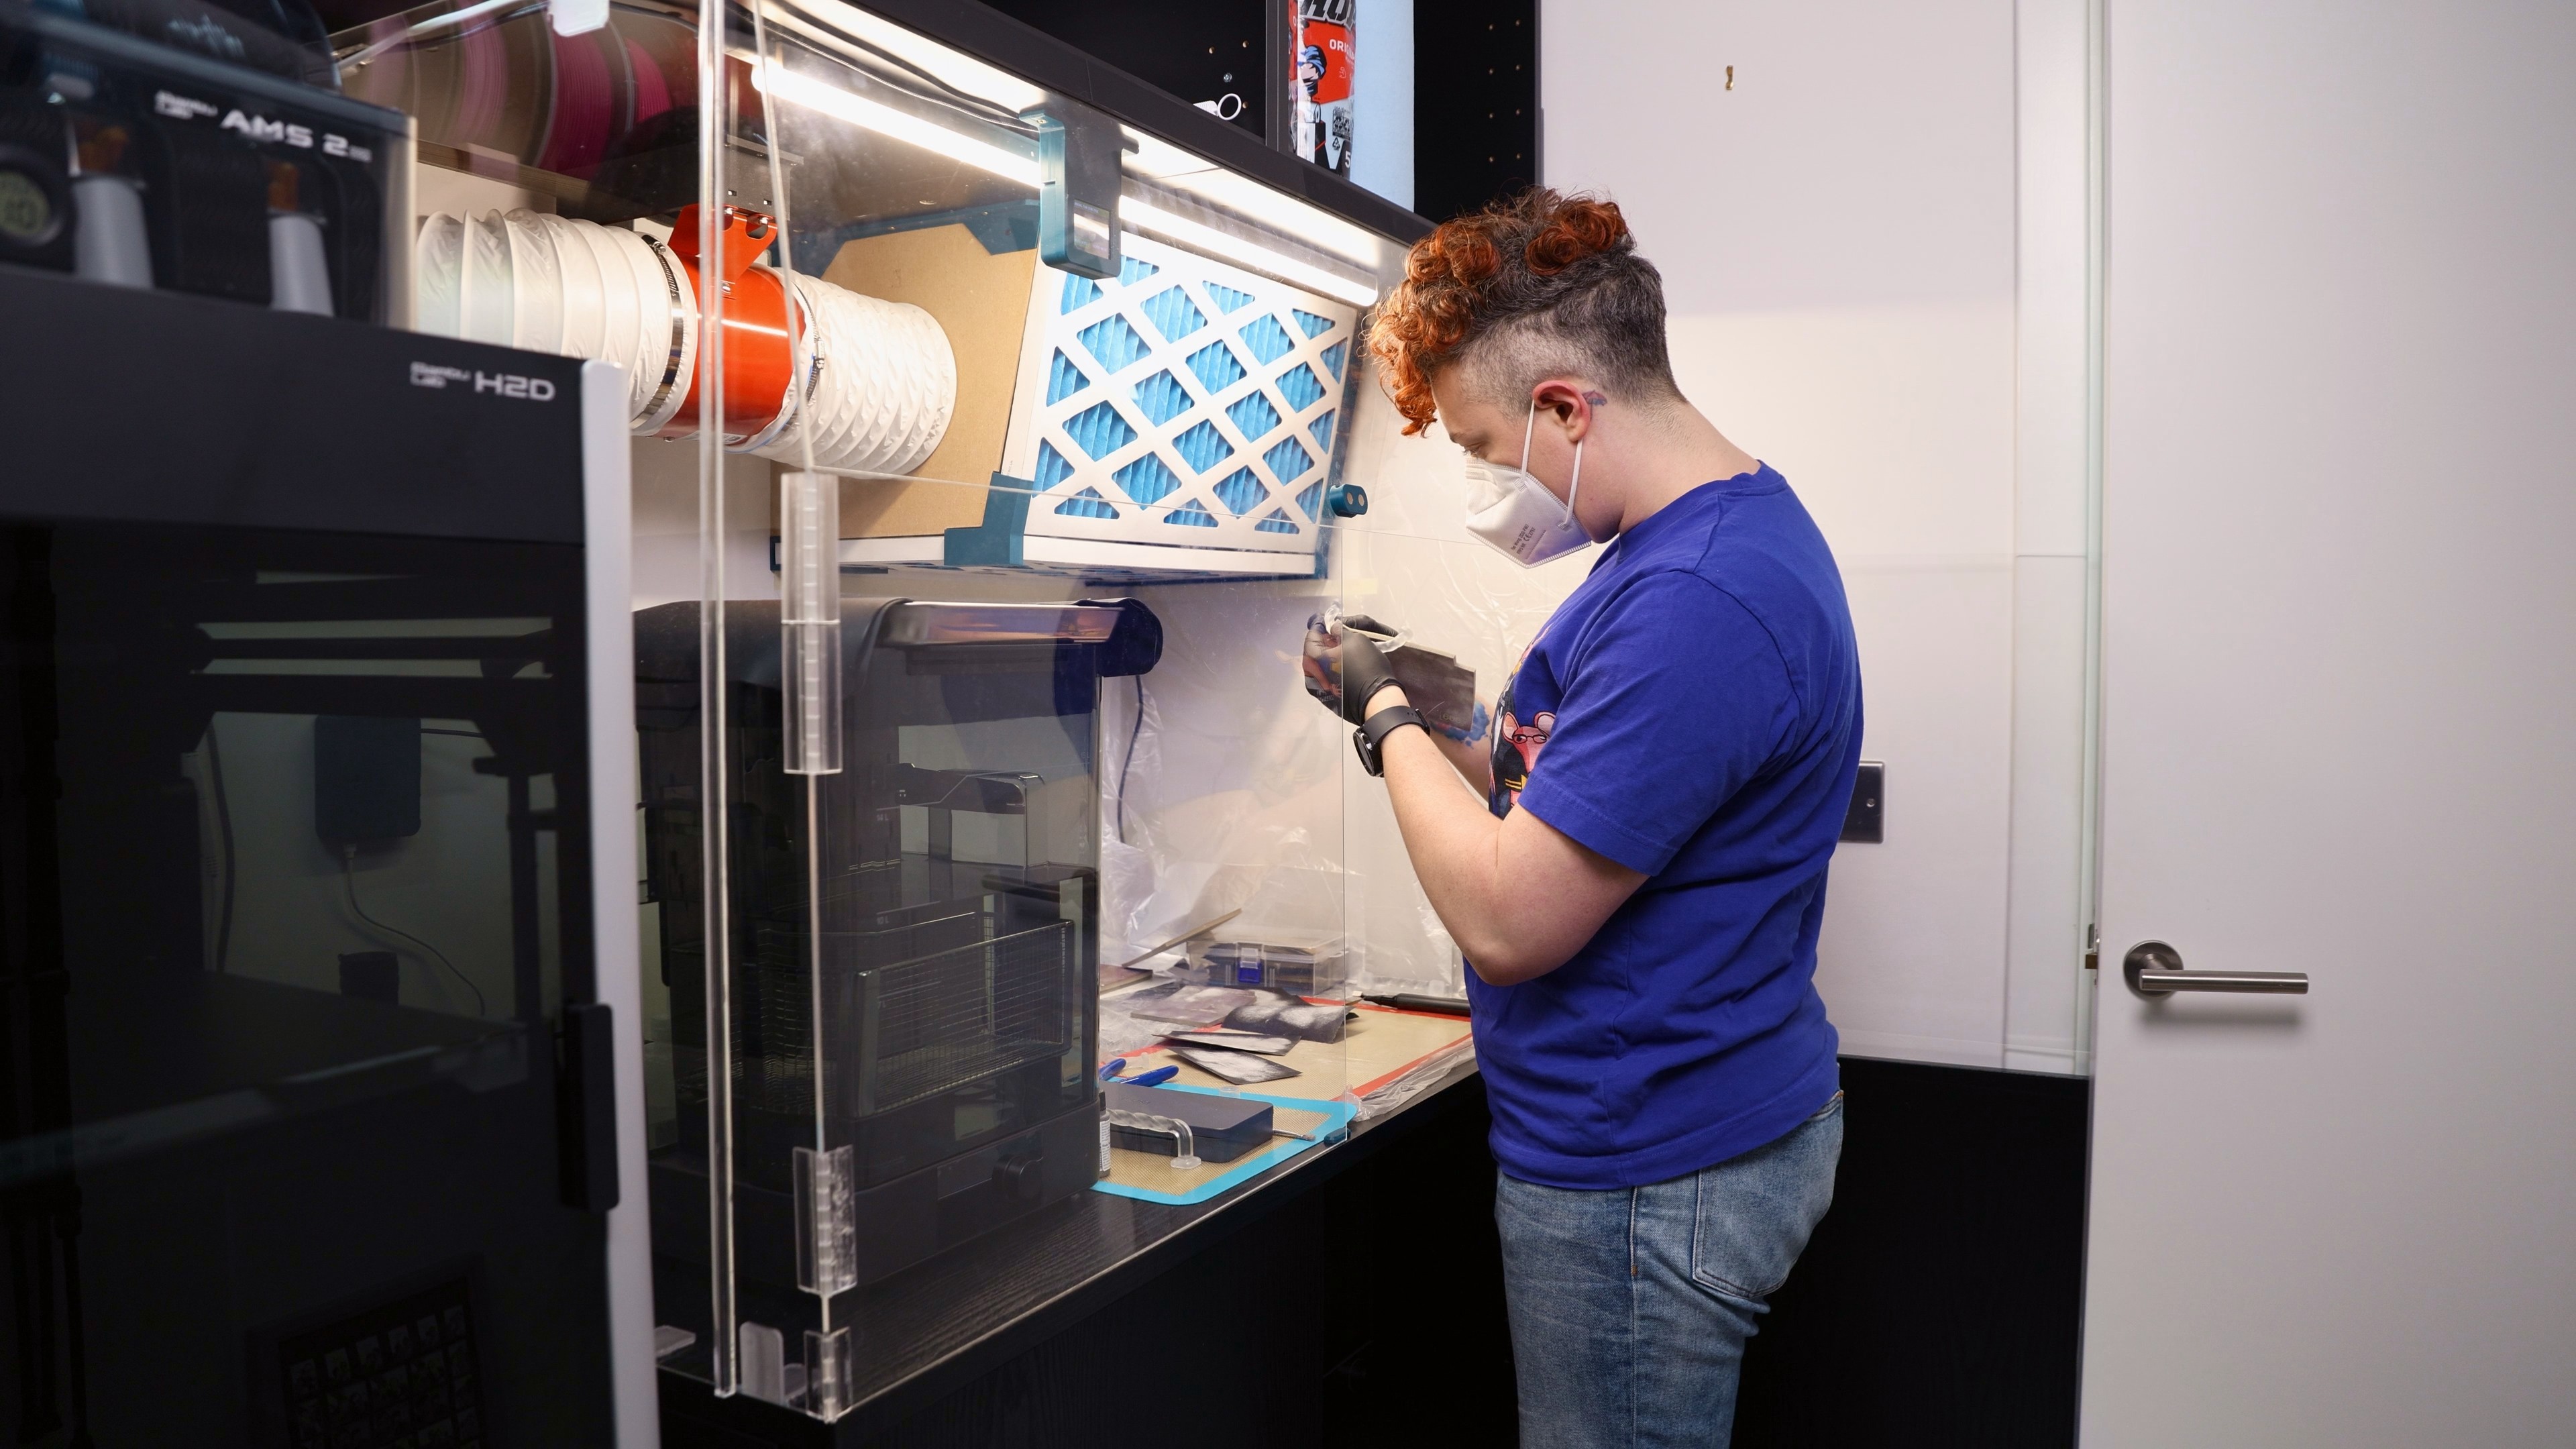
To achieve a high-gloss finish without paint, all external parts were printed using Polymaker PolySmooth (PVB) filament. This allowed the surface to be chemically smoothed using isopropyl alcohol, elevating the final piece from a 3D-printed object to a professional-grade showcase of industrial design.
Custom Electronics & Wireless Networking: To achieve the "magic" of remote activation, I engineered a discrete control system hidden inside a secondary, palm-sized Poké Ball. This remote features a twist-lock shell housing a 5000 mAh lithium-ion battery and a QT Py C3 ESP-32 board. Pressing the external metal button triggers code that communicates wirelessly with the primary Dynamax Ball to turn on or off depending on previous state.
The main ball is driven by a PixelBlaze microcontroller and powered by four 3000mAh 18650 batteries. The PixelBlaze handles the complex 3D mapping required to animate 535 individually soldered WS2812 LEDs, which are arranged in a serpentine layout to create fluid, multi-dimensional light shows across the sphere's surface without visible seams.
Mechanical Engineering & Latching Mechanisms: Turning a rigid, 30cm plastic sphere into a functional bag required precise mechanical balancing. The internal latching system relies entirely on custom 3D-printed levers and nine compression springs featuring four different tension levels. This mechanism perfectly balances the upward force required to lift nearly a kilogram of plastic and electronics with the exact pressure needed to keep the internal latches secured until the primary release button is pressed.
Digital Fabrication & Finishing: Modeled in Autodesk Fusion 360, the ball was designed to be printed in multi-part assemblies that maxed out the build volume of a Creality CR-10S Pro V2. The design utilizes a black structural inner core for the LED housing, a 2mm white outer diffusion layer, and structural red rims to conceal the custom hinges.
To achieve a high-gloss finish without paint, all external parts were printed using Polymaker PolySmooth (PVB) filament. This allowed the surface to be chemically smoothed using isopropyl alcohol, elevating the final piece from a 3D-printed object to a professional-grade showcase of industrial design.


Additional Photos