DYCP Grant Study
DYCP Grant Study
Pushing the boundaries of ancient ceramic techniques through parametric 3D design, custom tooling, and physical trauma exploration.
Pushing the boundaries of ancient ceramic techniques through parametric 3D design, custom tooling, and physical trauma exploration.
Project Type
Grant-Funded Arts Research & Prototyping
Grant-Funded Arts Research & Prototyping
Key Skills
Parametric CAD & Sculpting, Ceramic Slipcasting, Material Exploration, Tool Development
Parametric CAD & Sculpting, Ceramic Slipcasting, Material Exploration, Tool Development
Primary Tools
ZBrush, Autodesk Fusion 360, 3D Slicer (Medical Imaging), PVB Filament (Chemically Smoothed), Plaster, Ceramic Clay/Slip
ZBrush, Autodesk Fusion 360, 3D Slicer (Medical Imaging), PVB Filament (Chemically Smoothed), Plaster, Ceramic Clay/Slip
The Inquiry
Funded by the Arts Council England’s Develop Your Creative Practice (DYCP) grant, this research project explored a central question: How can ancient ceramic techniques be improved using 3D design and digital fabrication? The project spanned several distinct phases, resulting in the invention of custom 3D-printed ceramic tools, the development of a novel 3D-printed slab press molding technique (and full instructional video), and an unplanned exploration of healing through art in the form of turning personal raw medical CT scans into a final, slip-cast porcelain art piece.
Funded by the Arts Council England’s Develop Your Creative Practice (DYCP) grant, this research project explored a central question: How can ancient ceramic techniques be improved using 3D design and digital fabrication? The project spanned several distinct phases, resulting in the invention of custom 3D-printed ceramic tools, the development of a novel 3D-printed slab press molding technique (and full instructional video), and an unplanned exploration of healing through art in the form of turning personal raw medical CT scans into a final, slip-cast porcelain art piece.


Areas of Exploration
Reimagining the Toolset: Can 3D printing be utilized to develop bespoke, transformable ceramic tools that don't currently exist on the market, and can it be done quickly and iteratively?
Hybrid Fabrication: Can 3D-printed forms be used to coax flat clay slabs into complex, computer-generated geometries that would typically be impossible to release from traditional drape molds or otherwise require slip-casting to create?
Translating the Digital Self: Is it possible to take low-resolution medical CT scan data, process it into watertight 3D models, and successfully slip-cast perfect porcelain replicas of broken human bones?

Key Discoveries & Outcomes
Inventing Custom Ceramics Tools: To streamline common slab-building techniques and improve upon current wheel throwing tools, I engineered a series of bespoke tools.
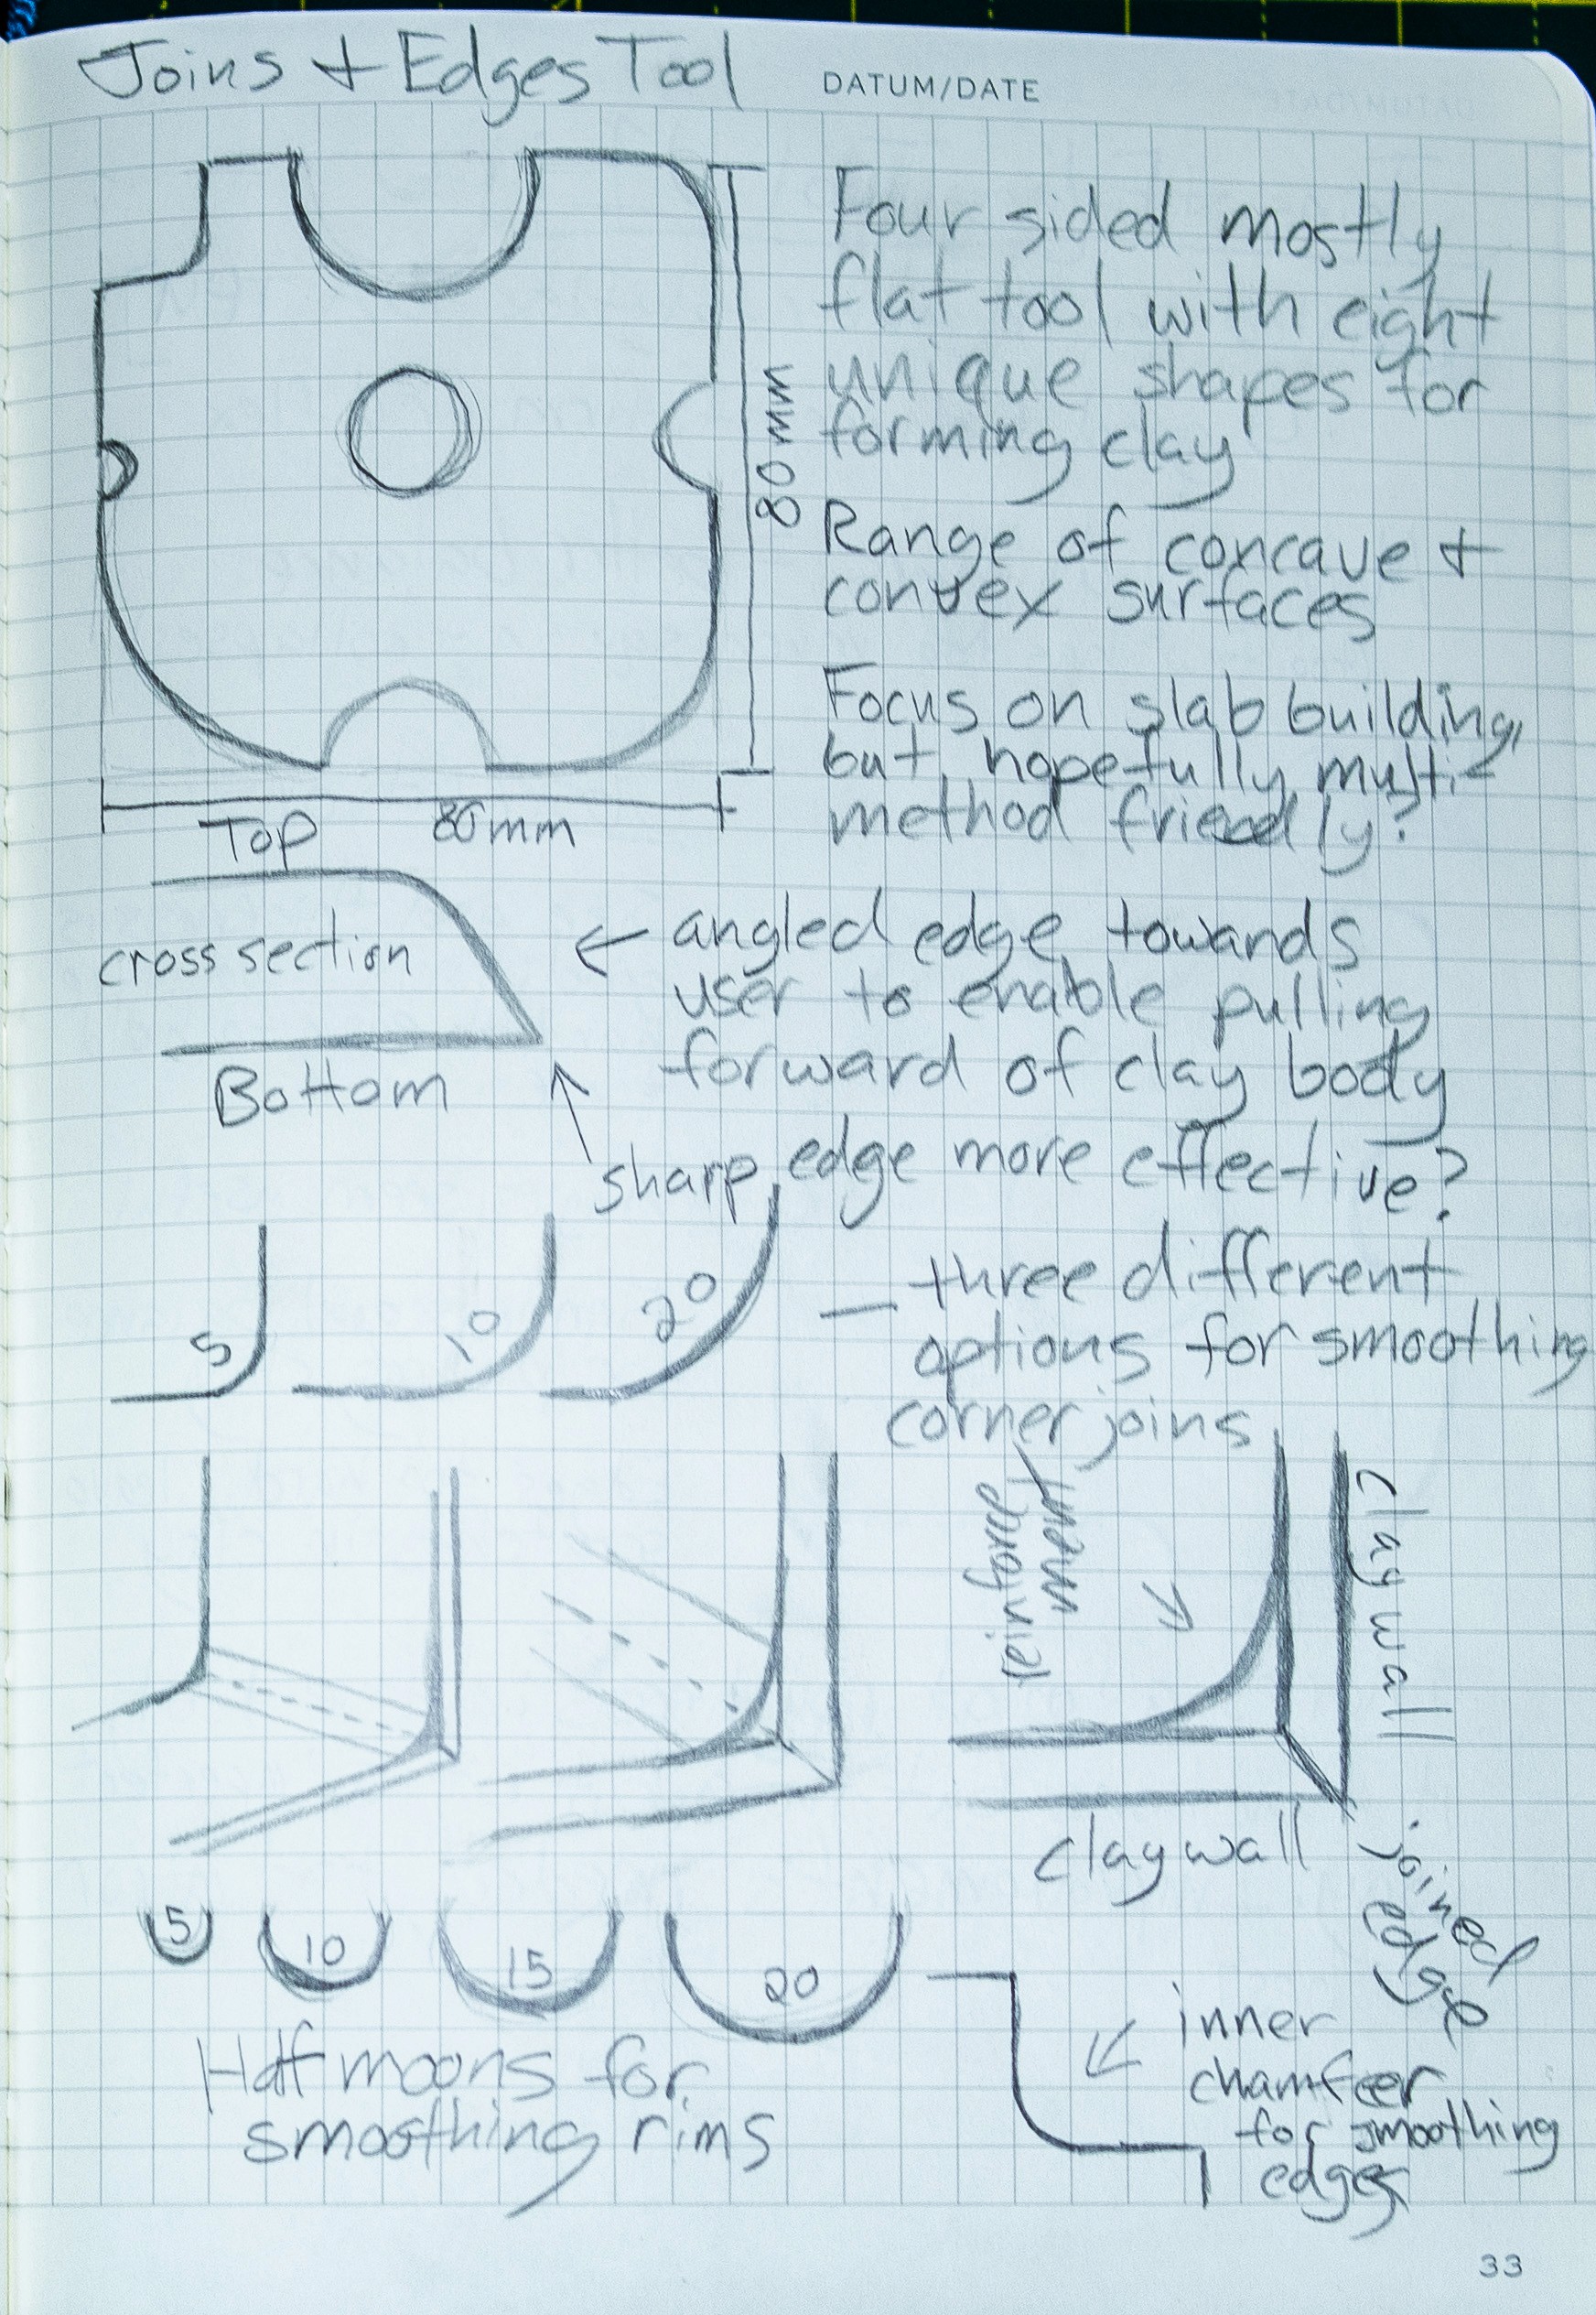
The Edges and Joins Tool: Printed in Polymaker Polyflex TPU (90A shore hardness), this tool features various curves for smoothing slab joins and softening 90-degree edges, striking the perfect balance of firmness and flexibility.
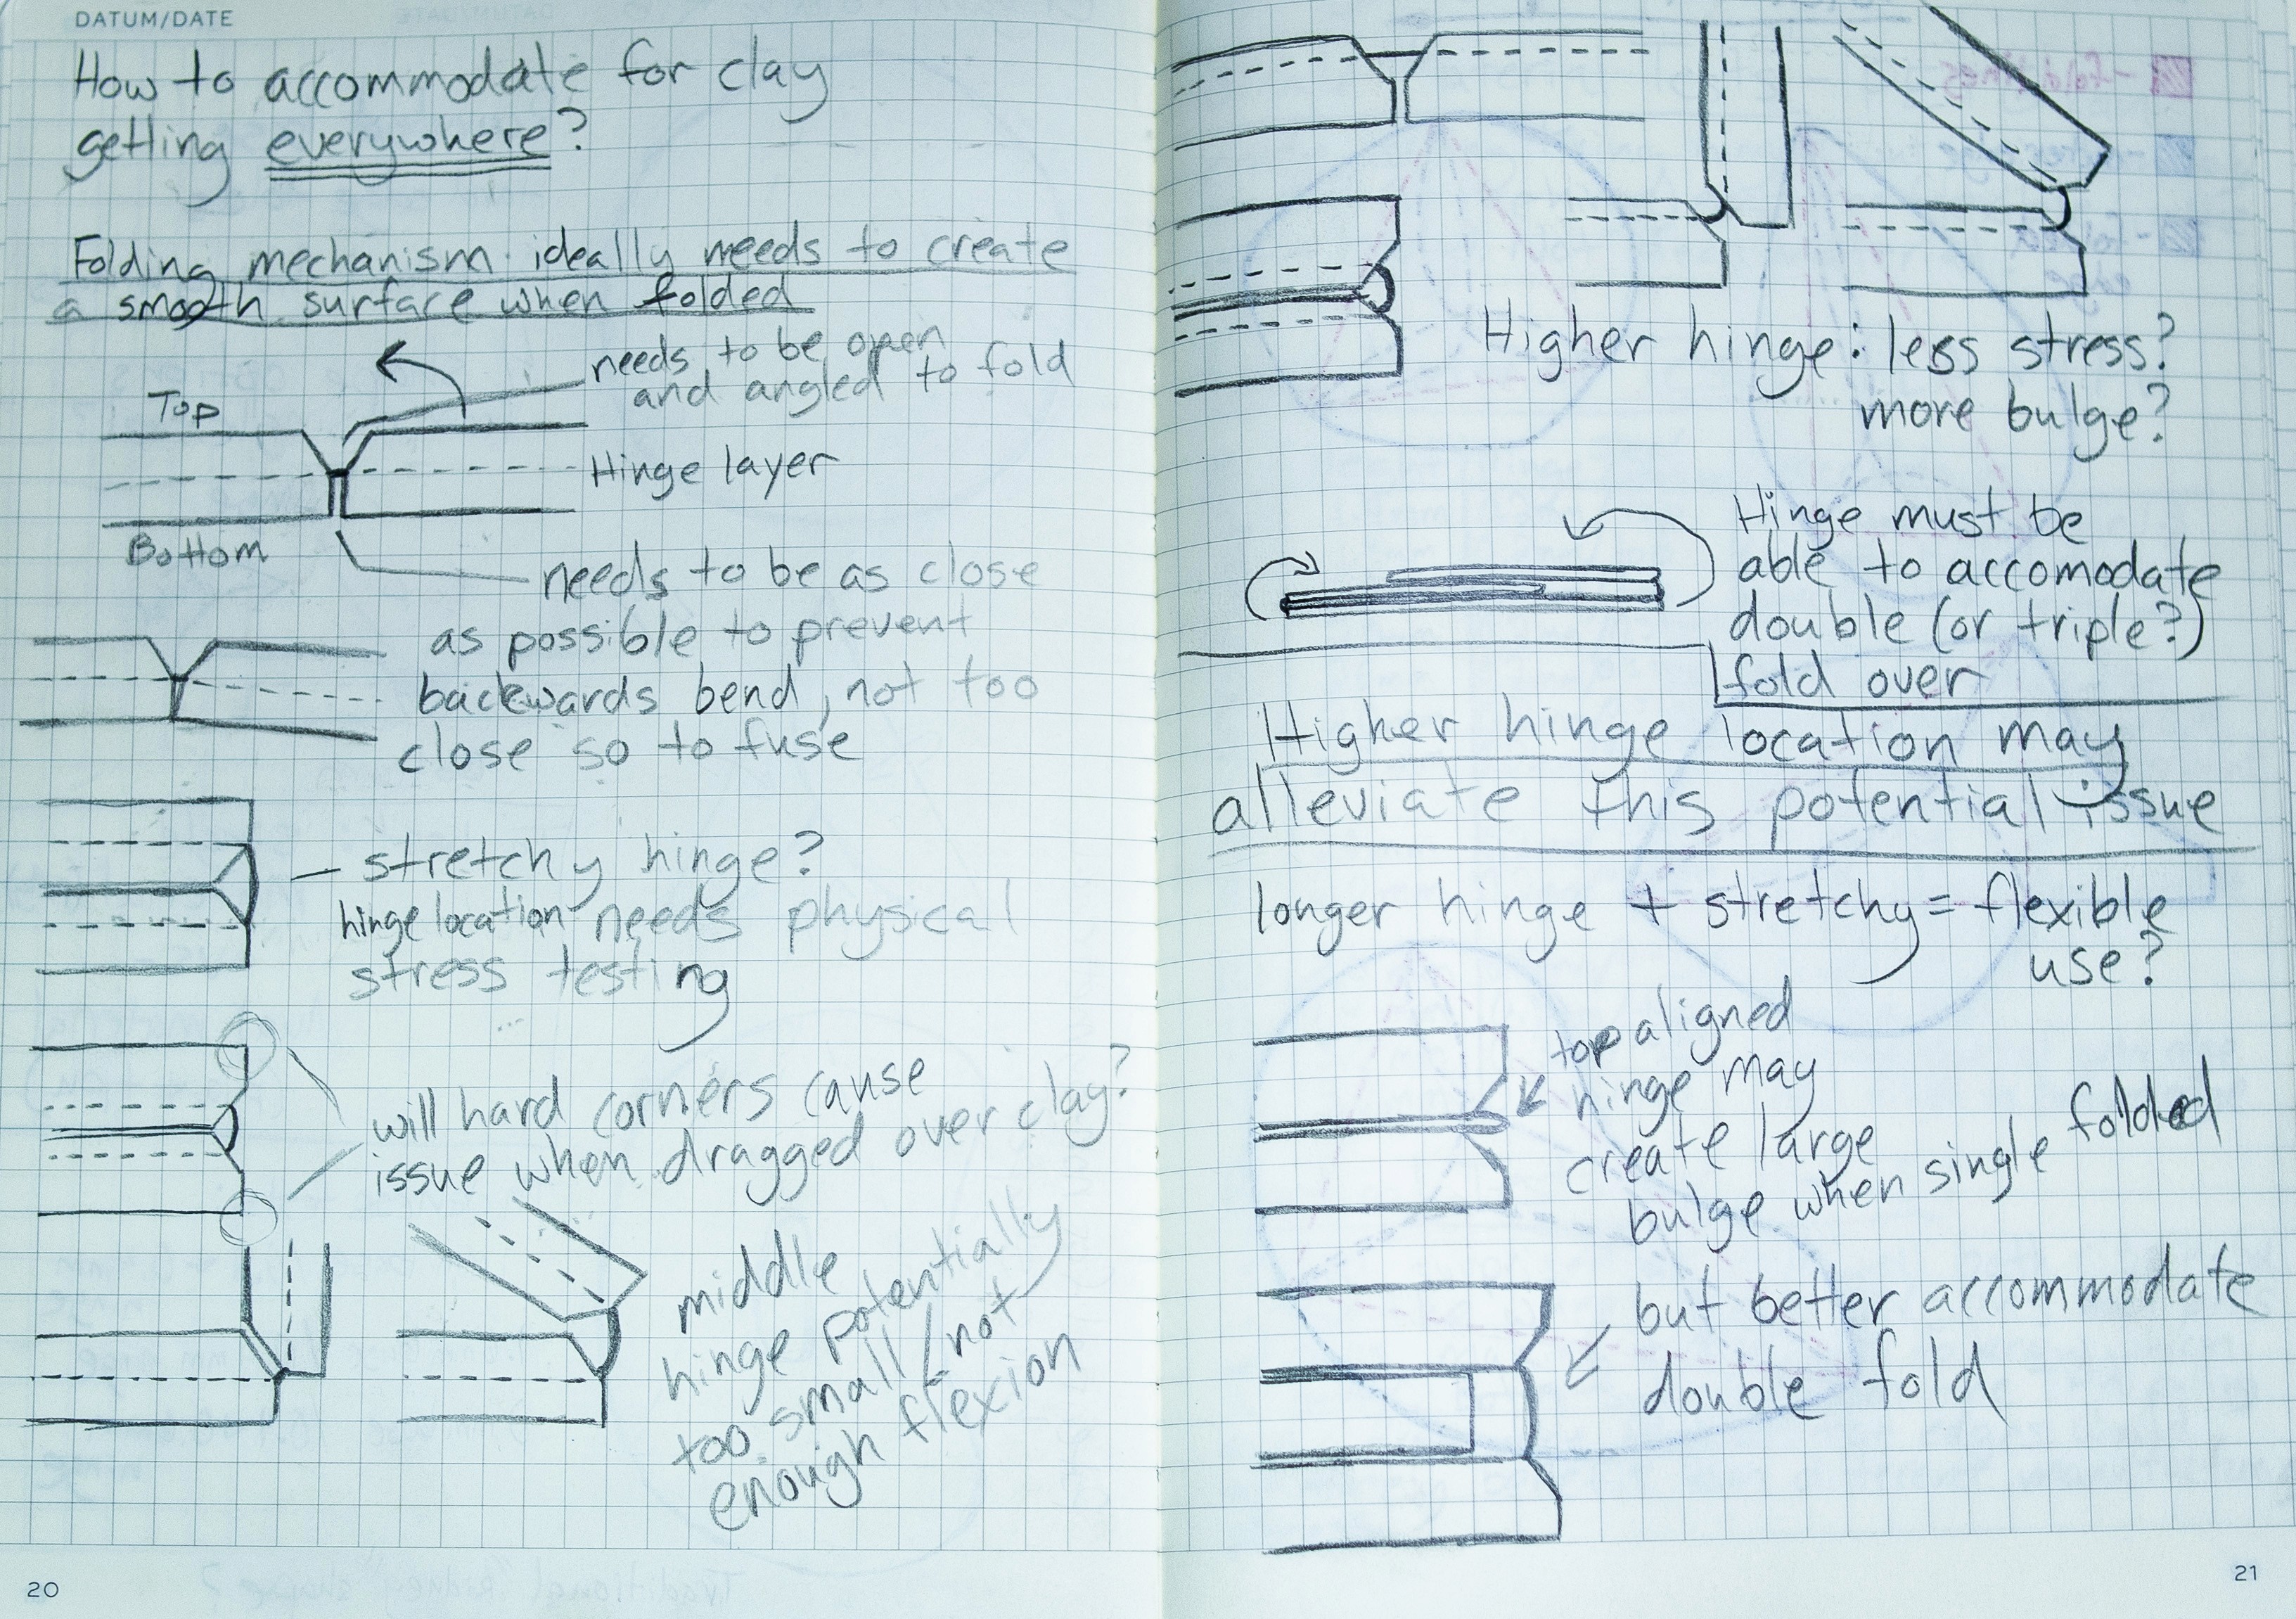
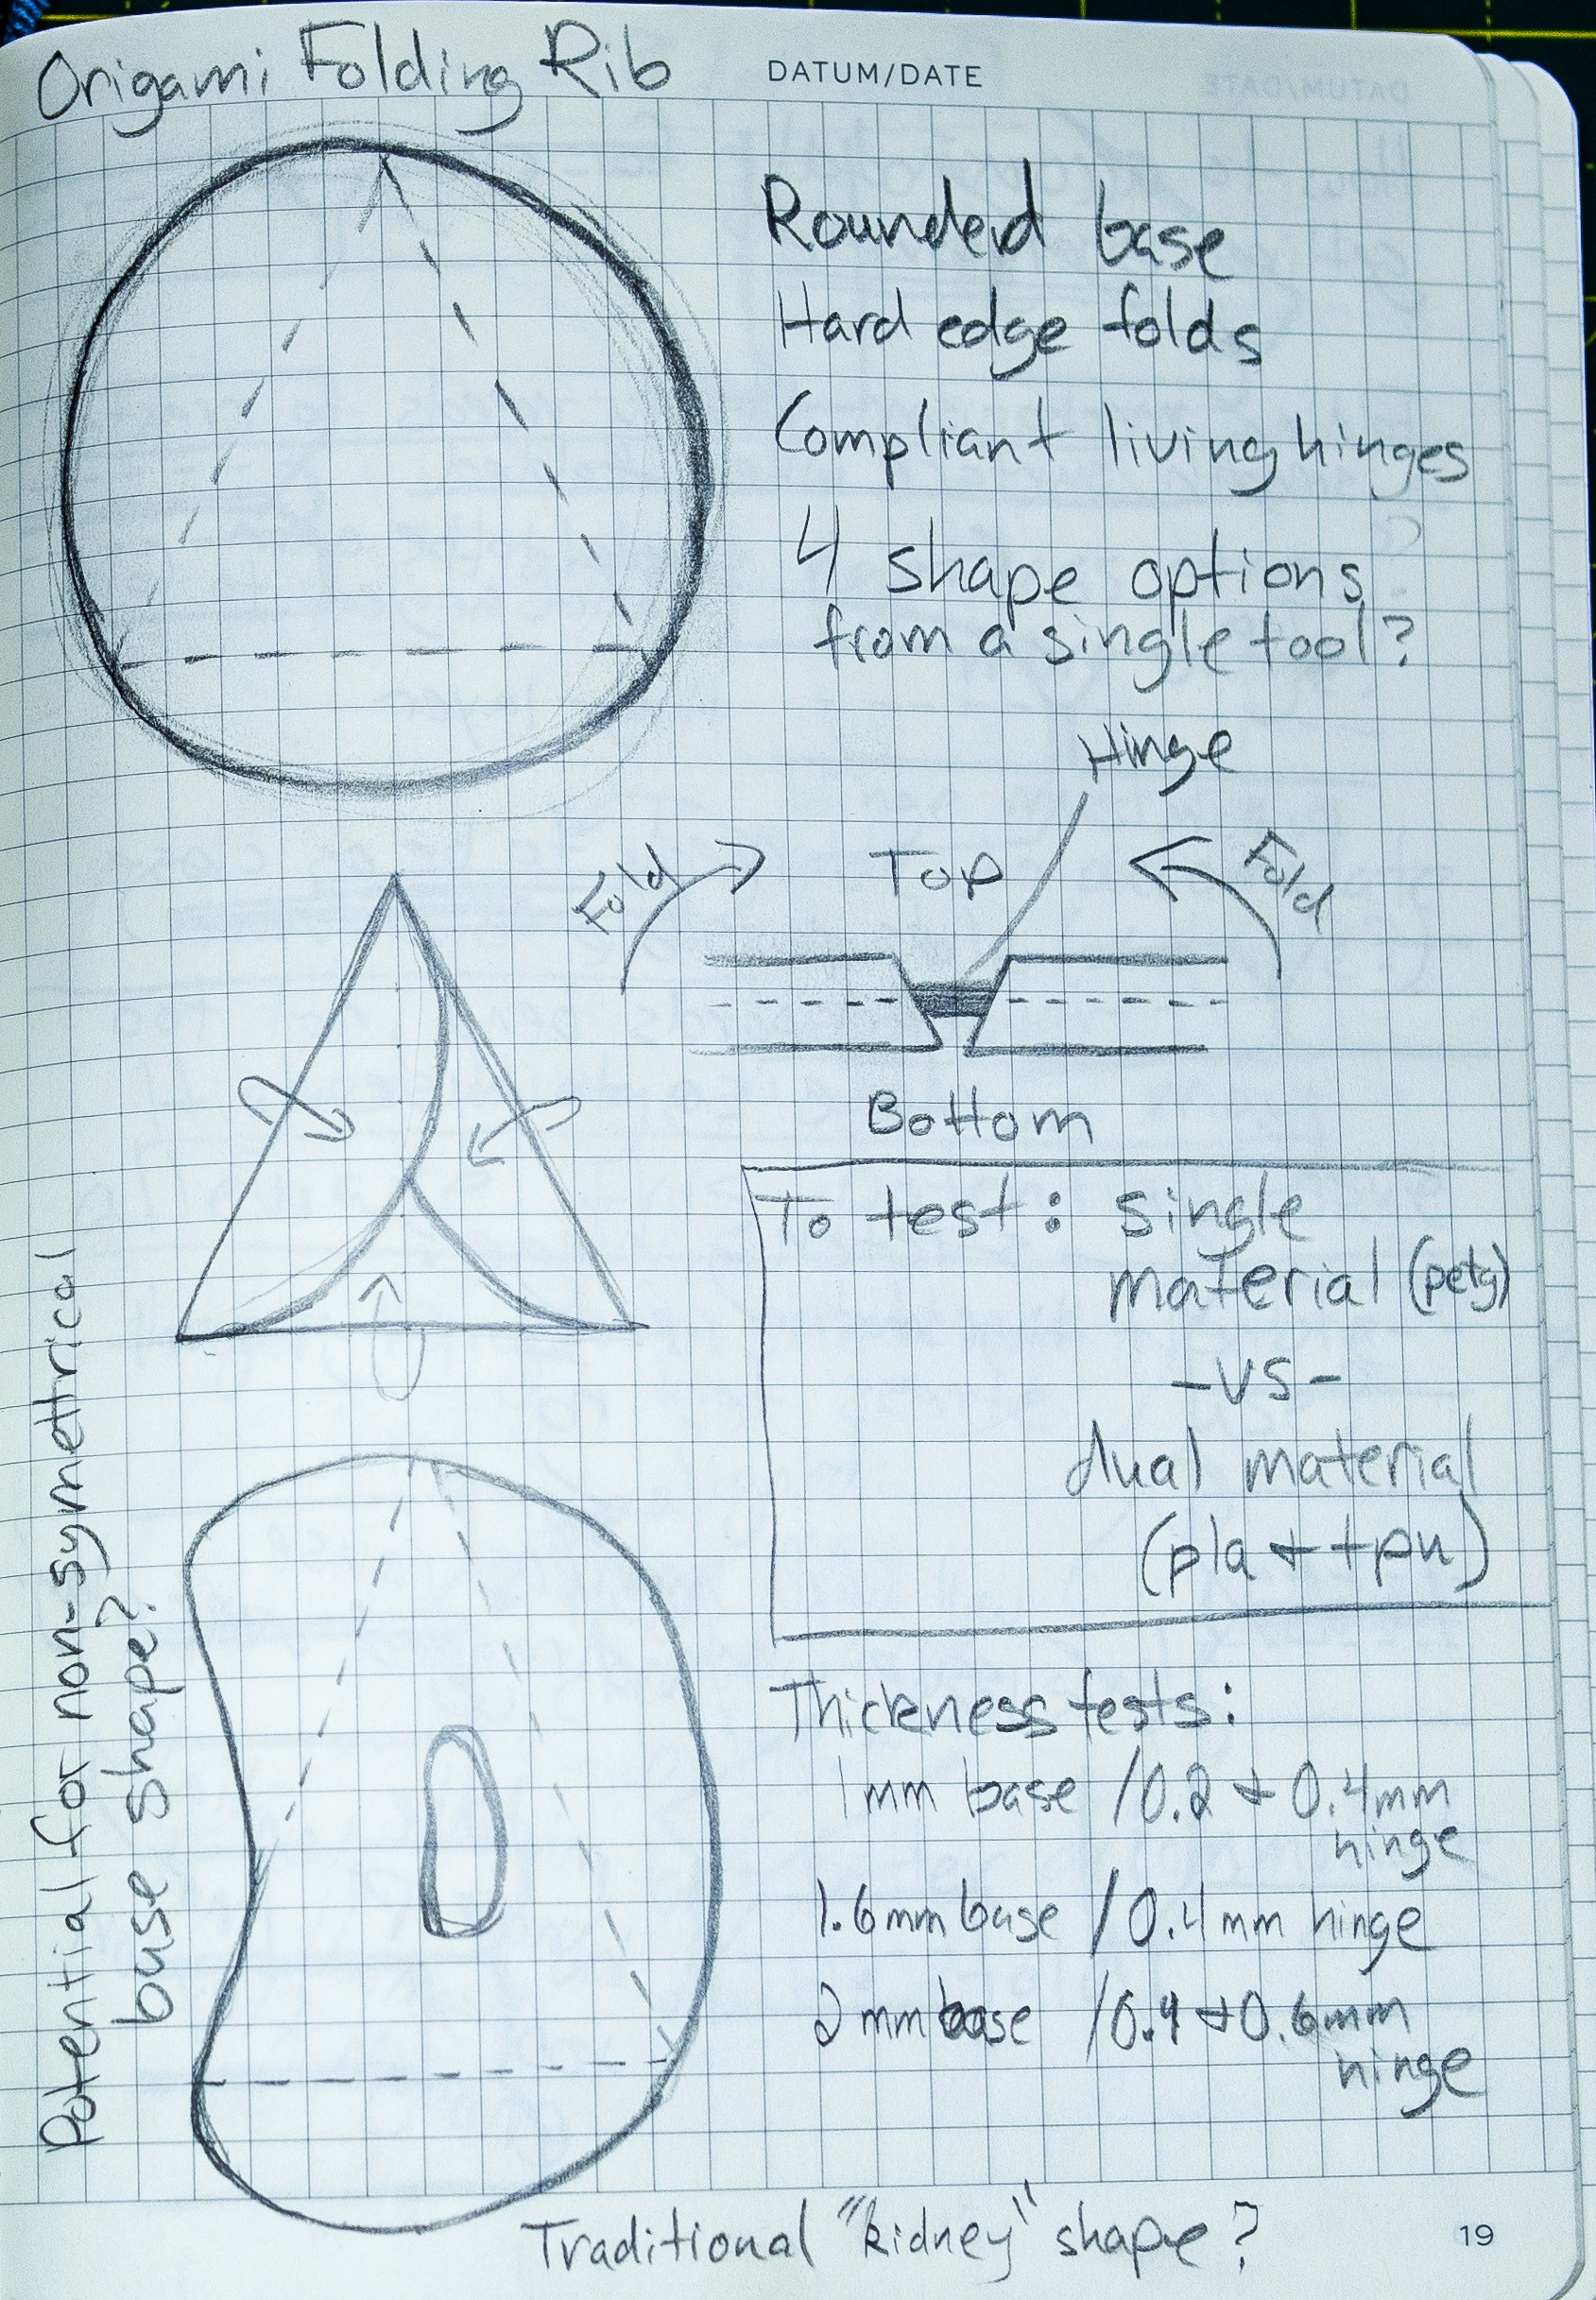
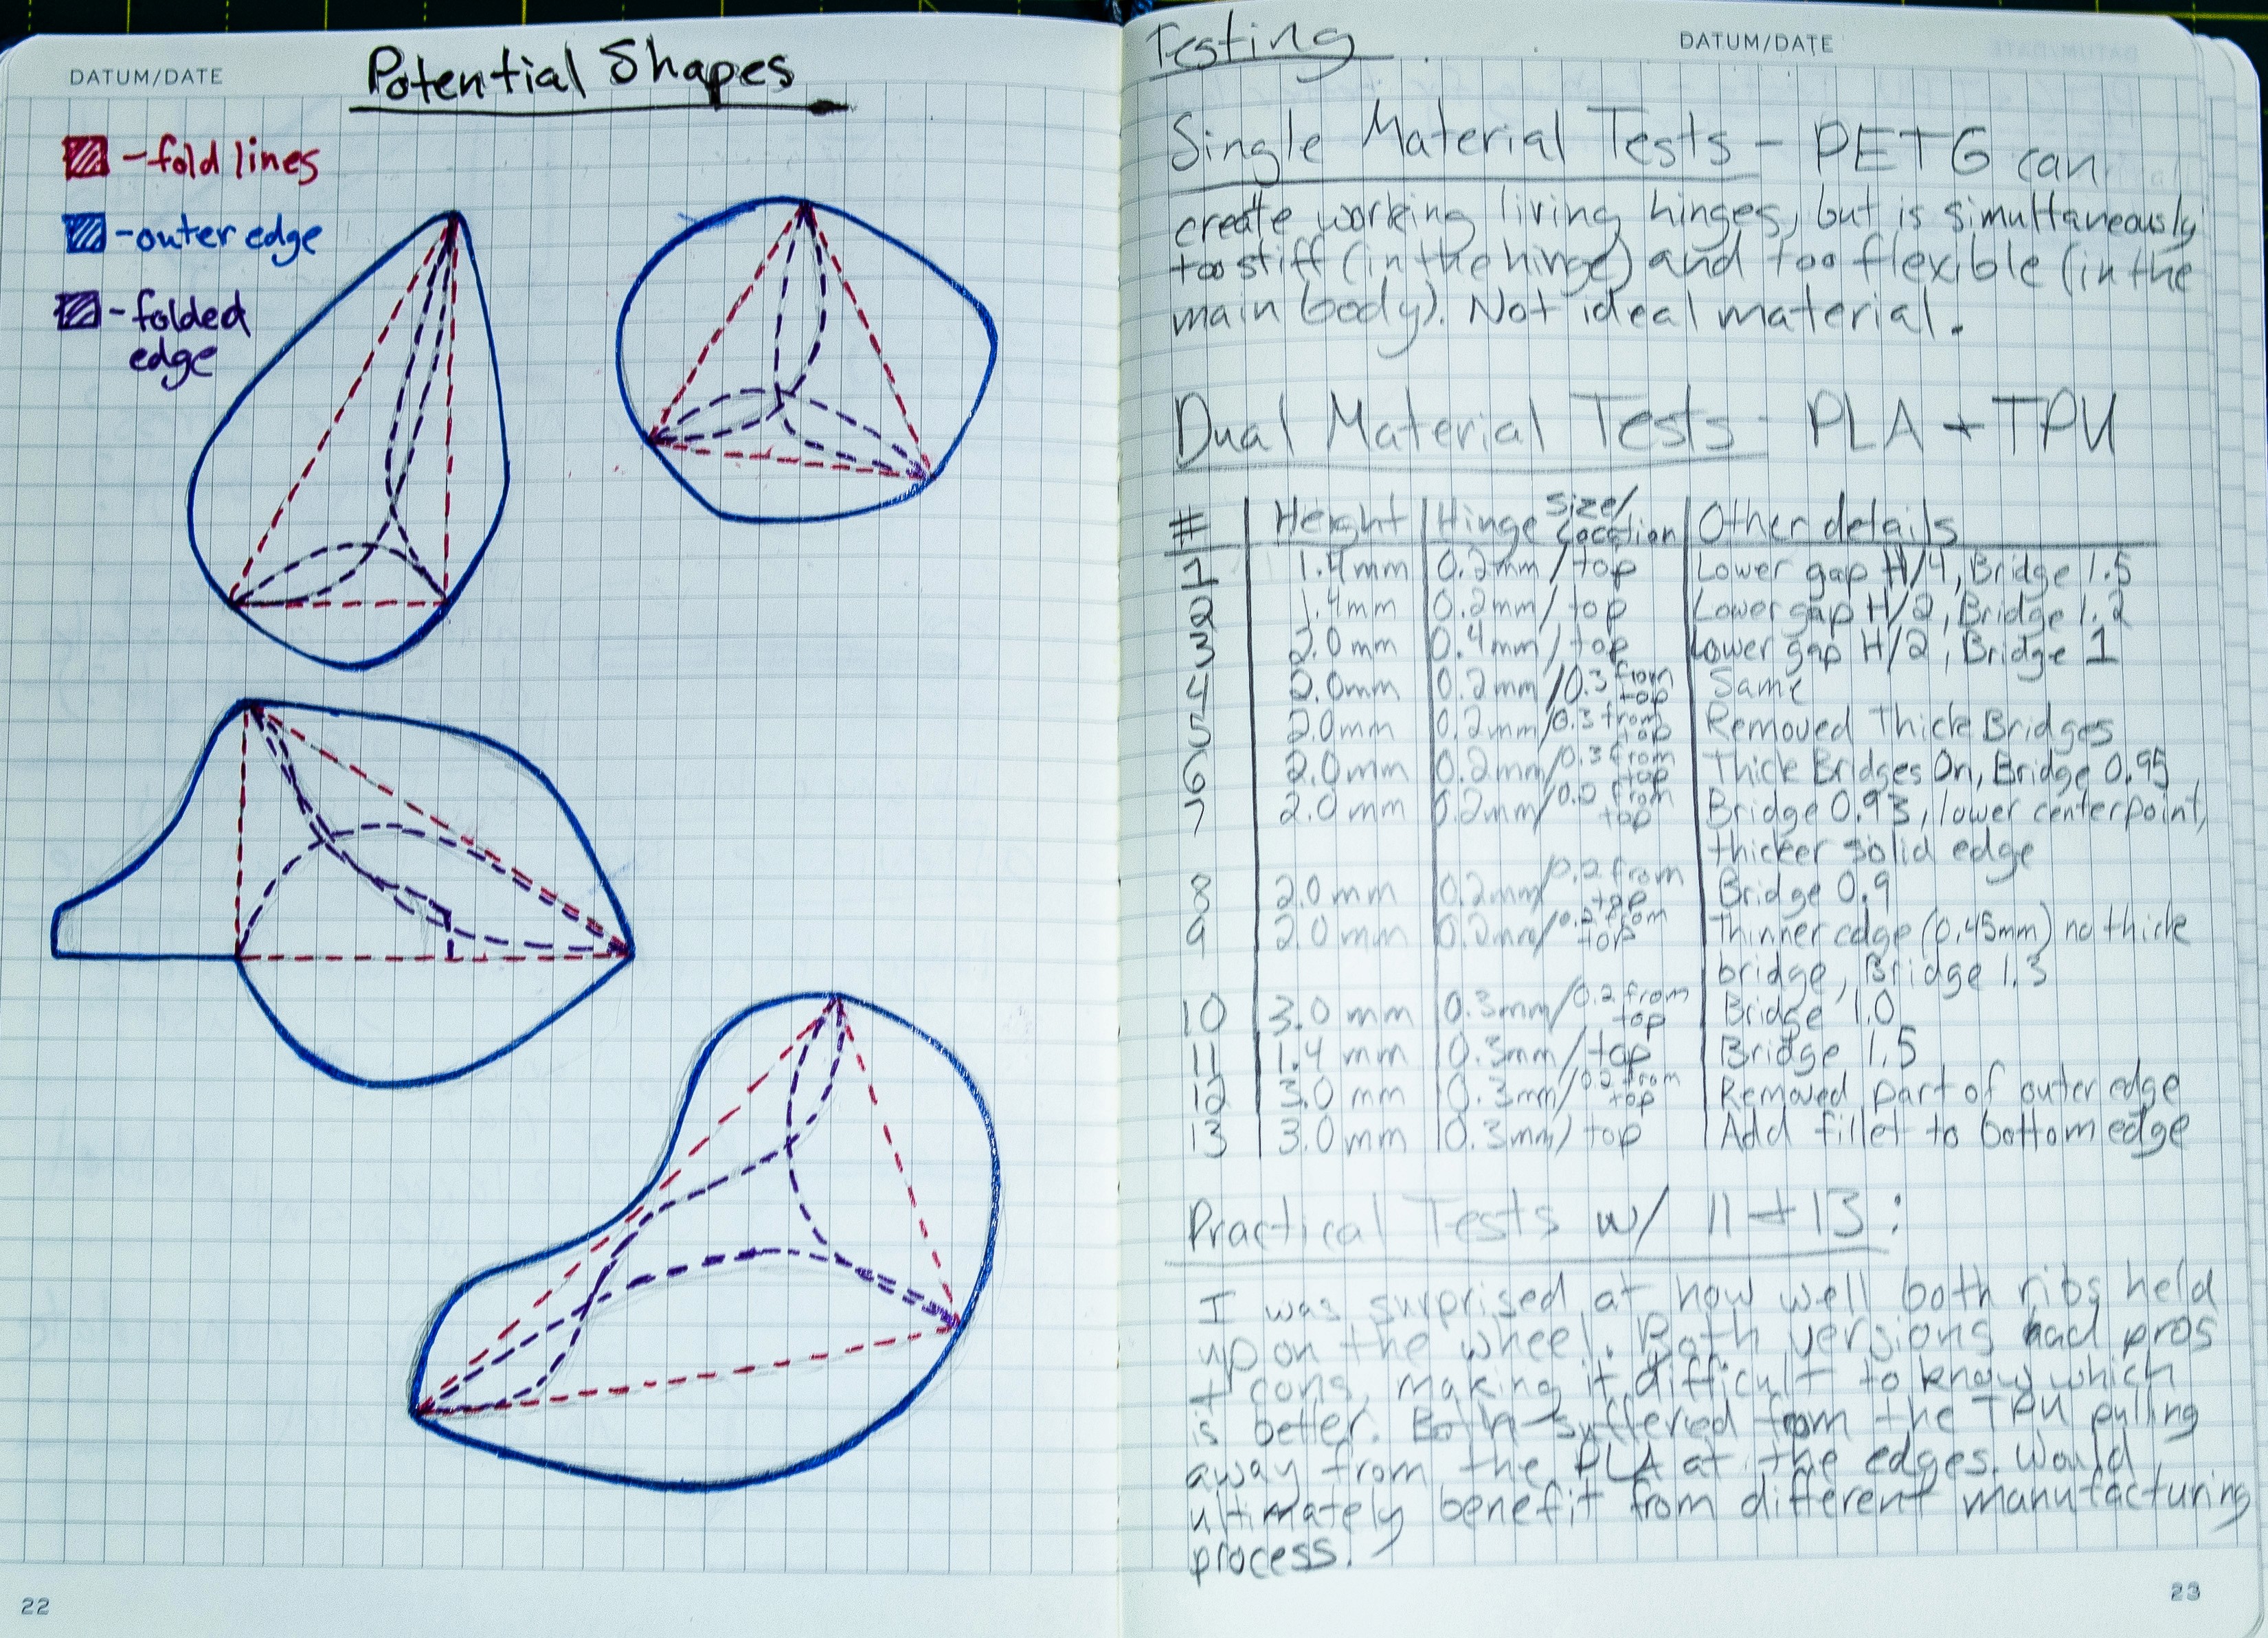
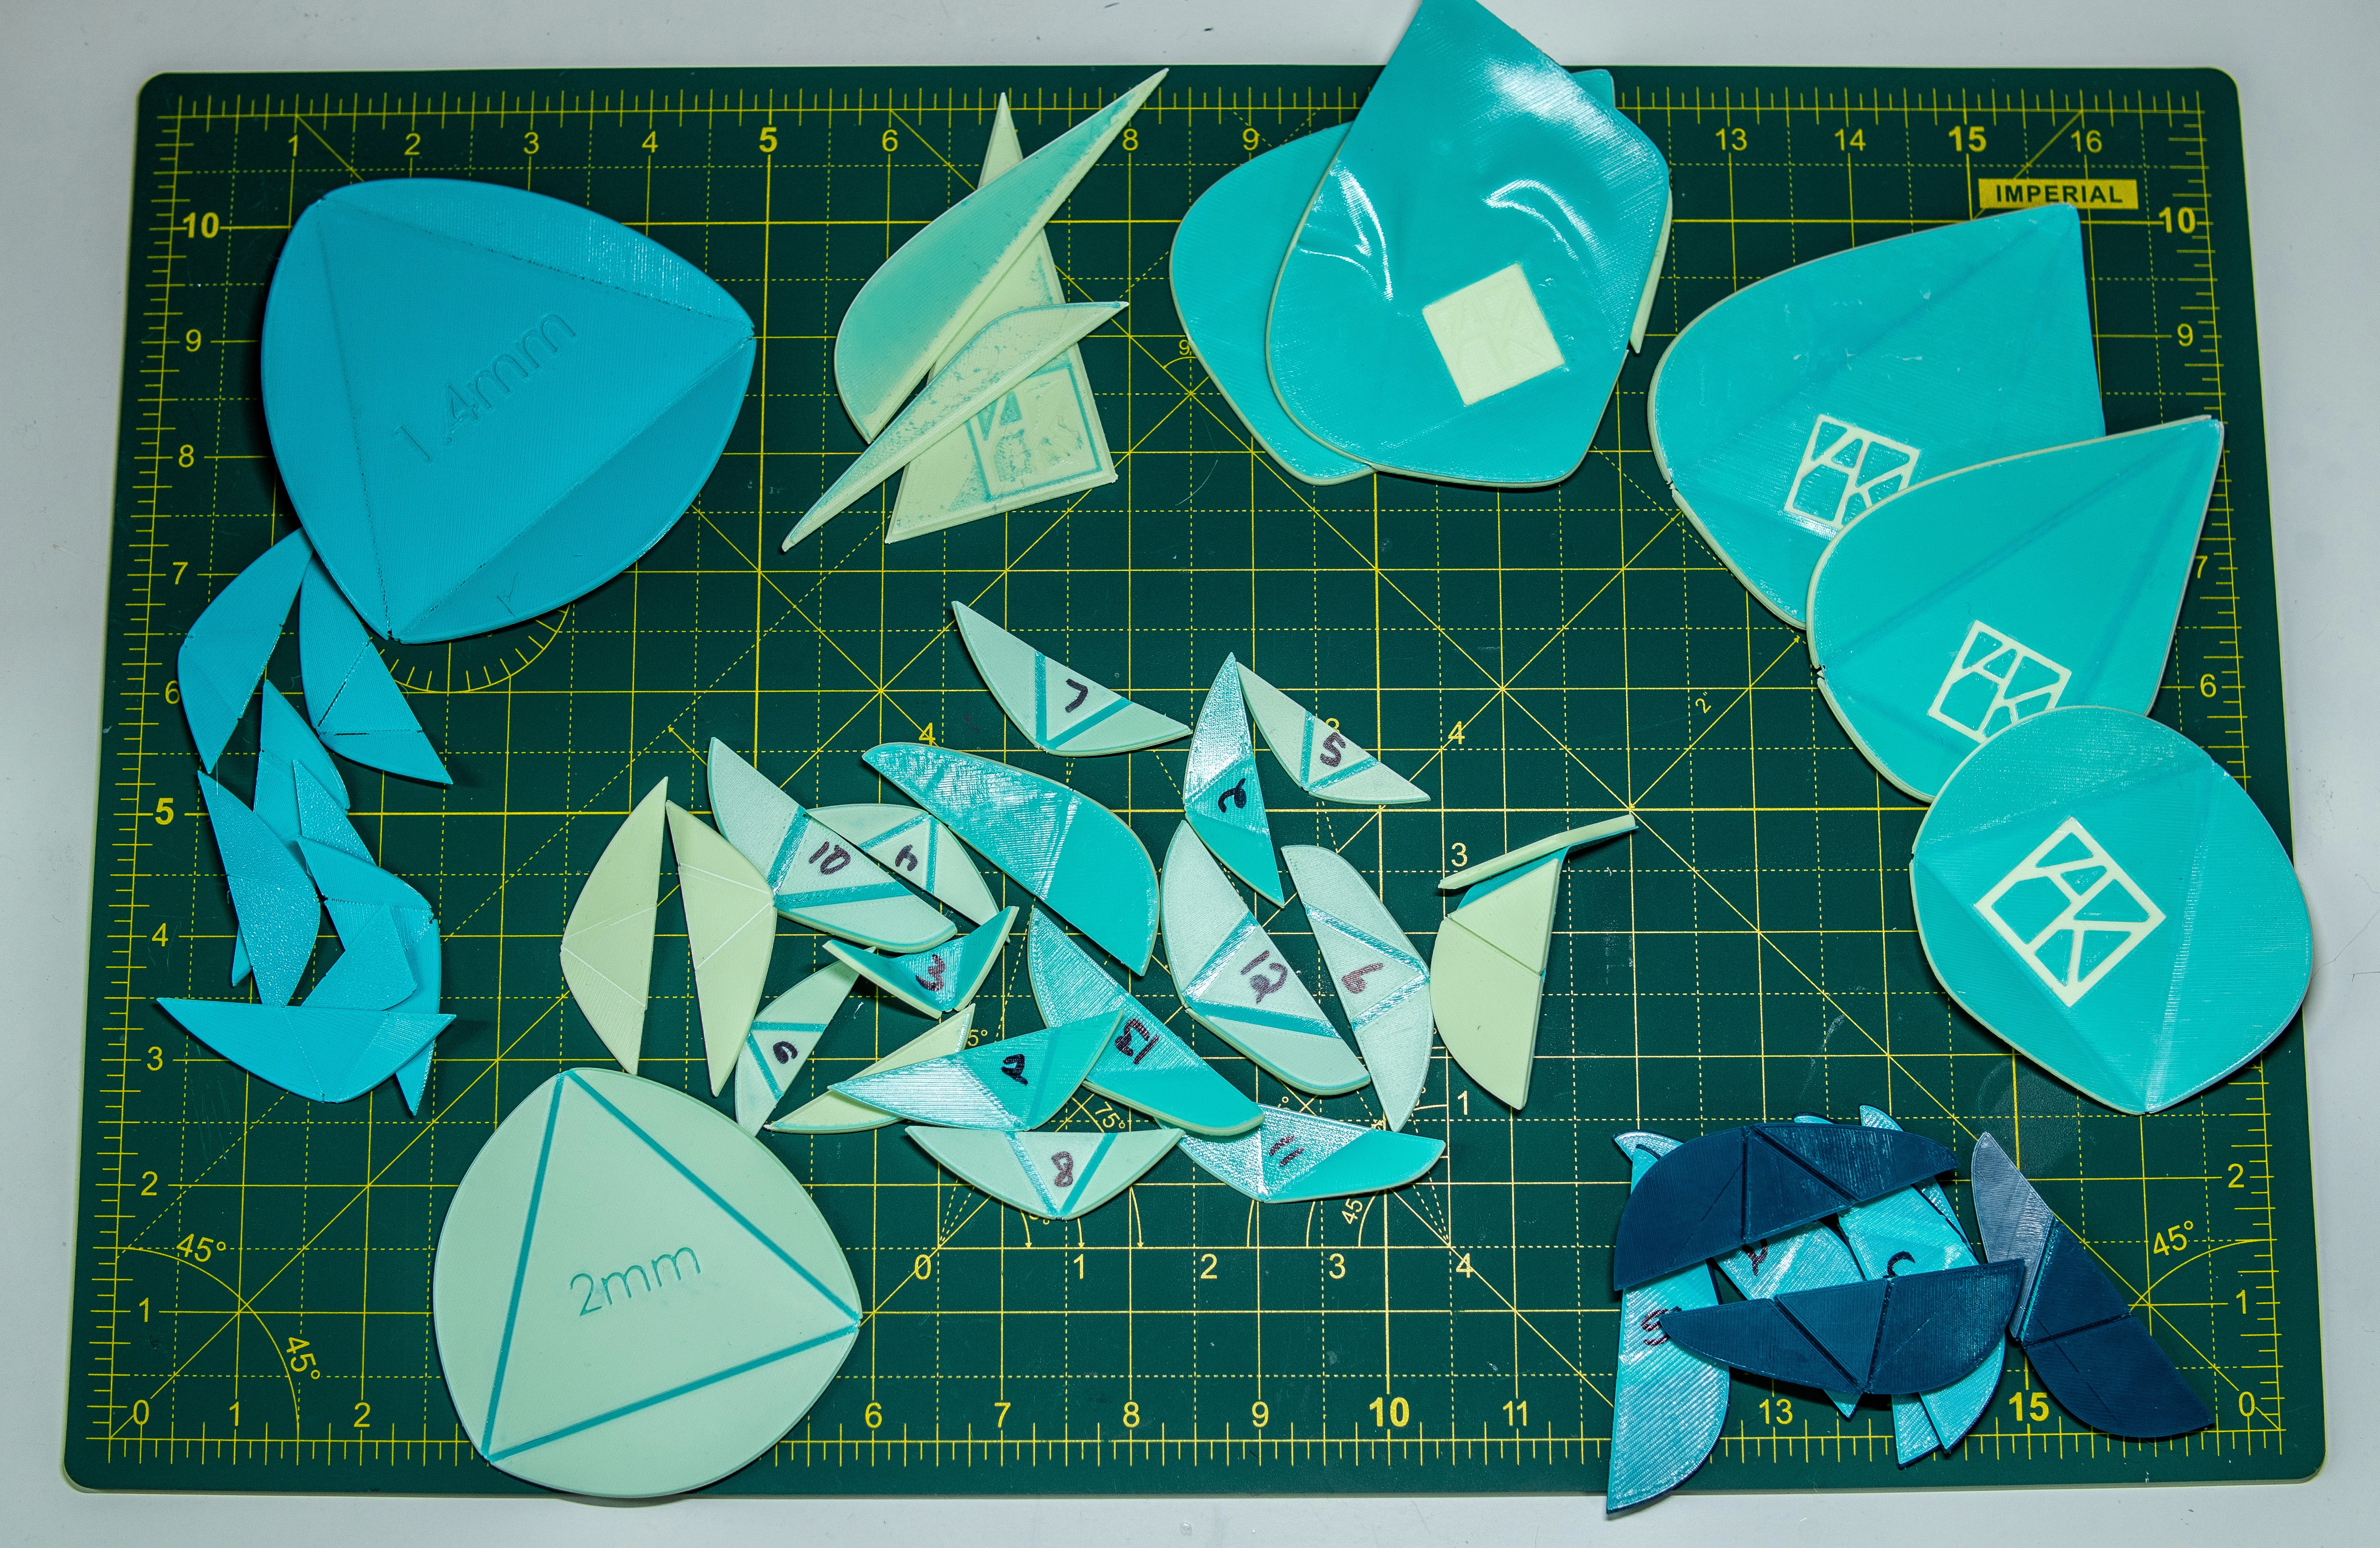
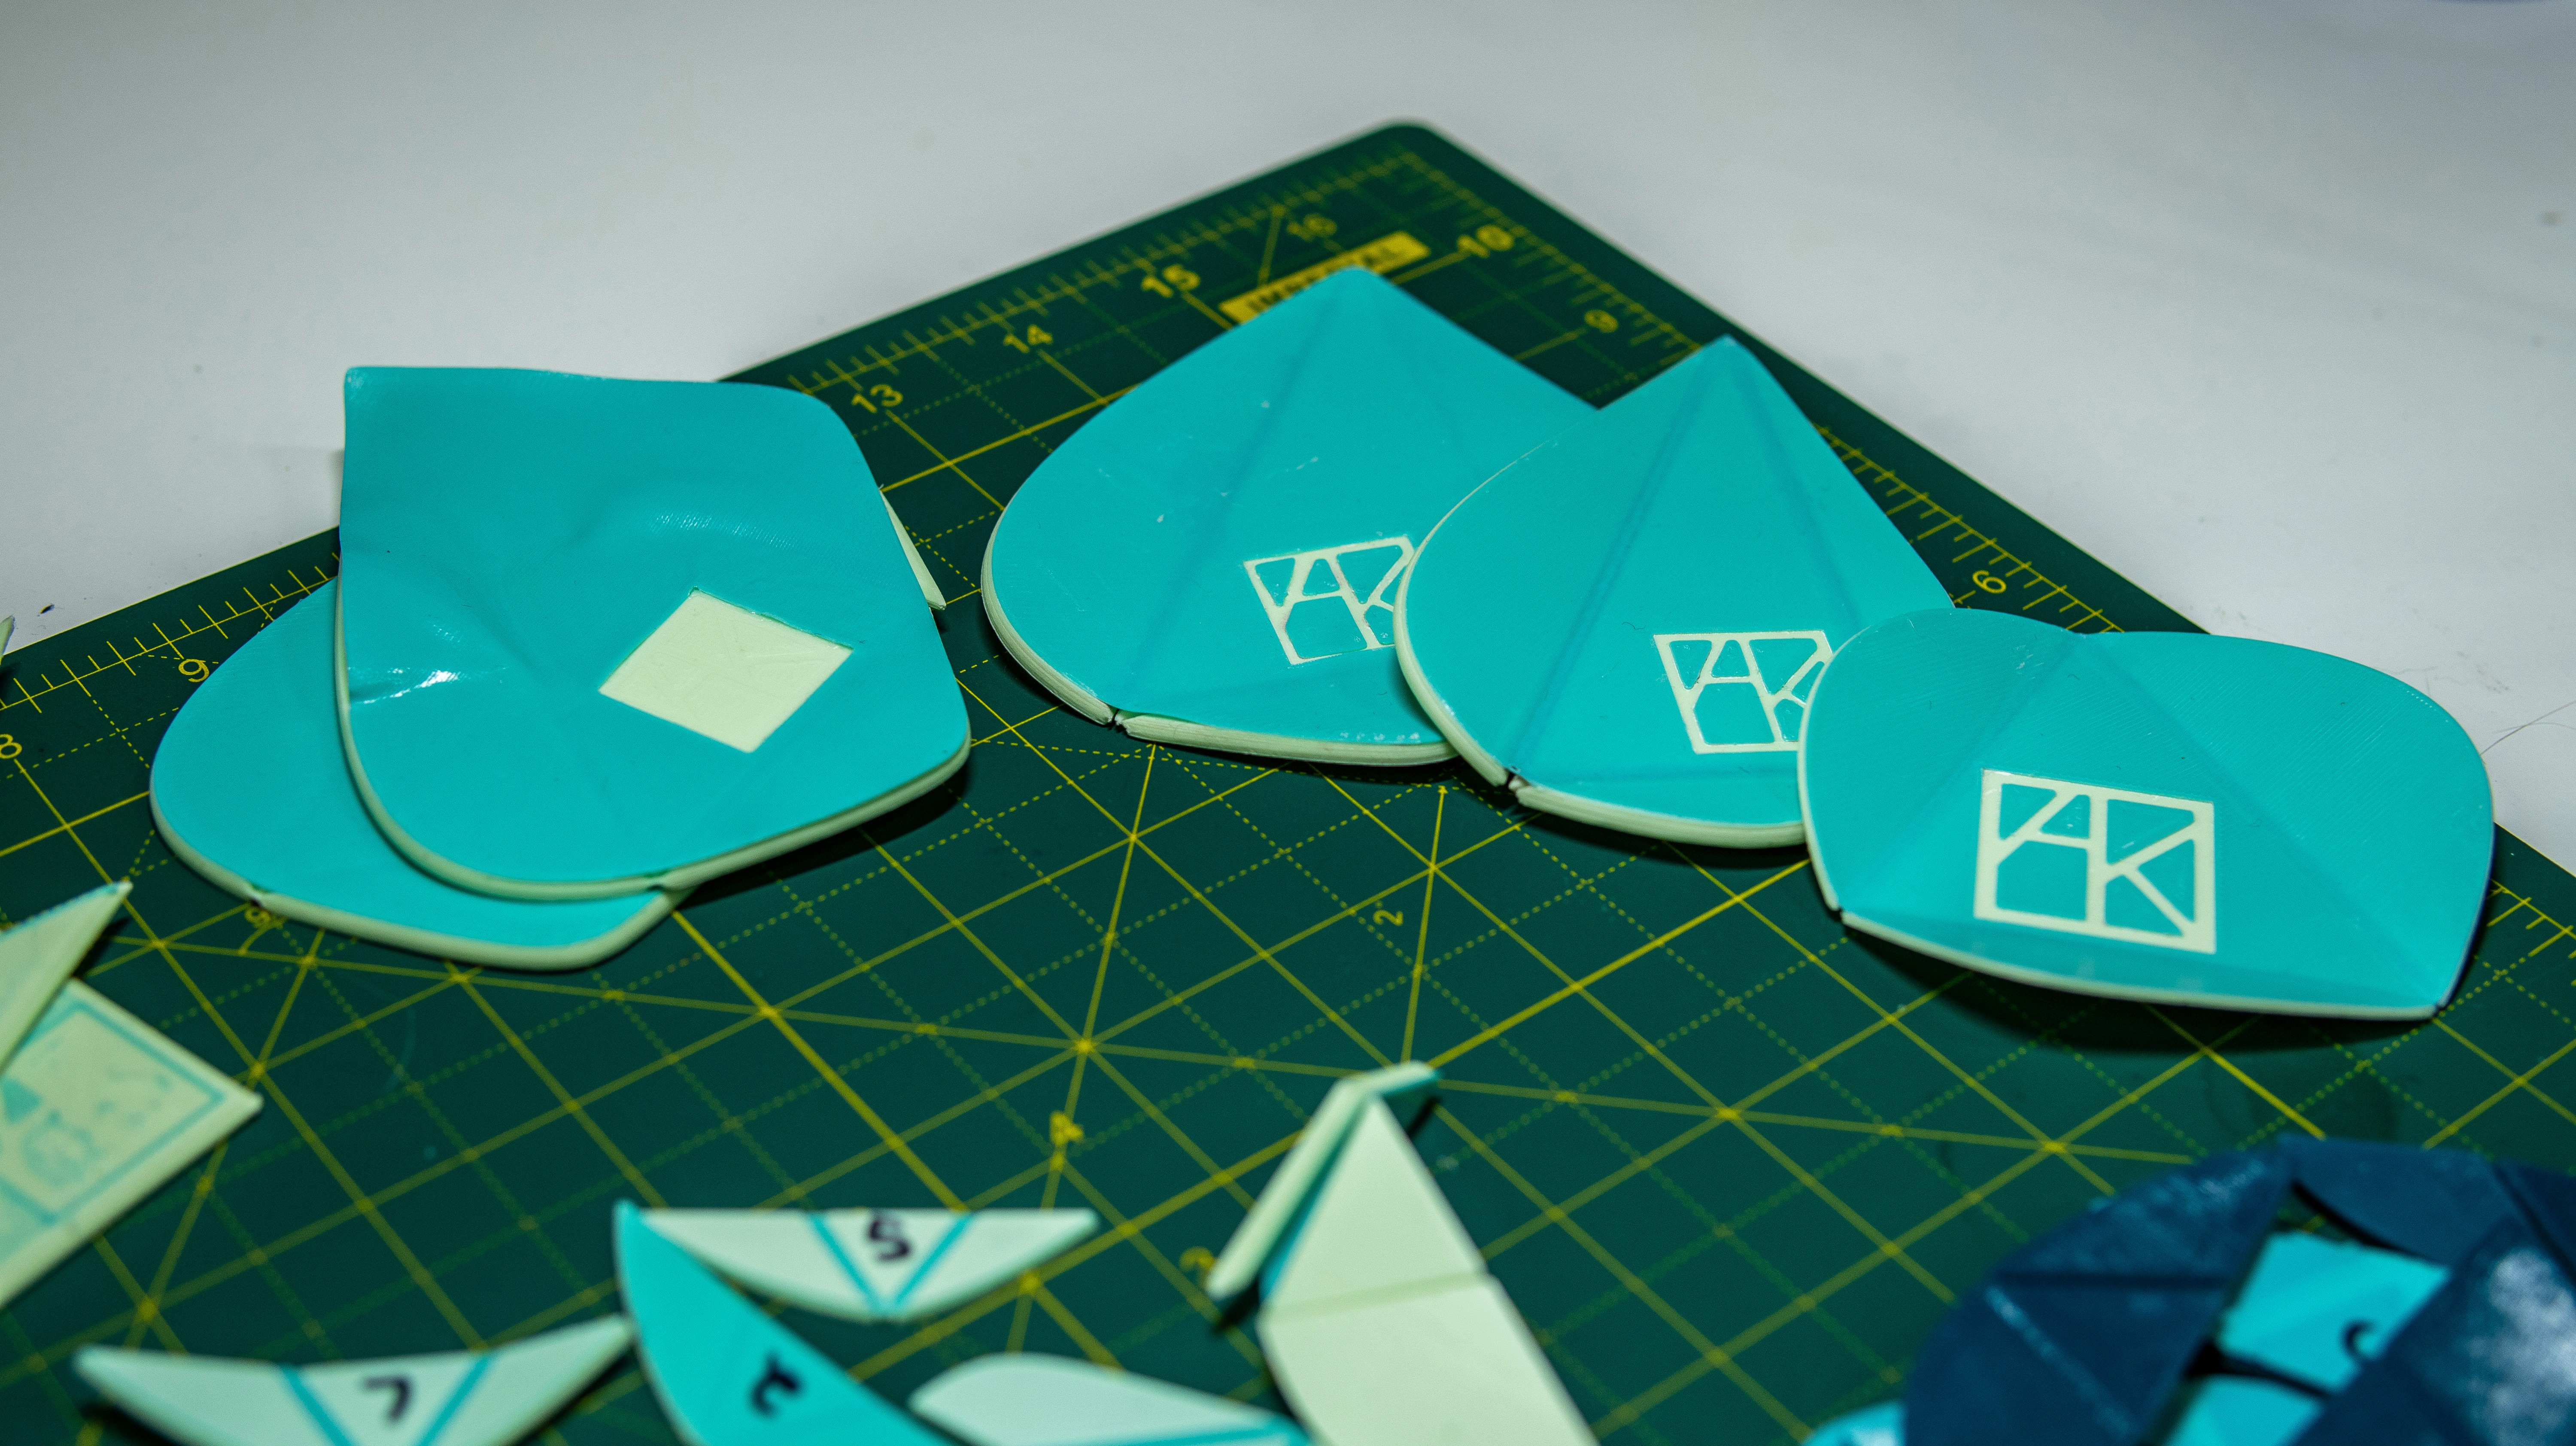
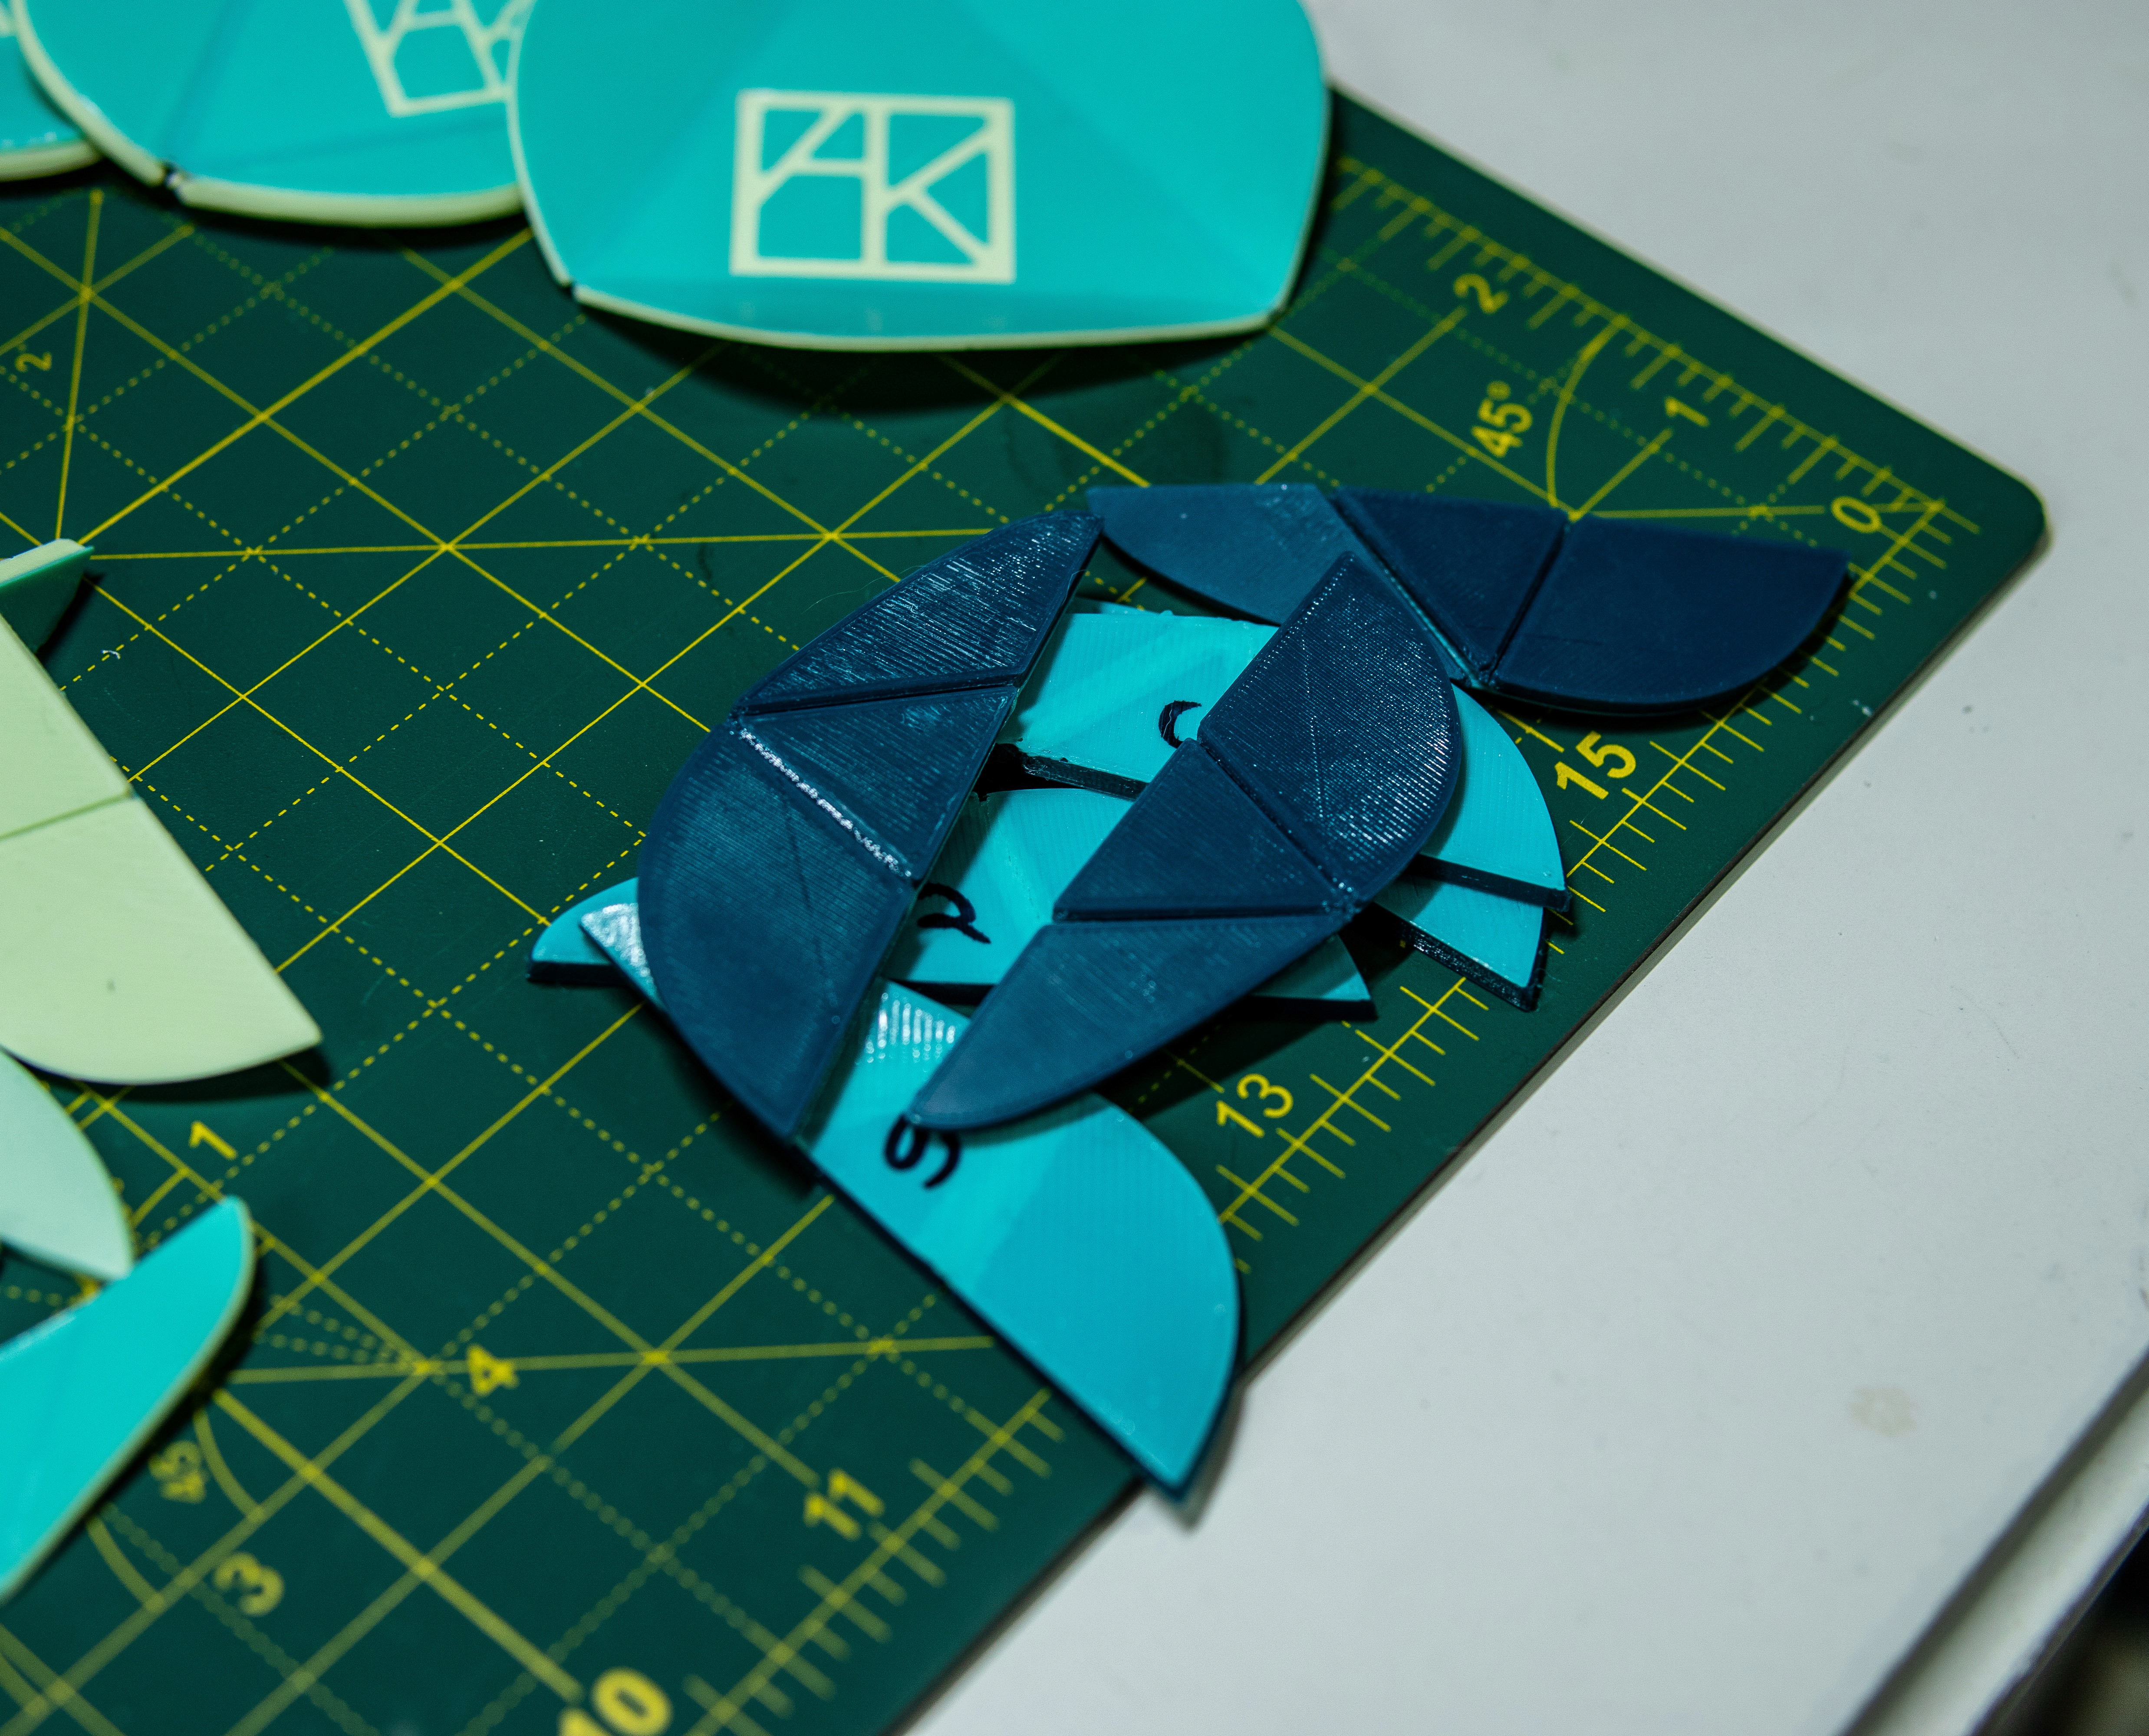
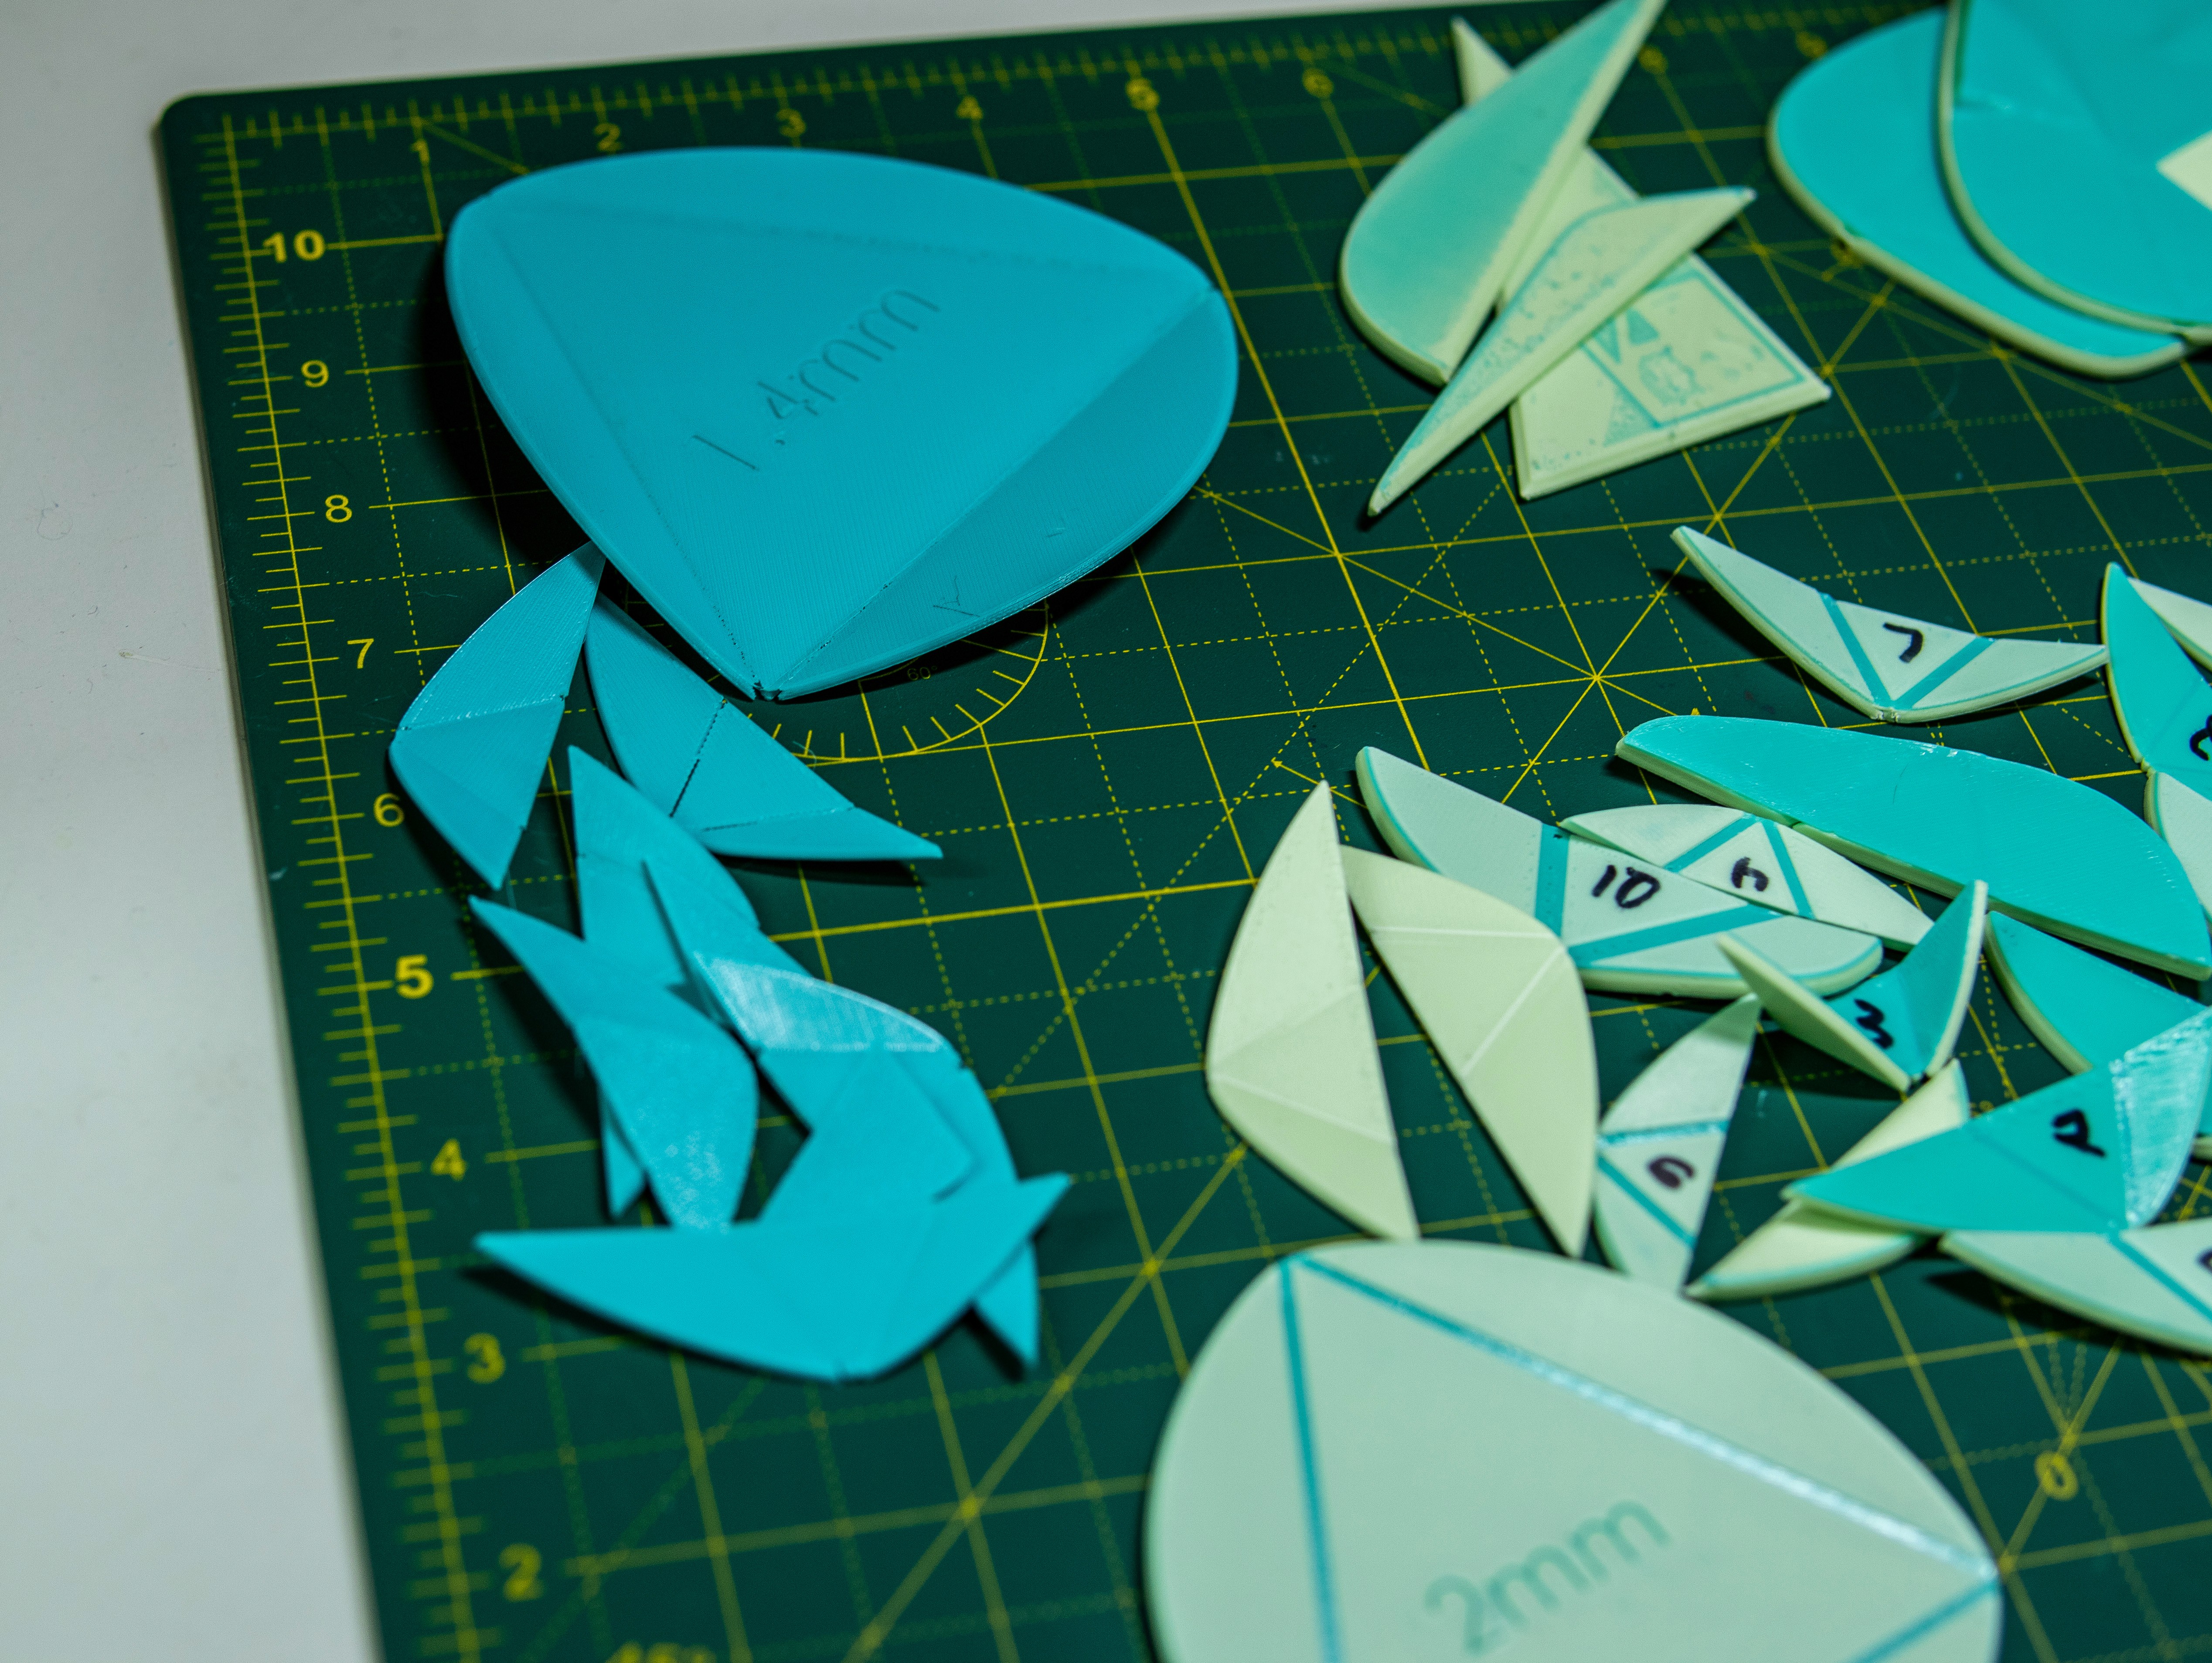
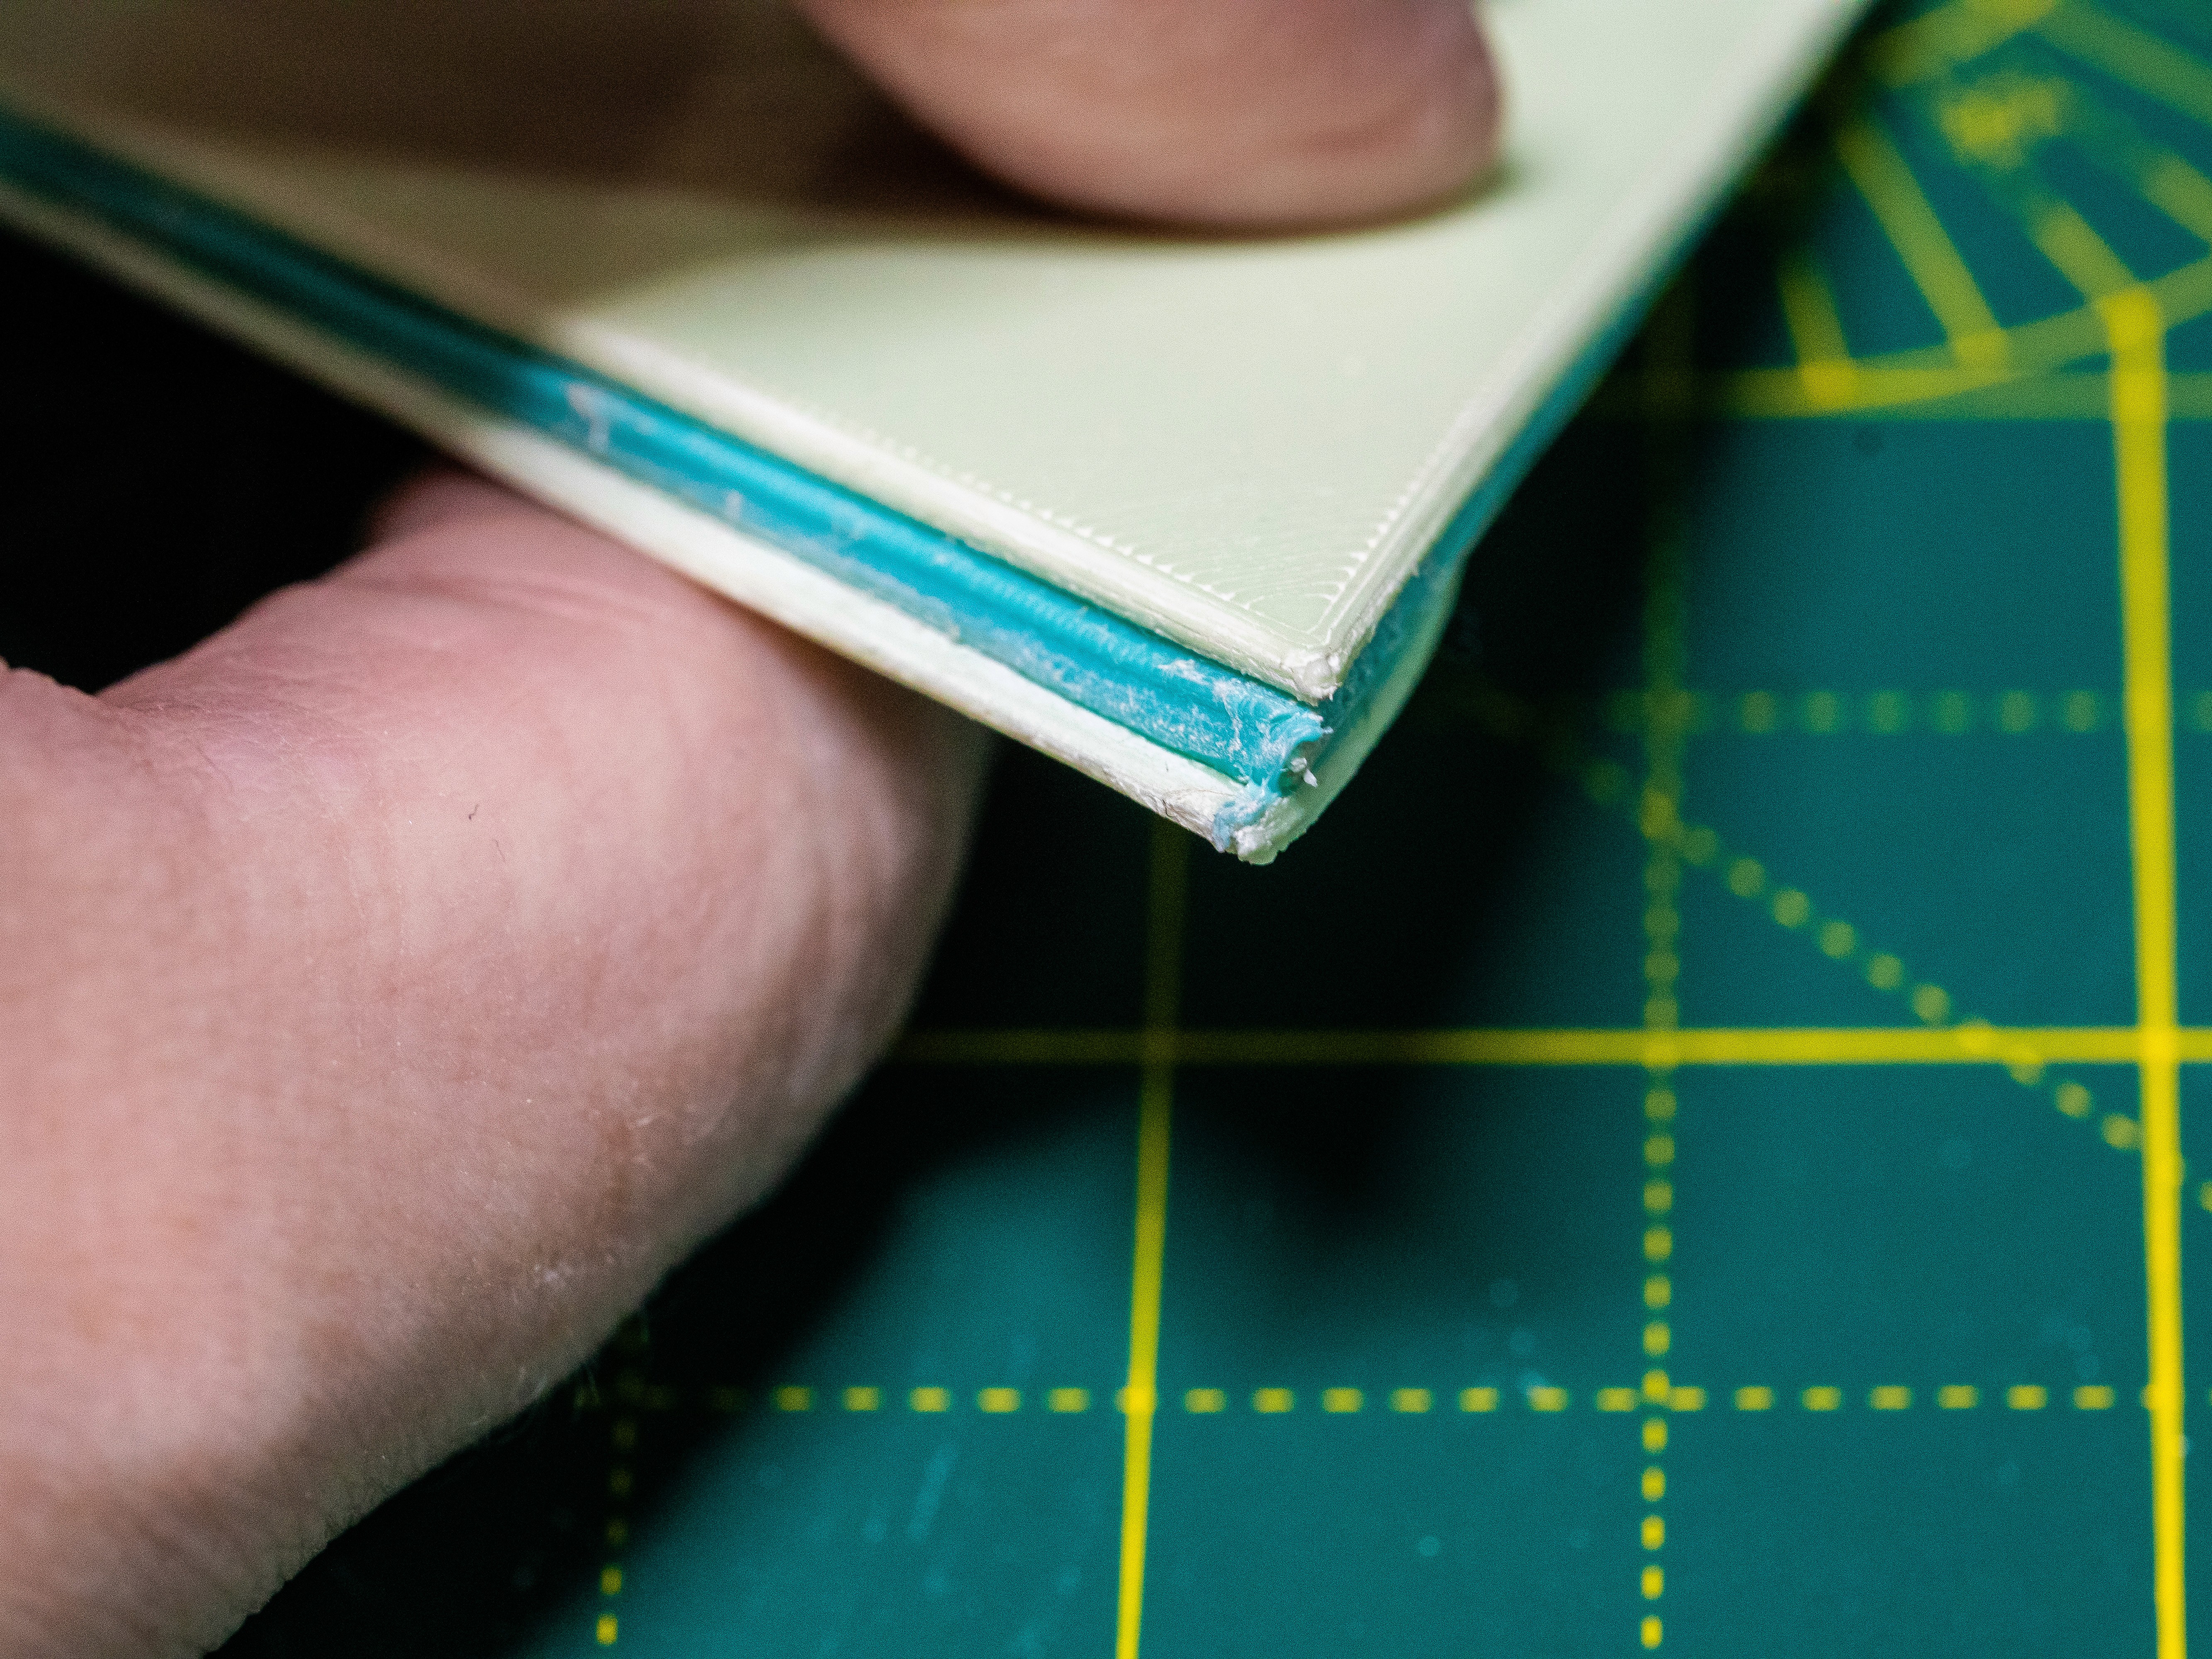
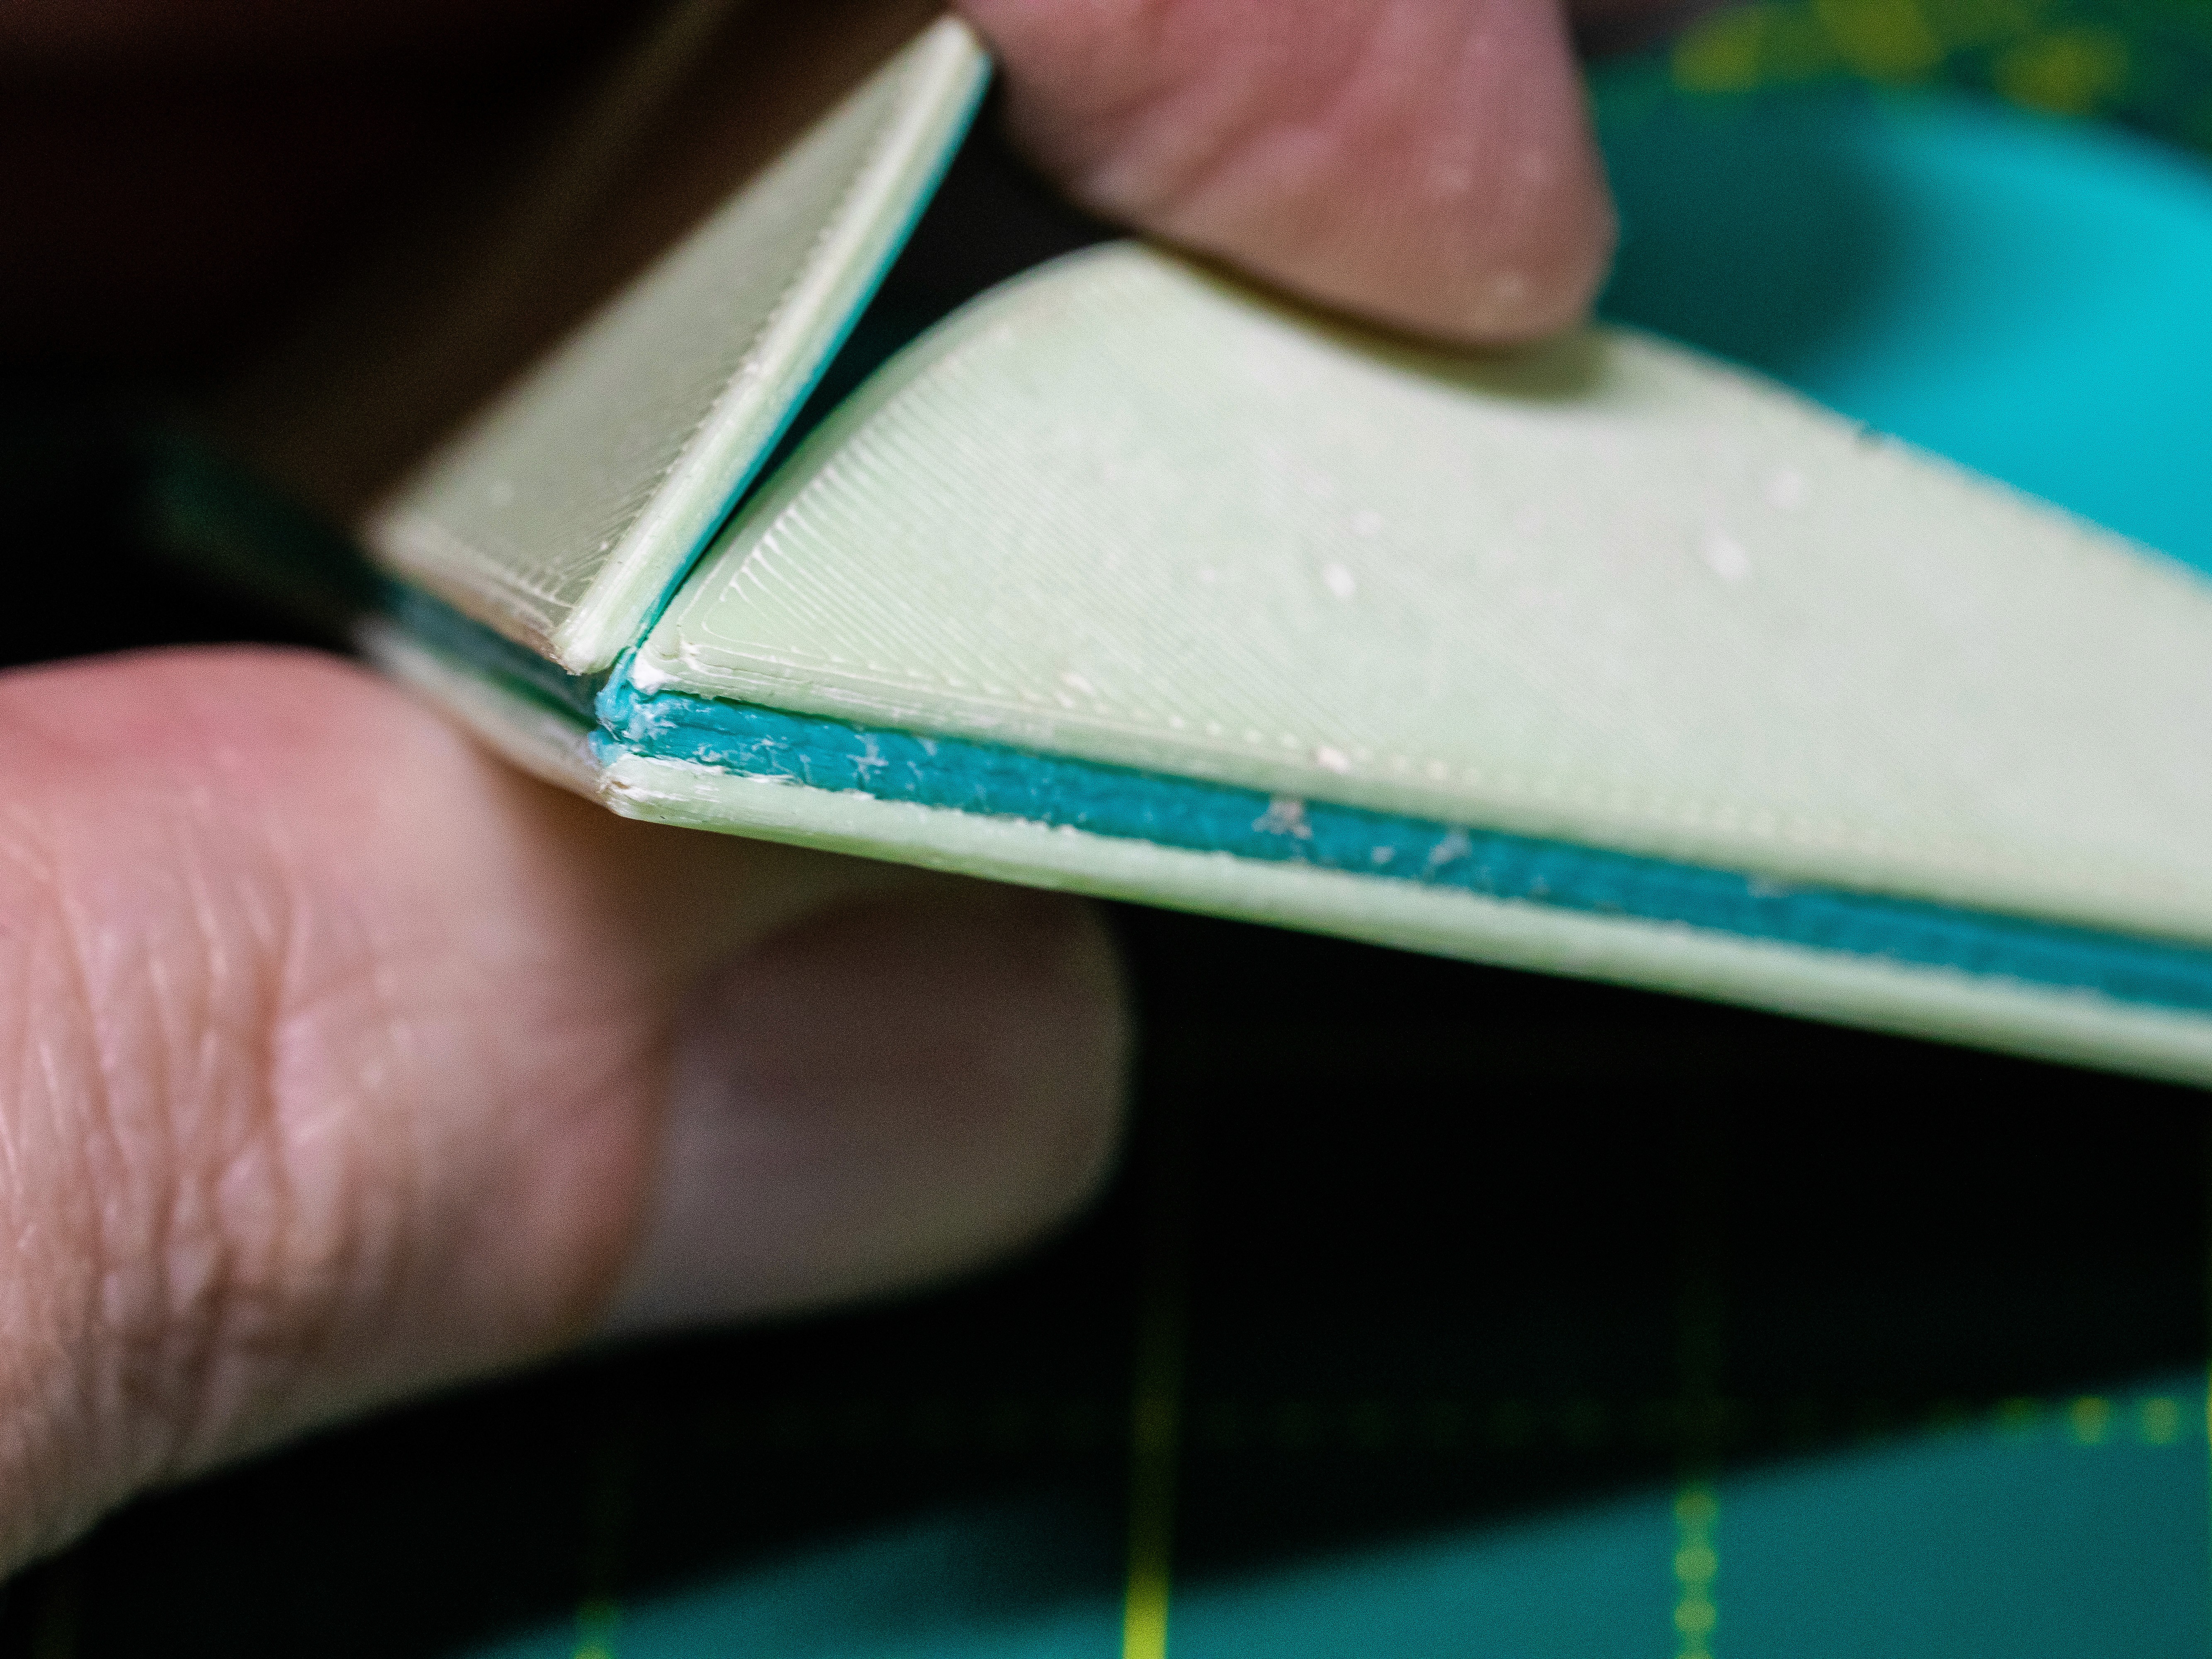
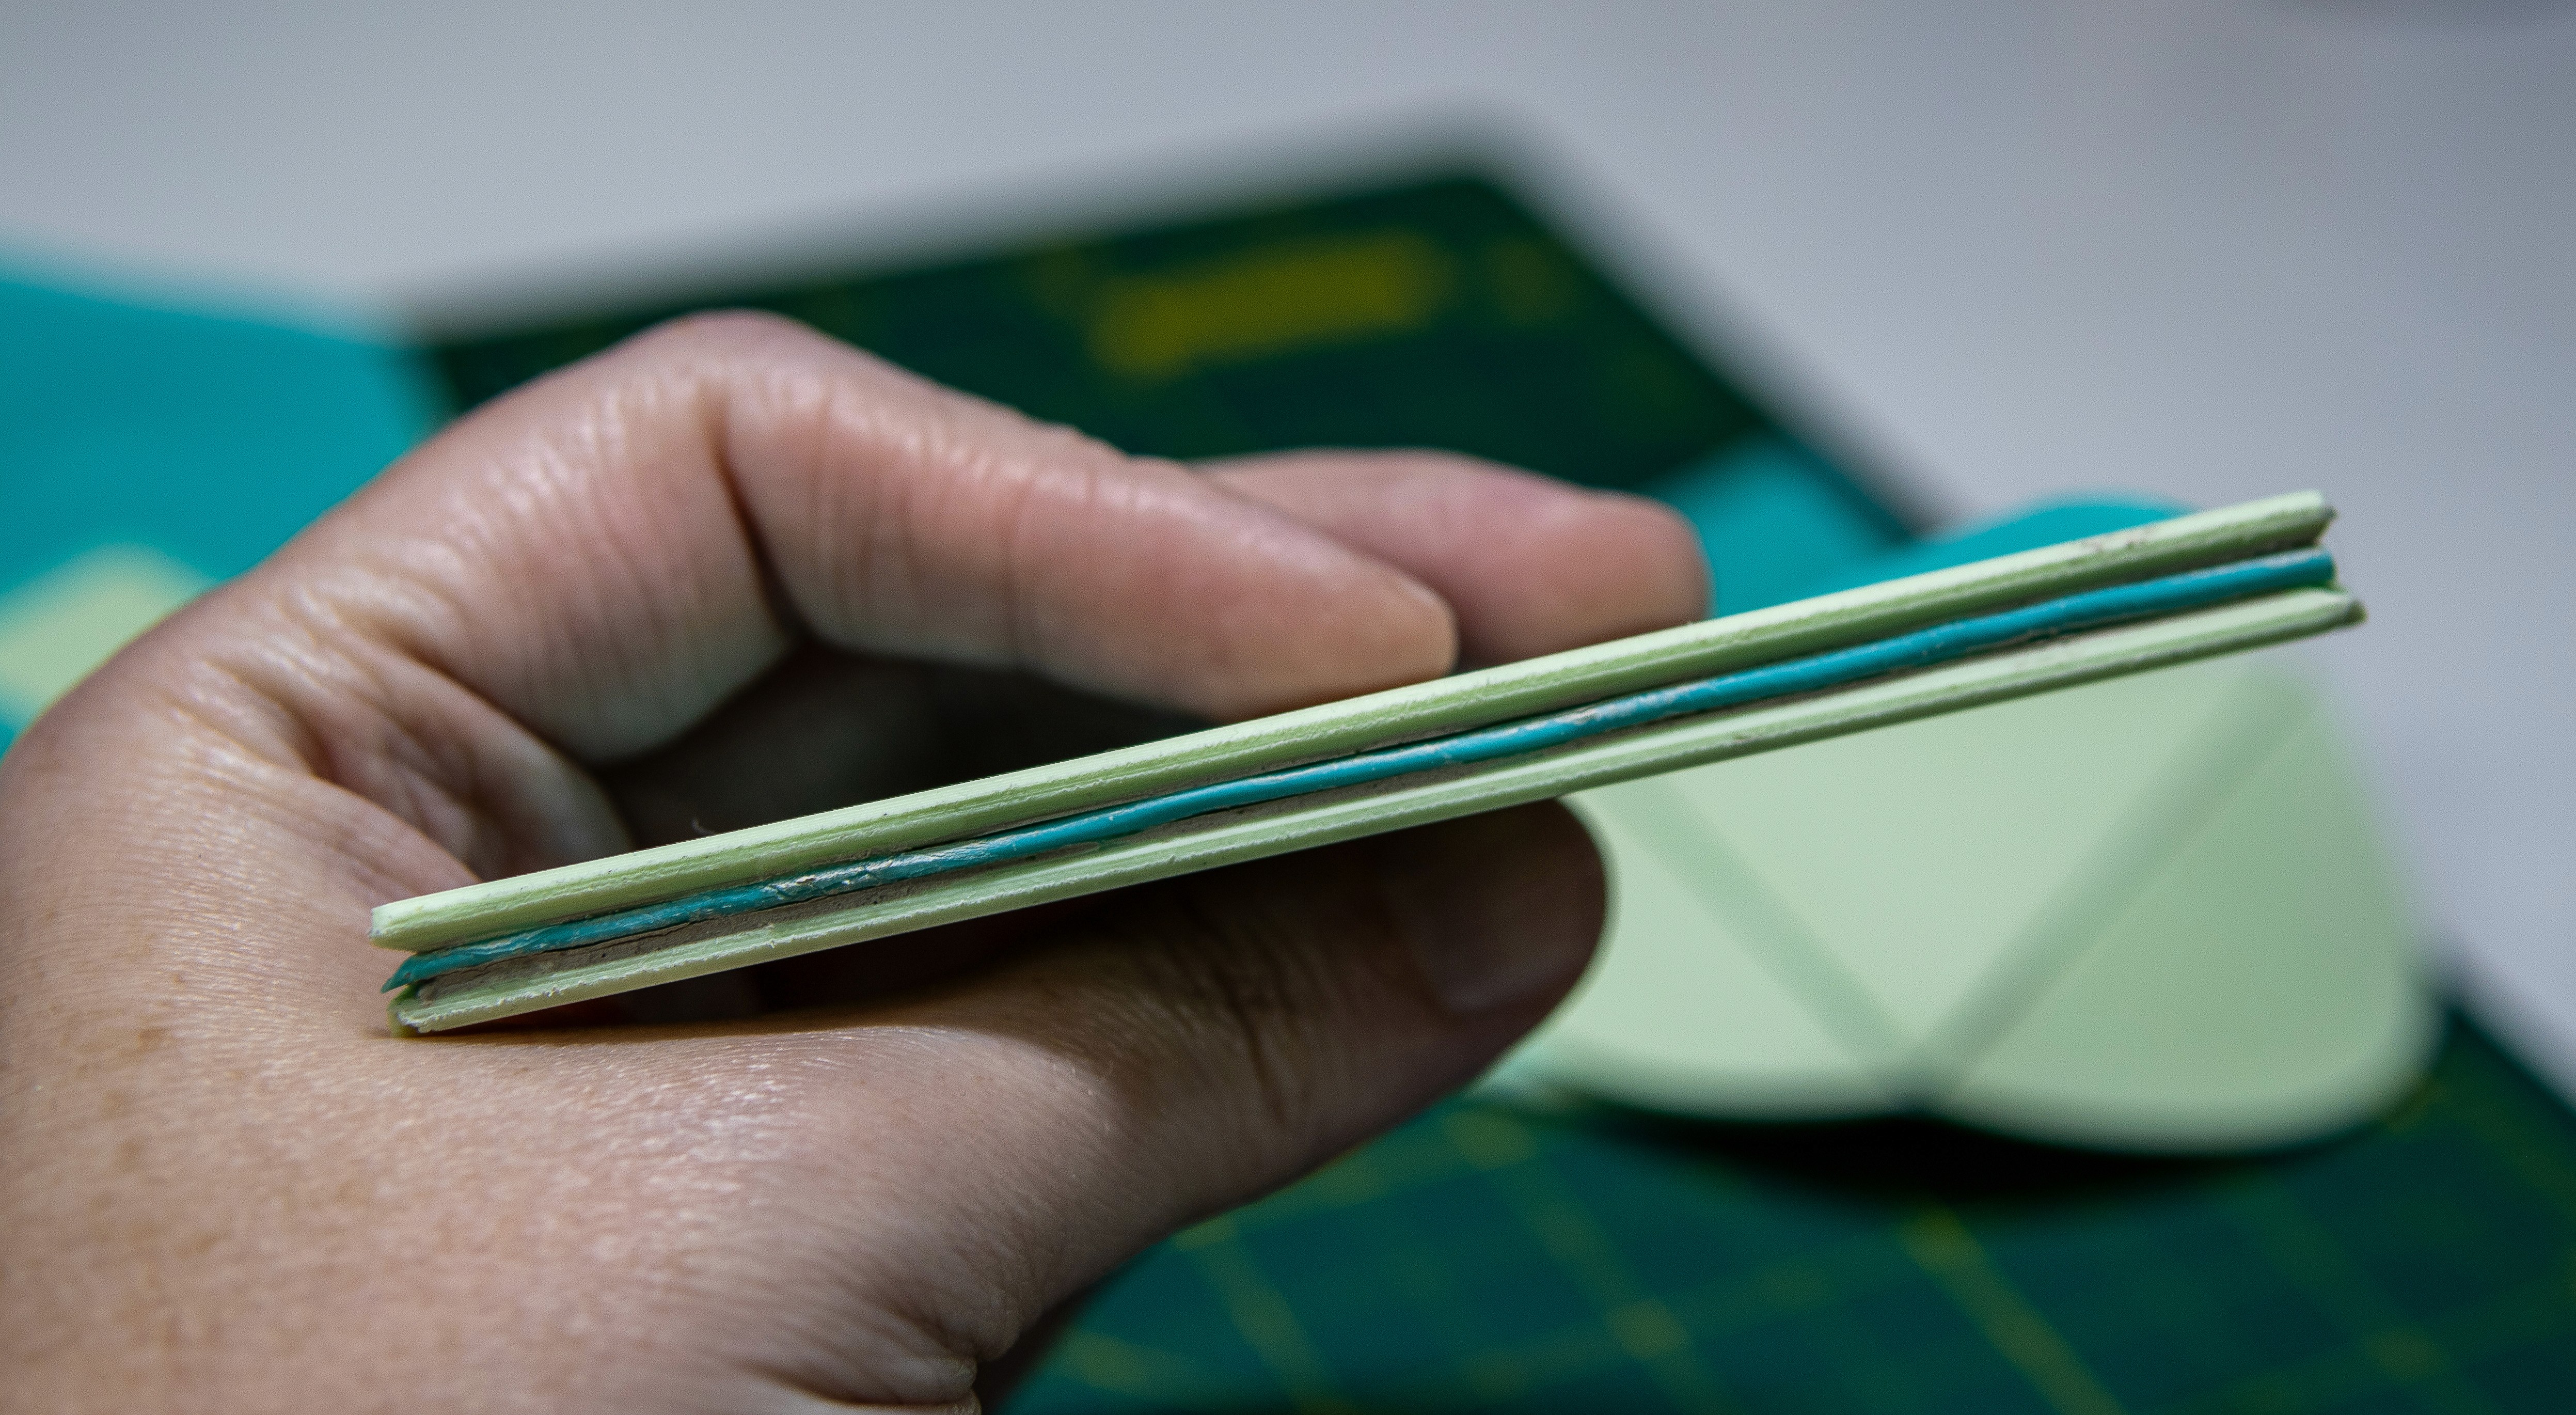
The Origami Folding Rib: A modular, transforming tool designed to reduce single-use implements. Through rigorous material prototyping, I engineered a folding FDM-printed design that functions beautifully as a rib, scraper, and finishing tool on the pottery wheel.
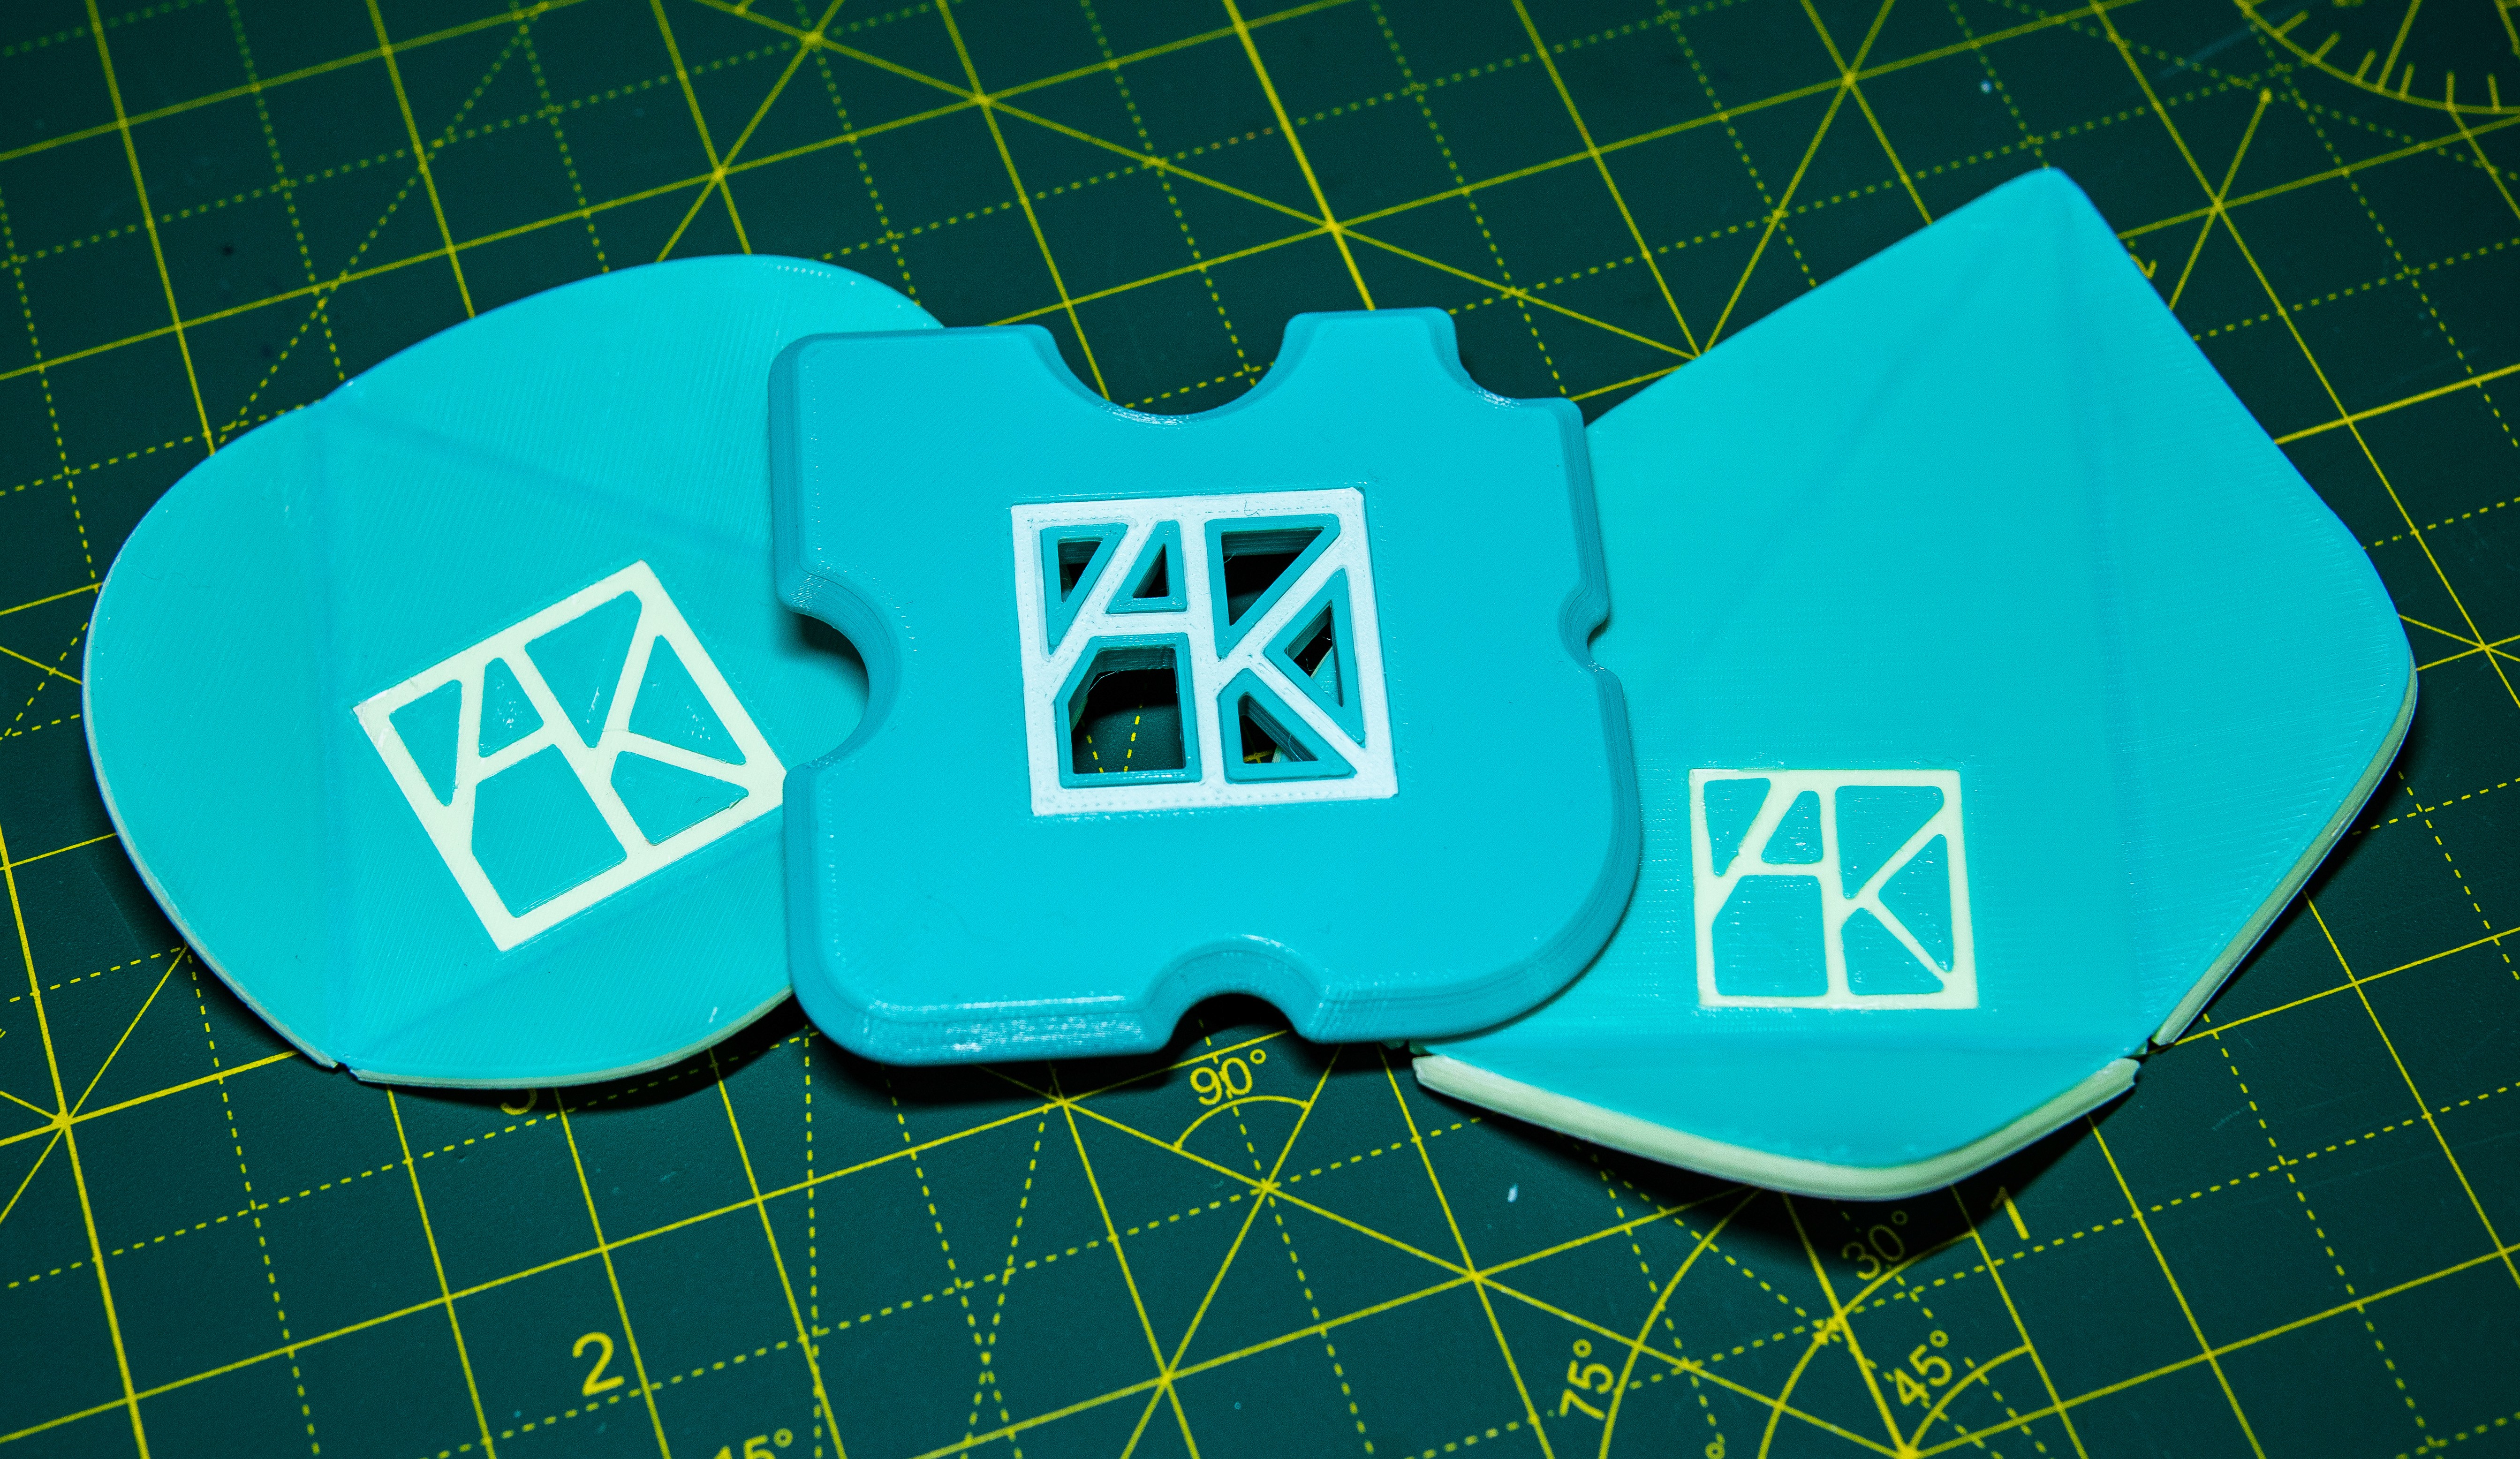
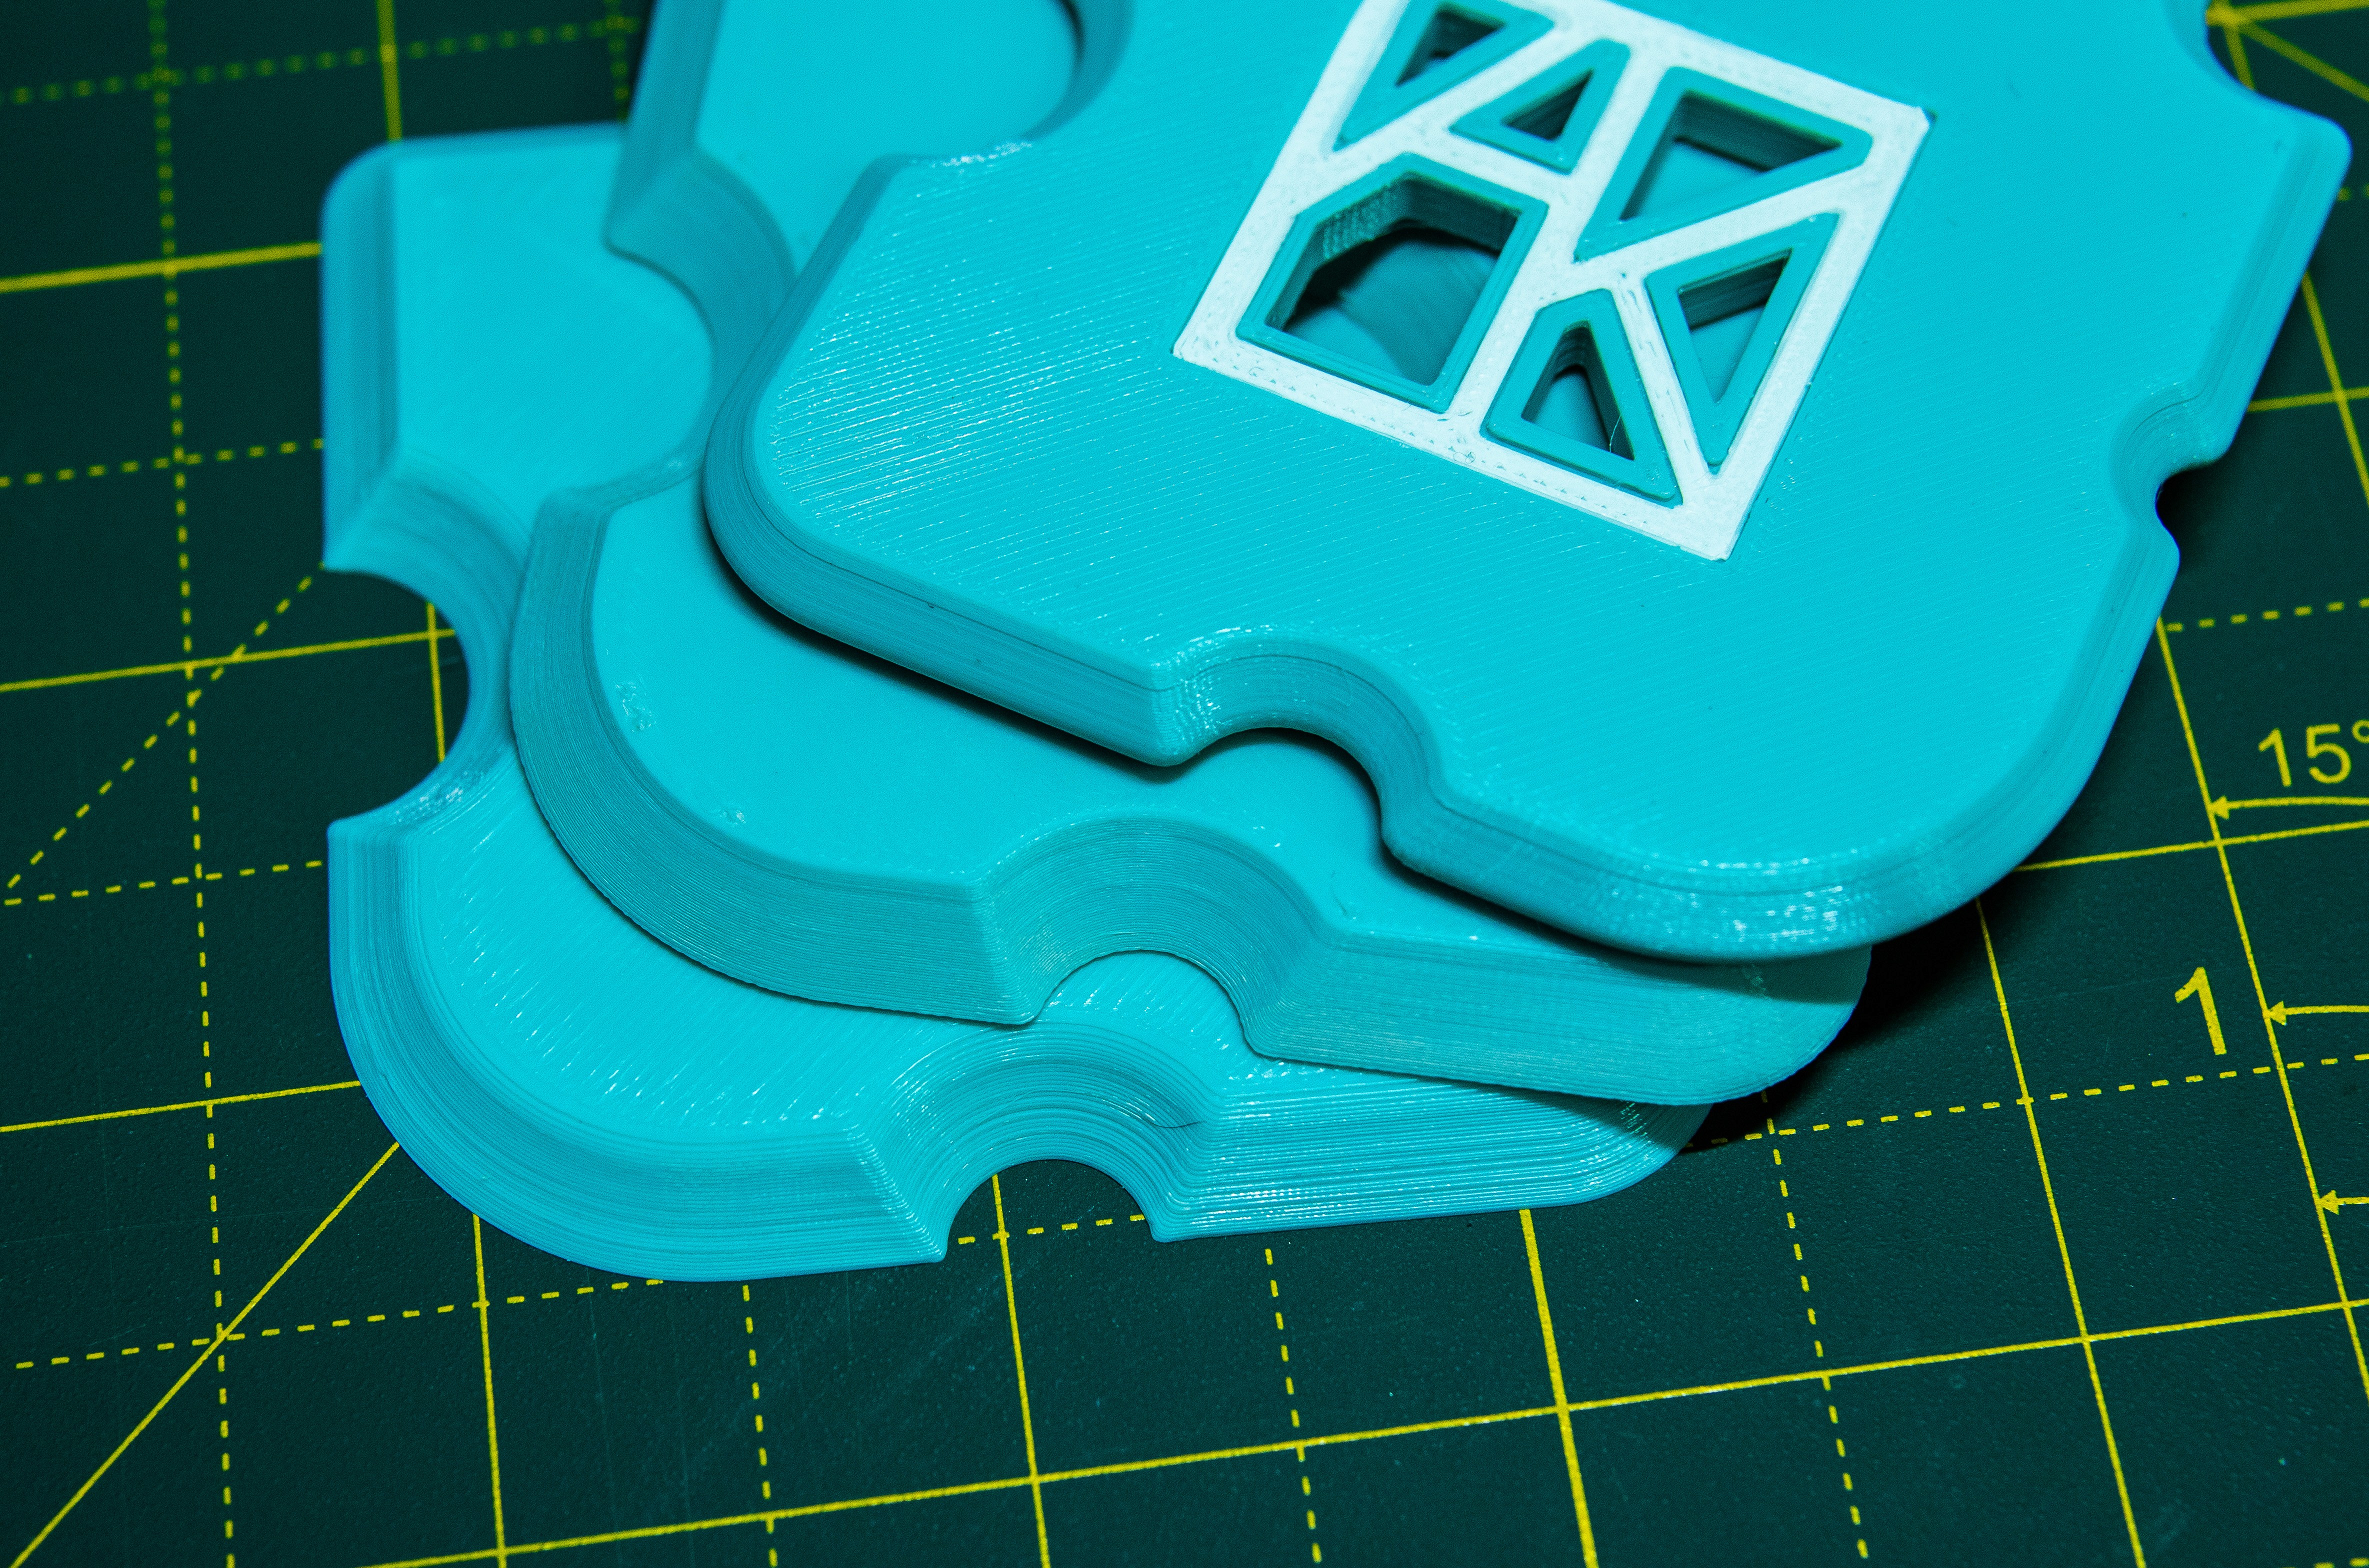
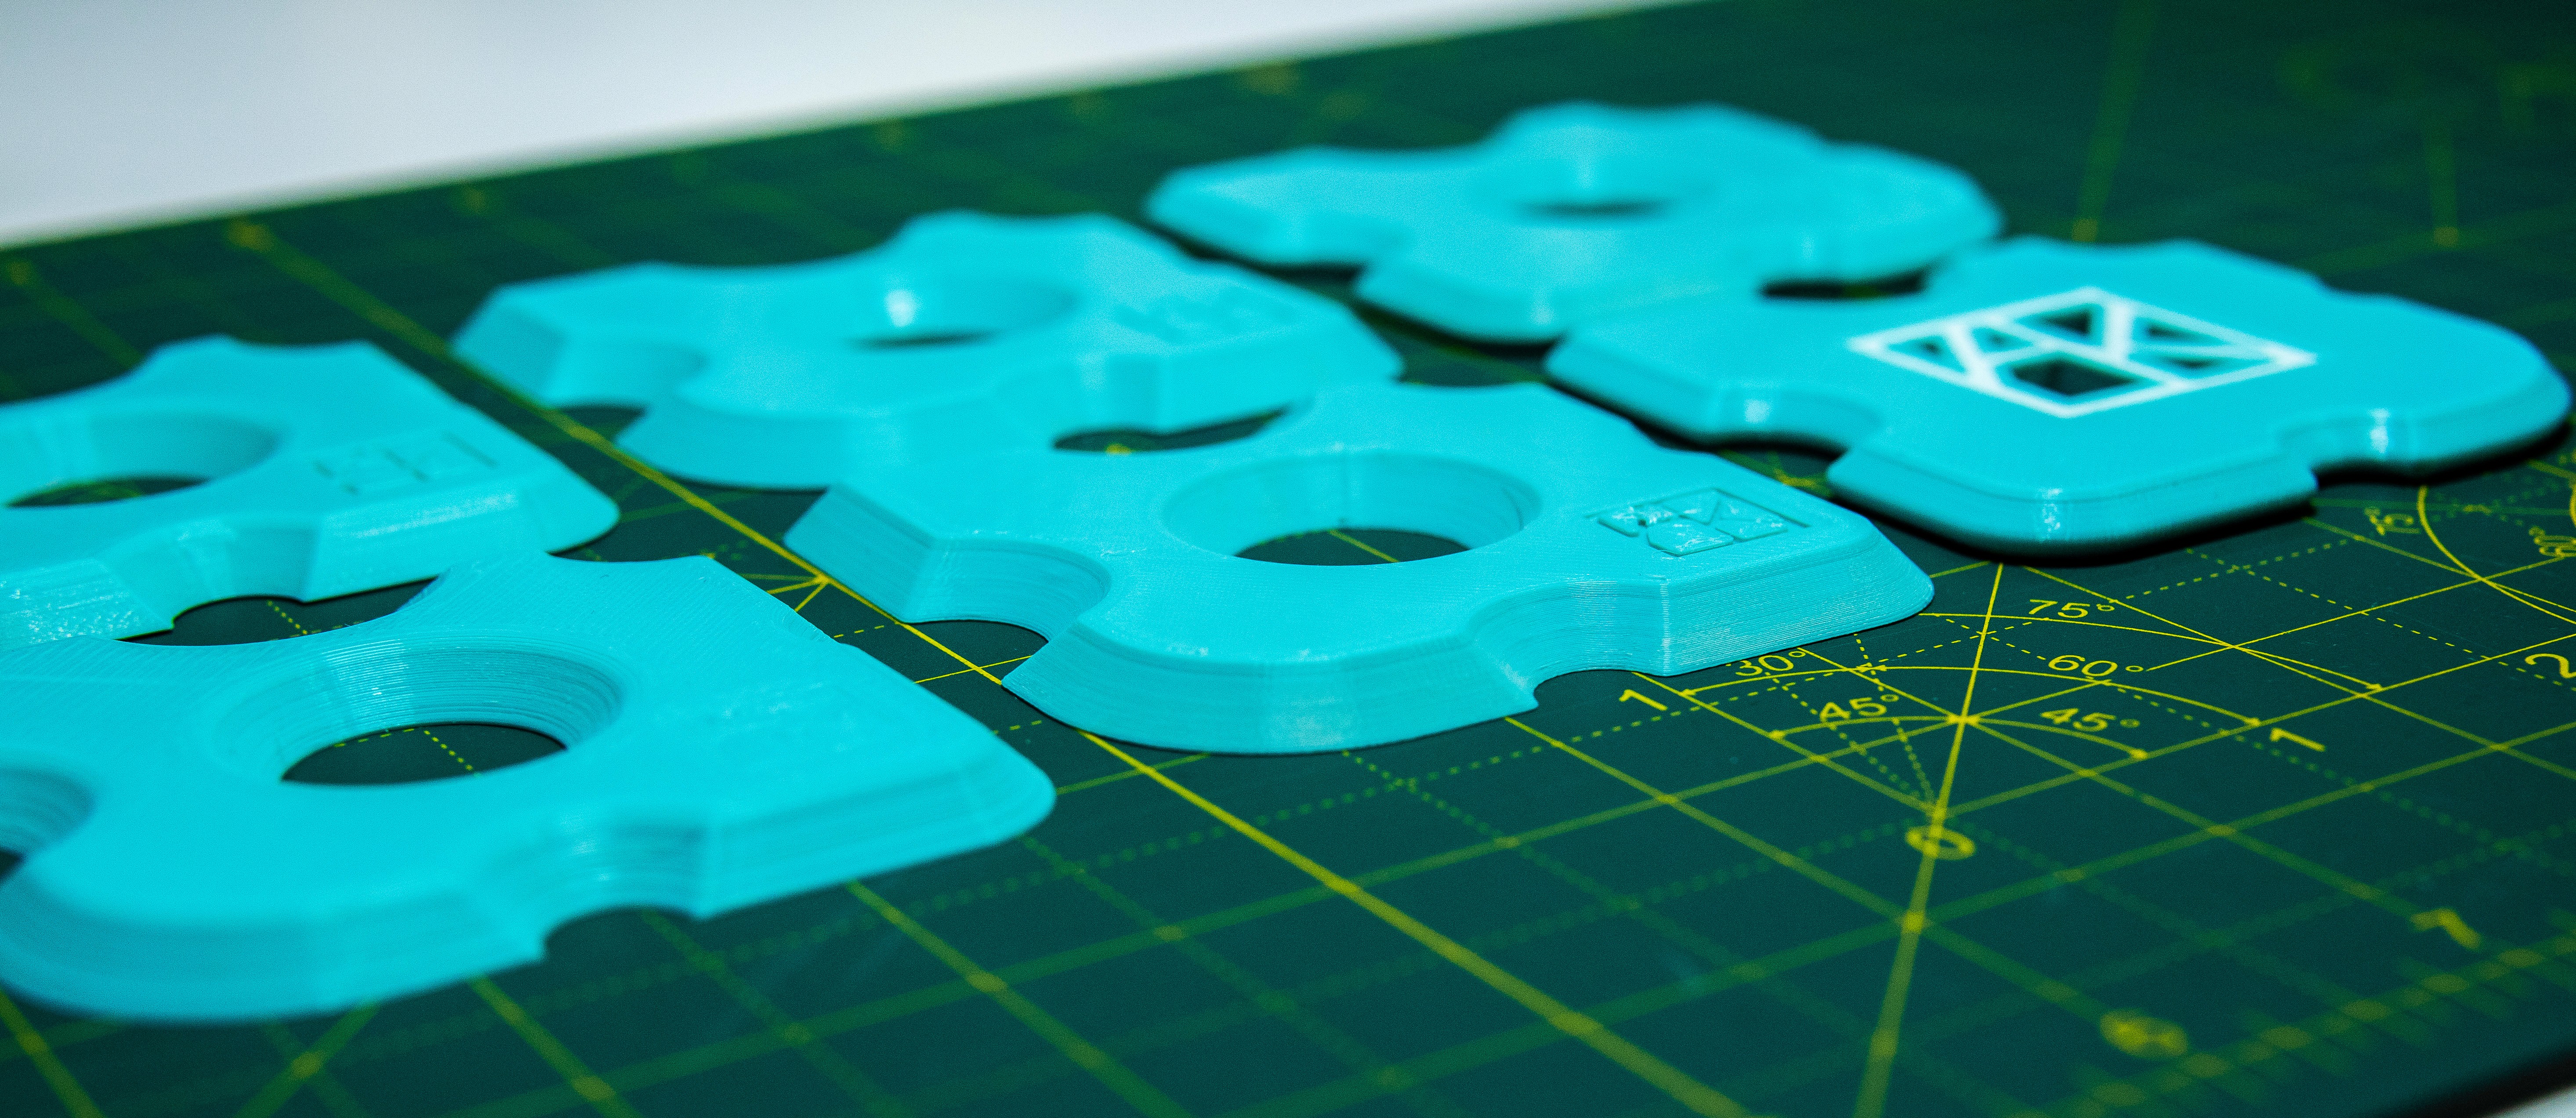
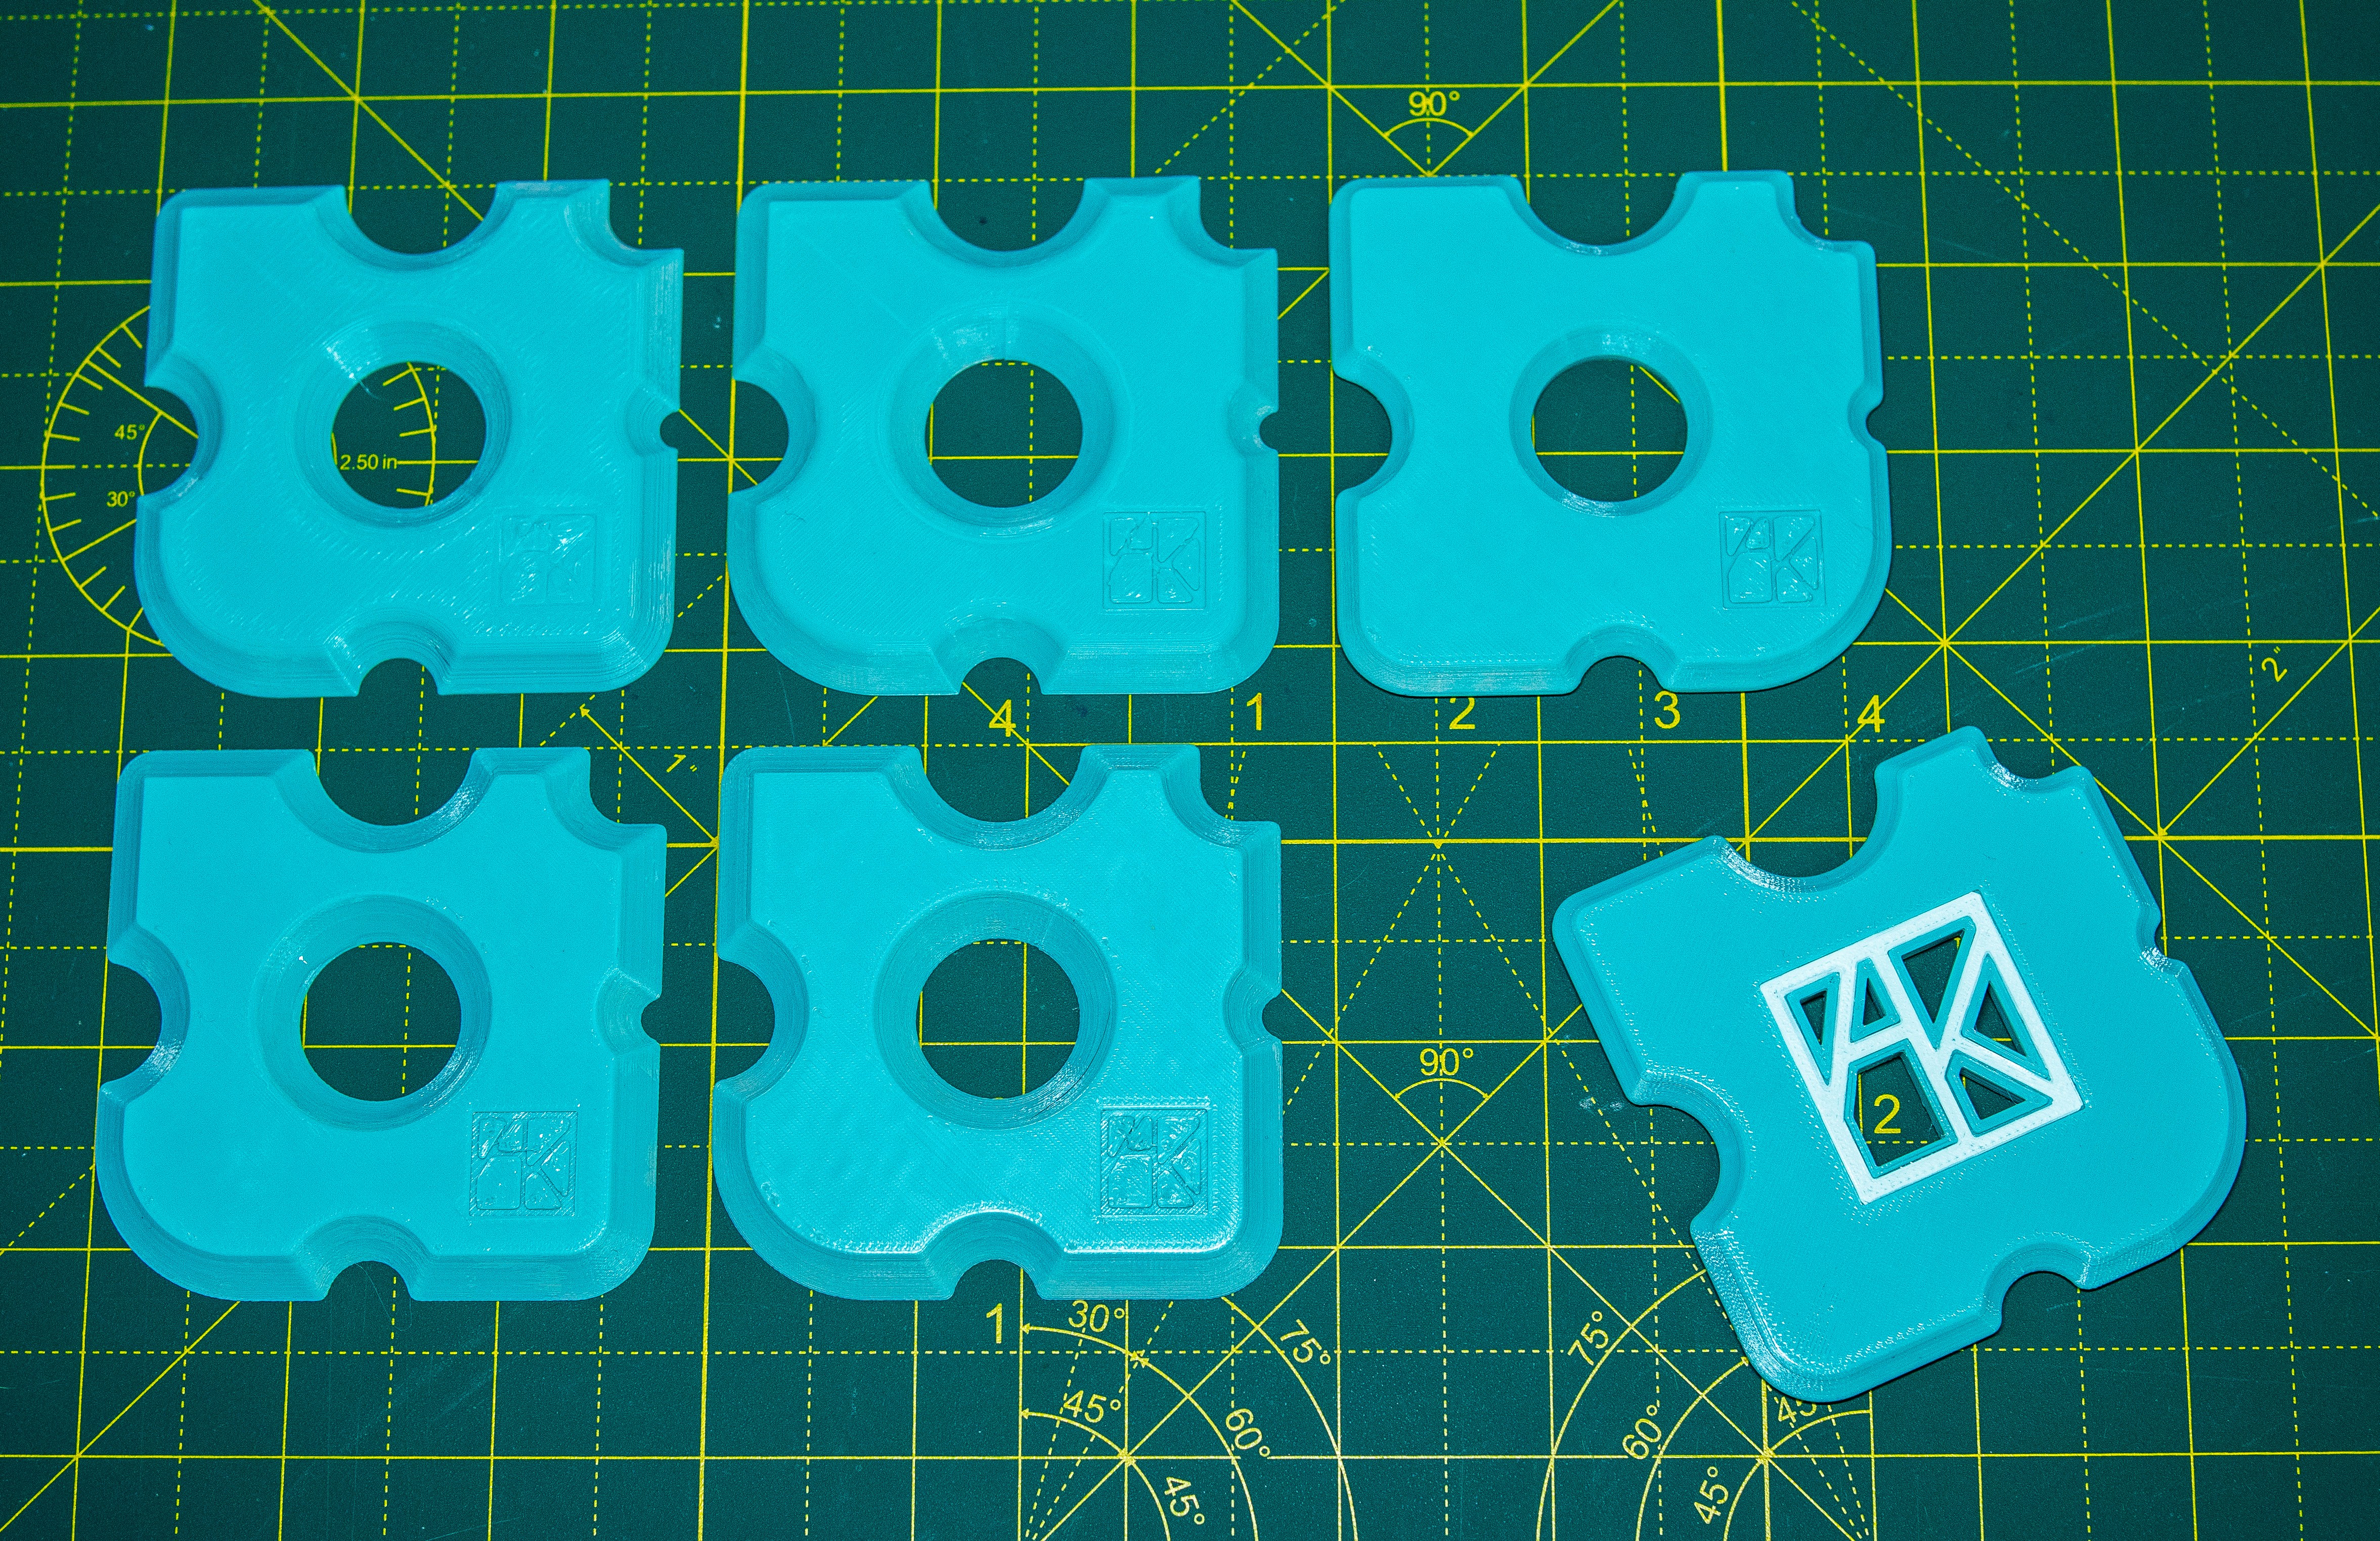
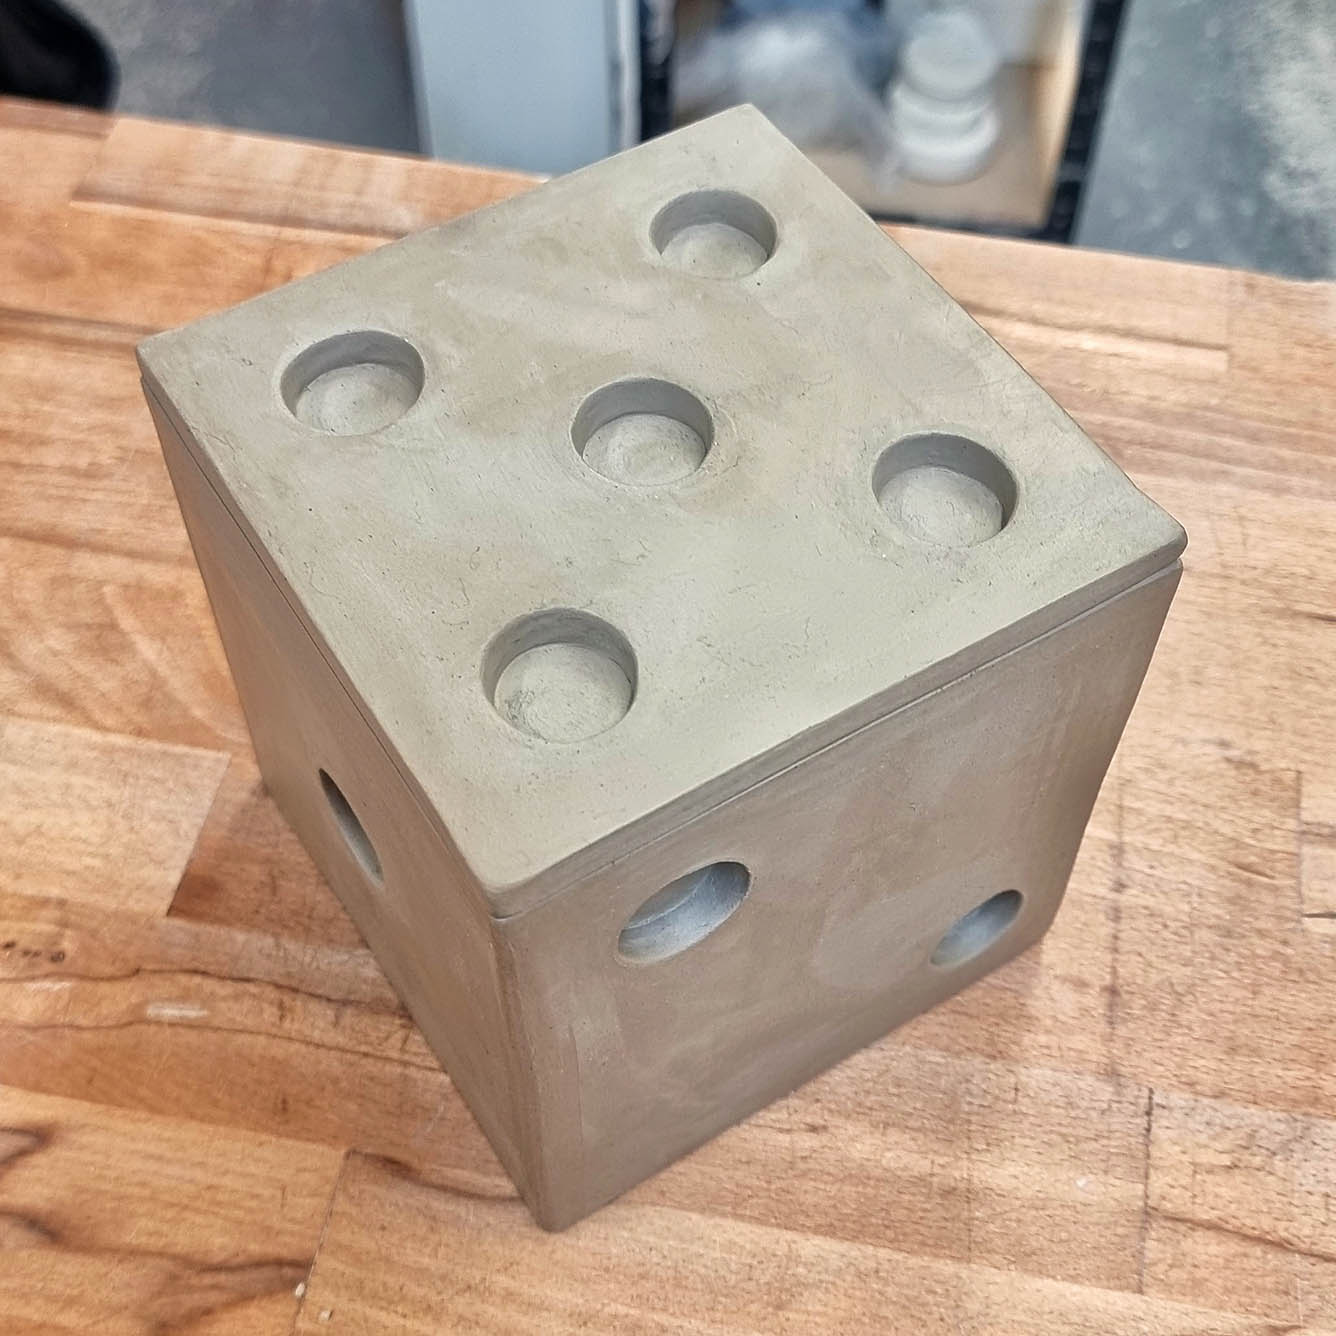
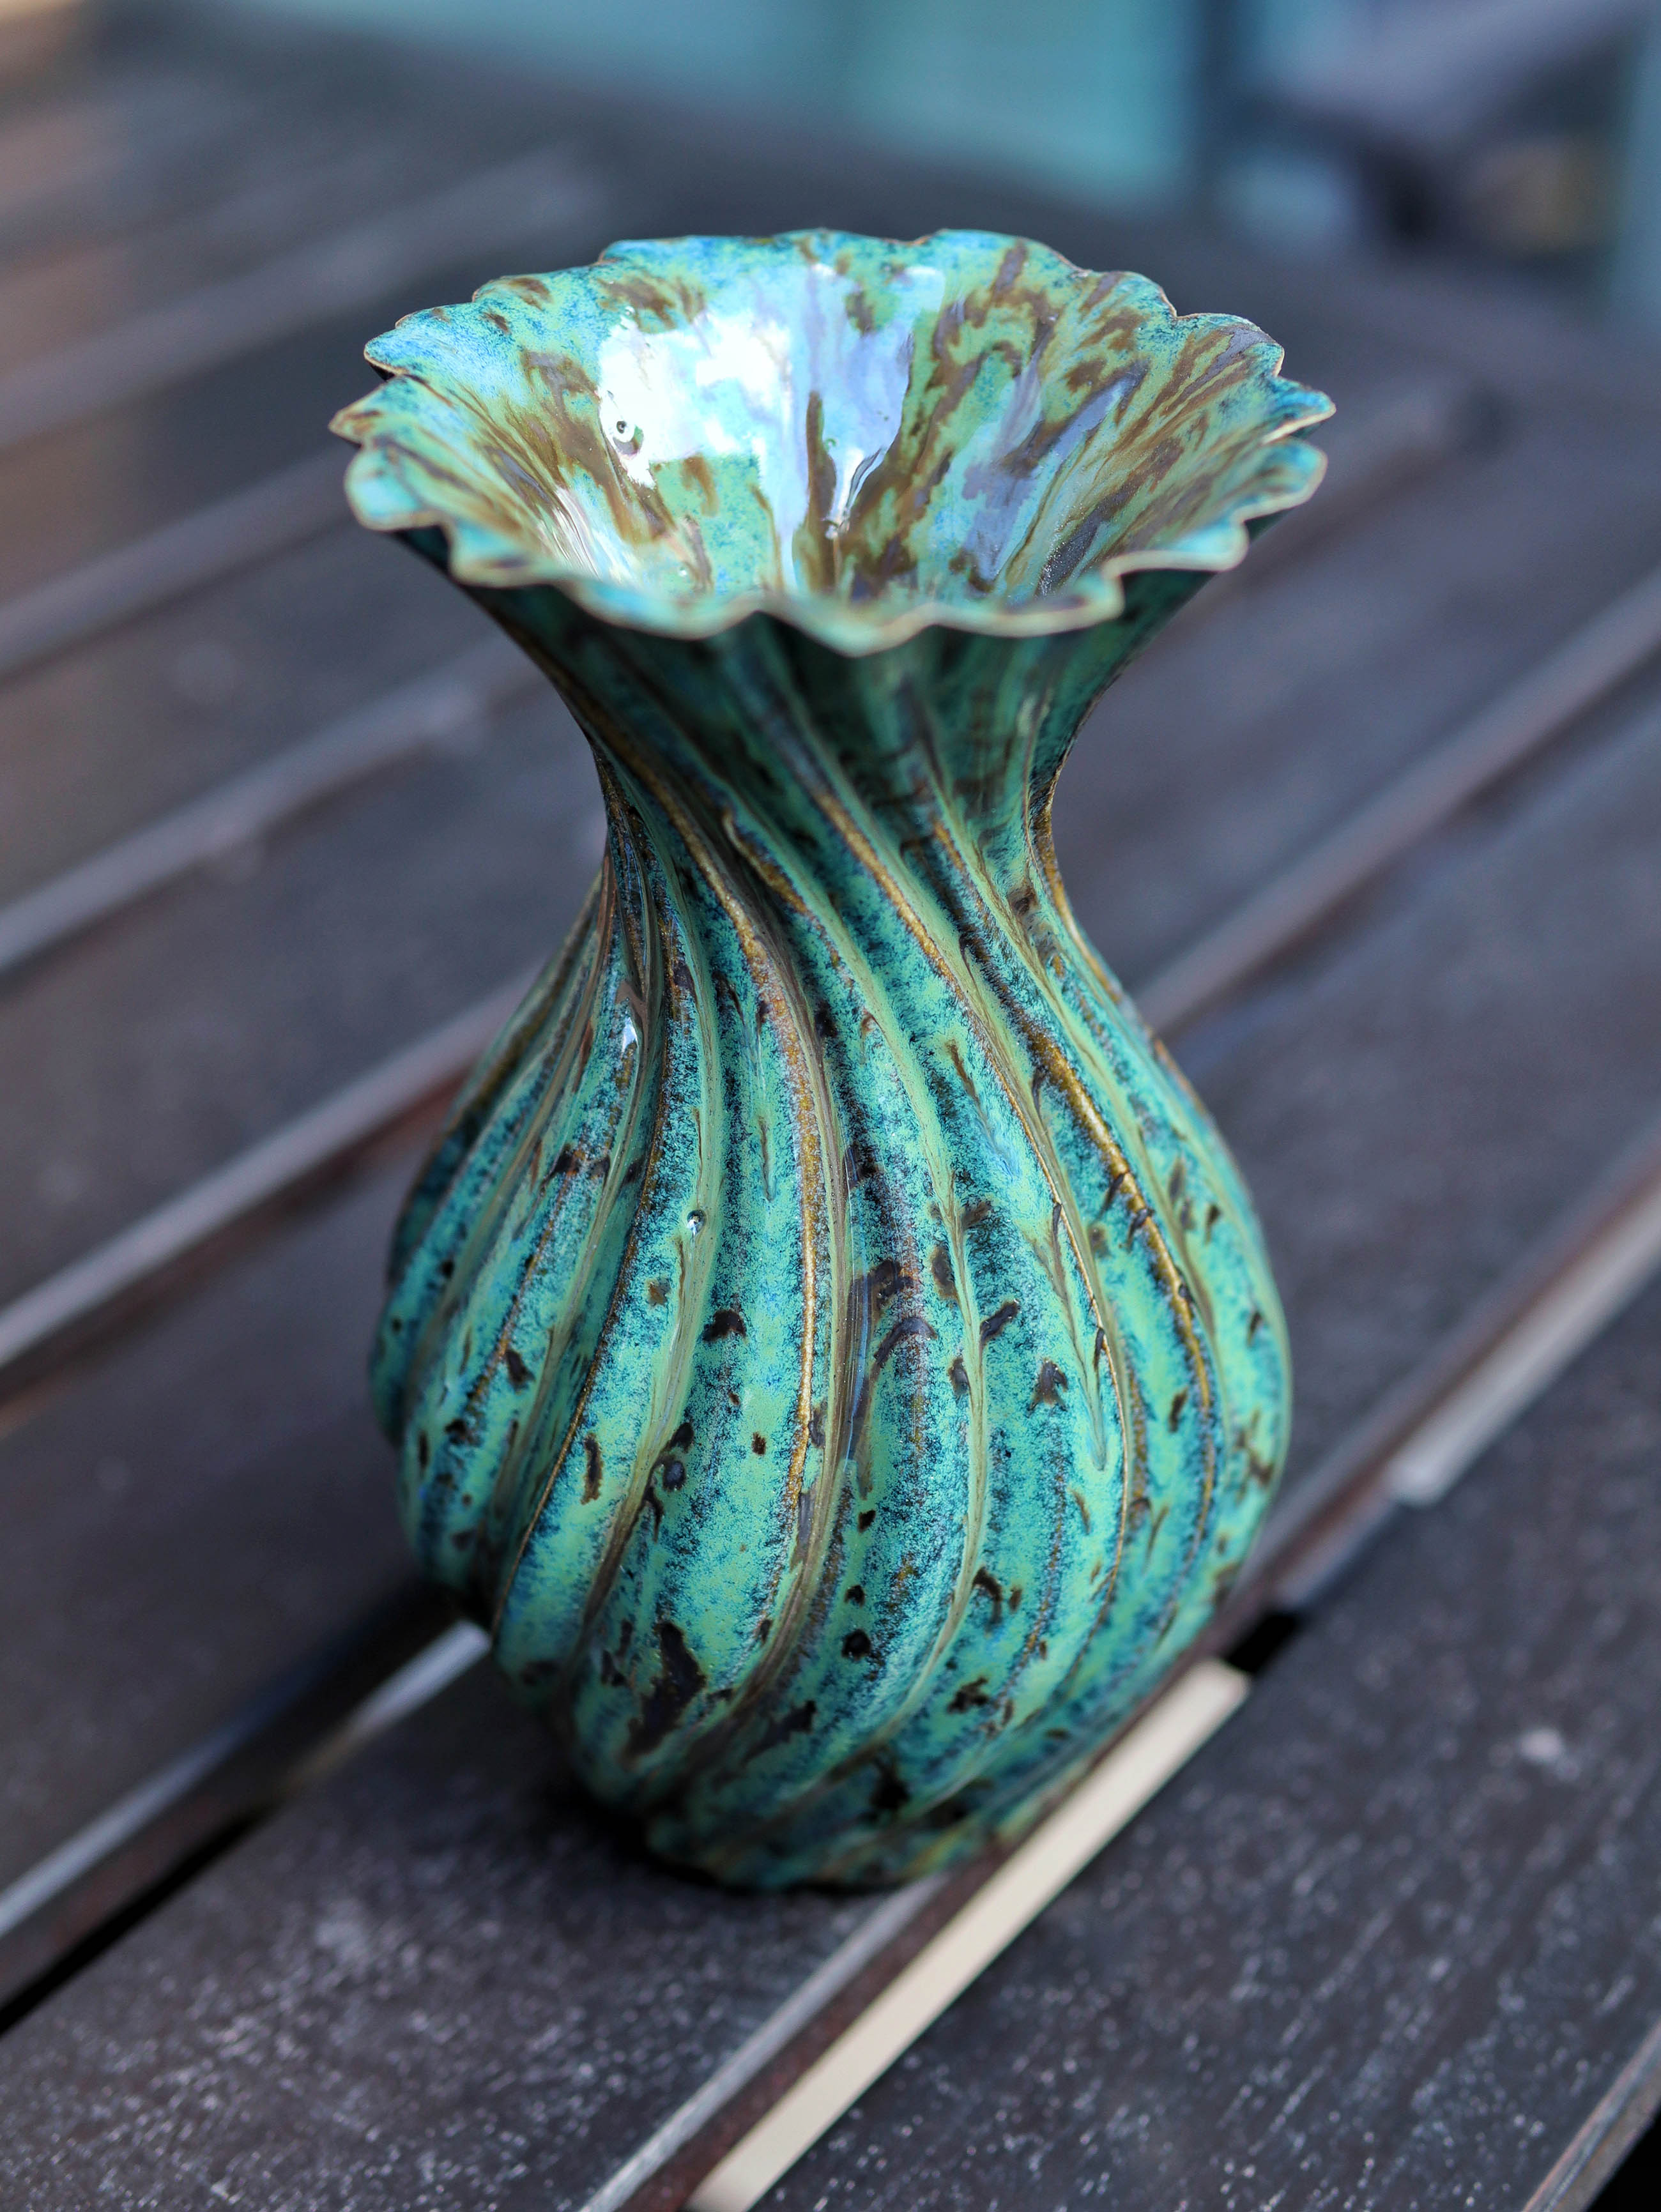
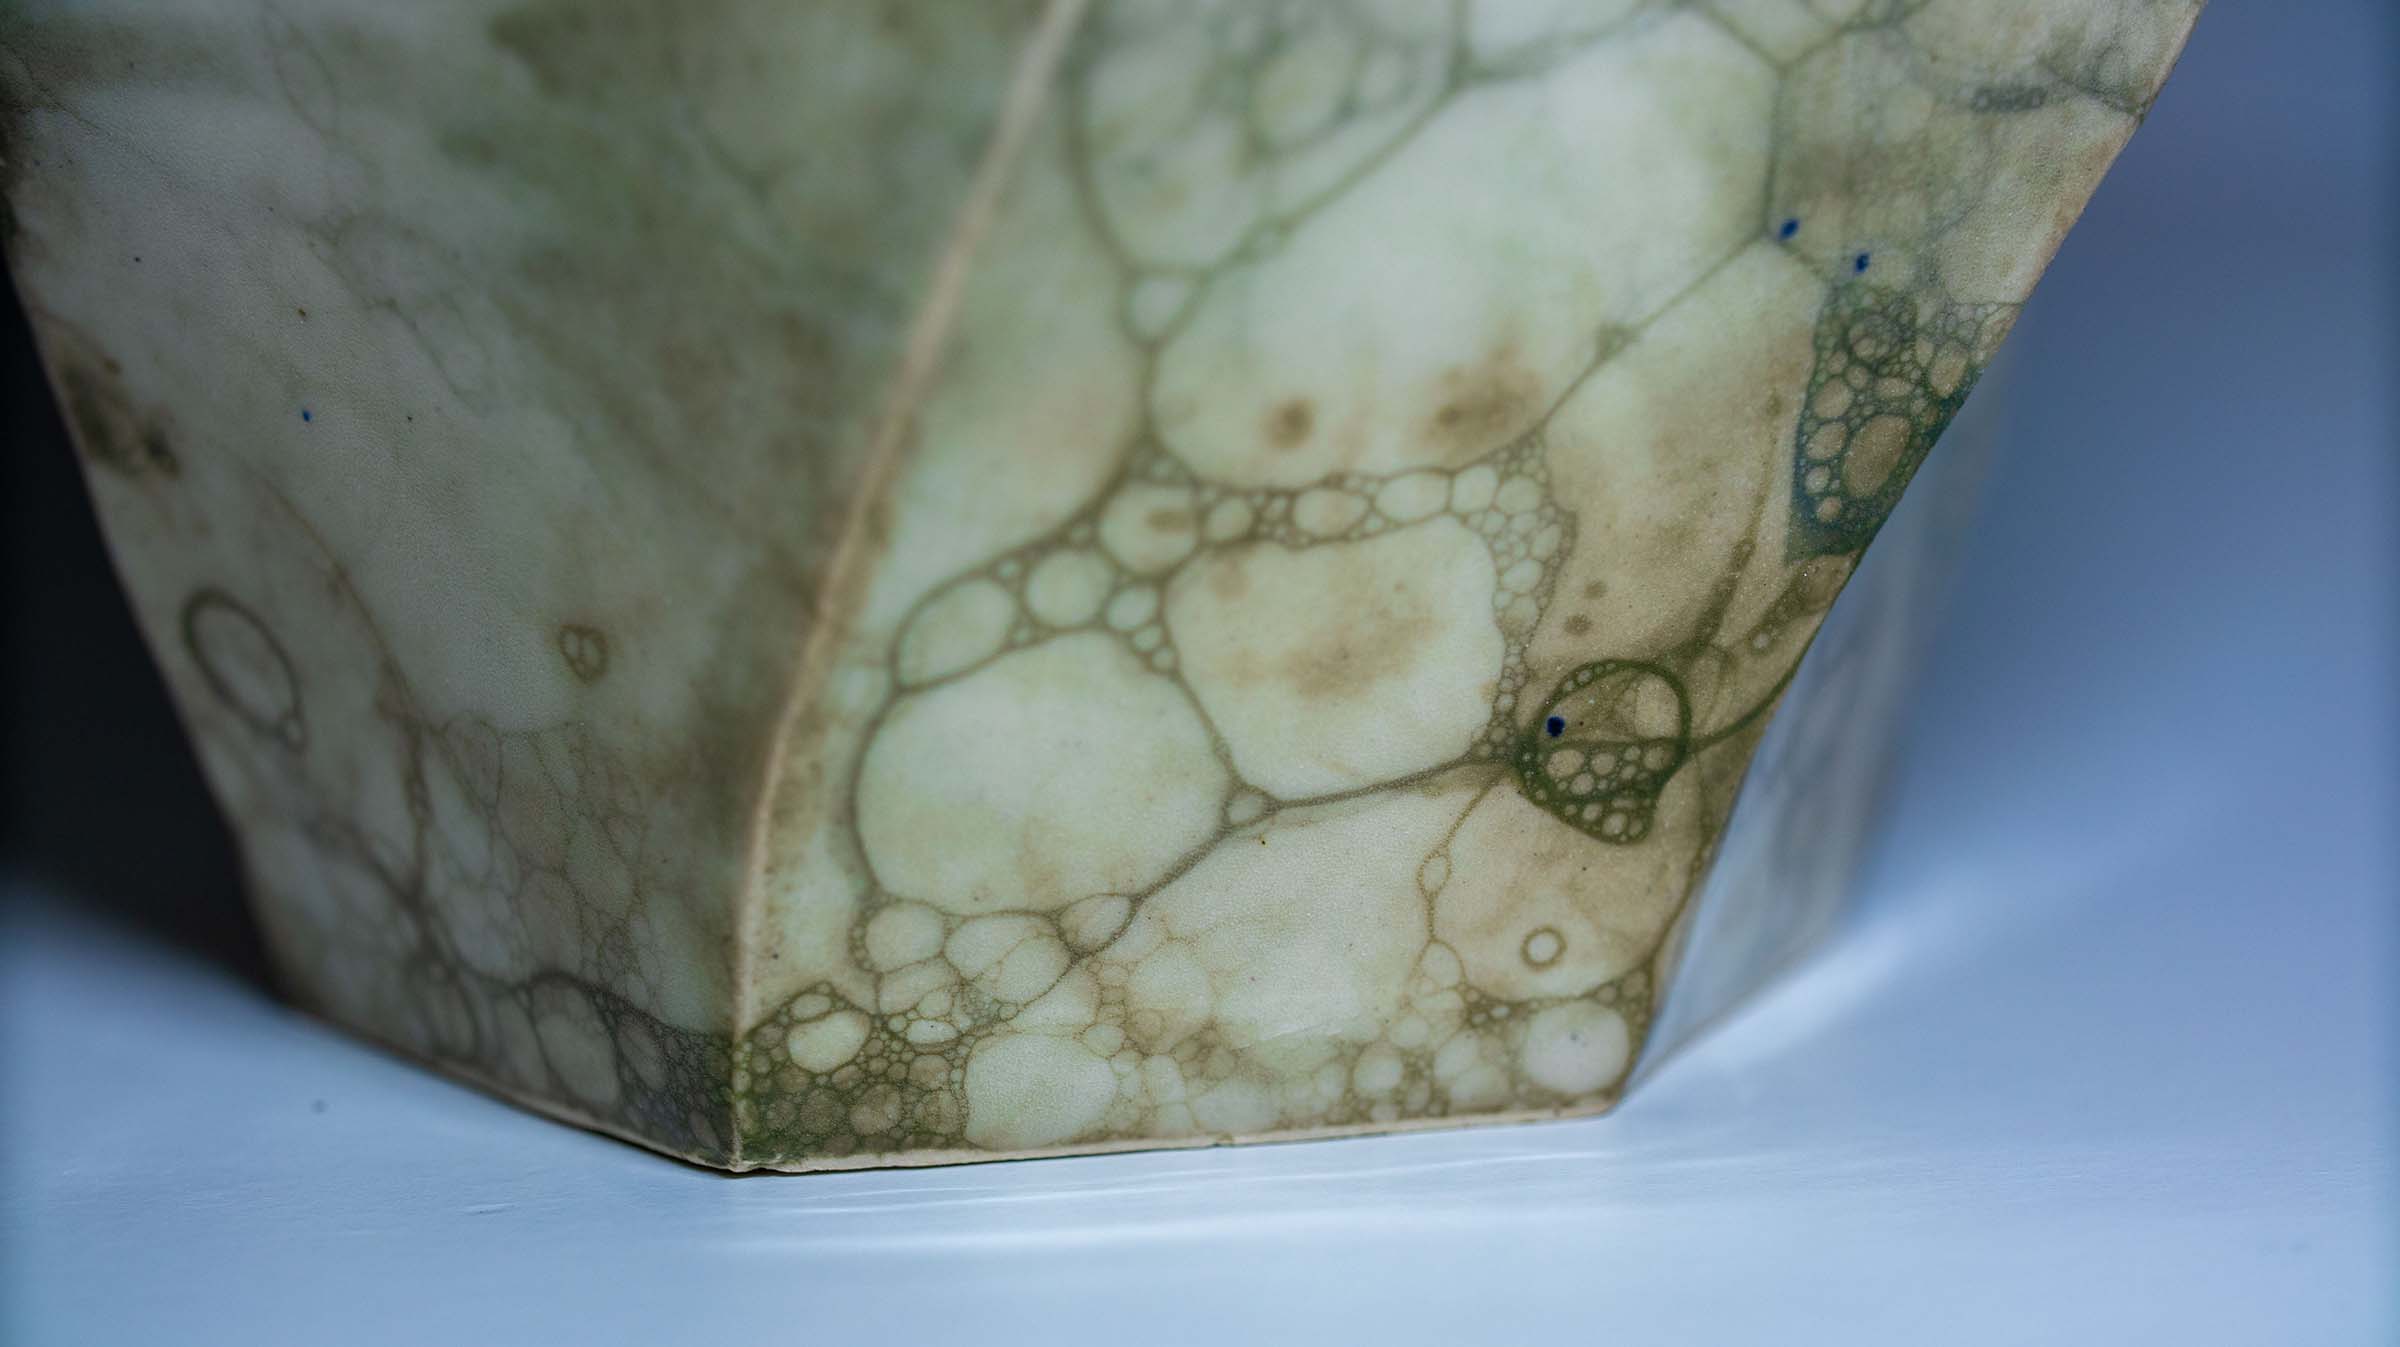
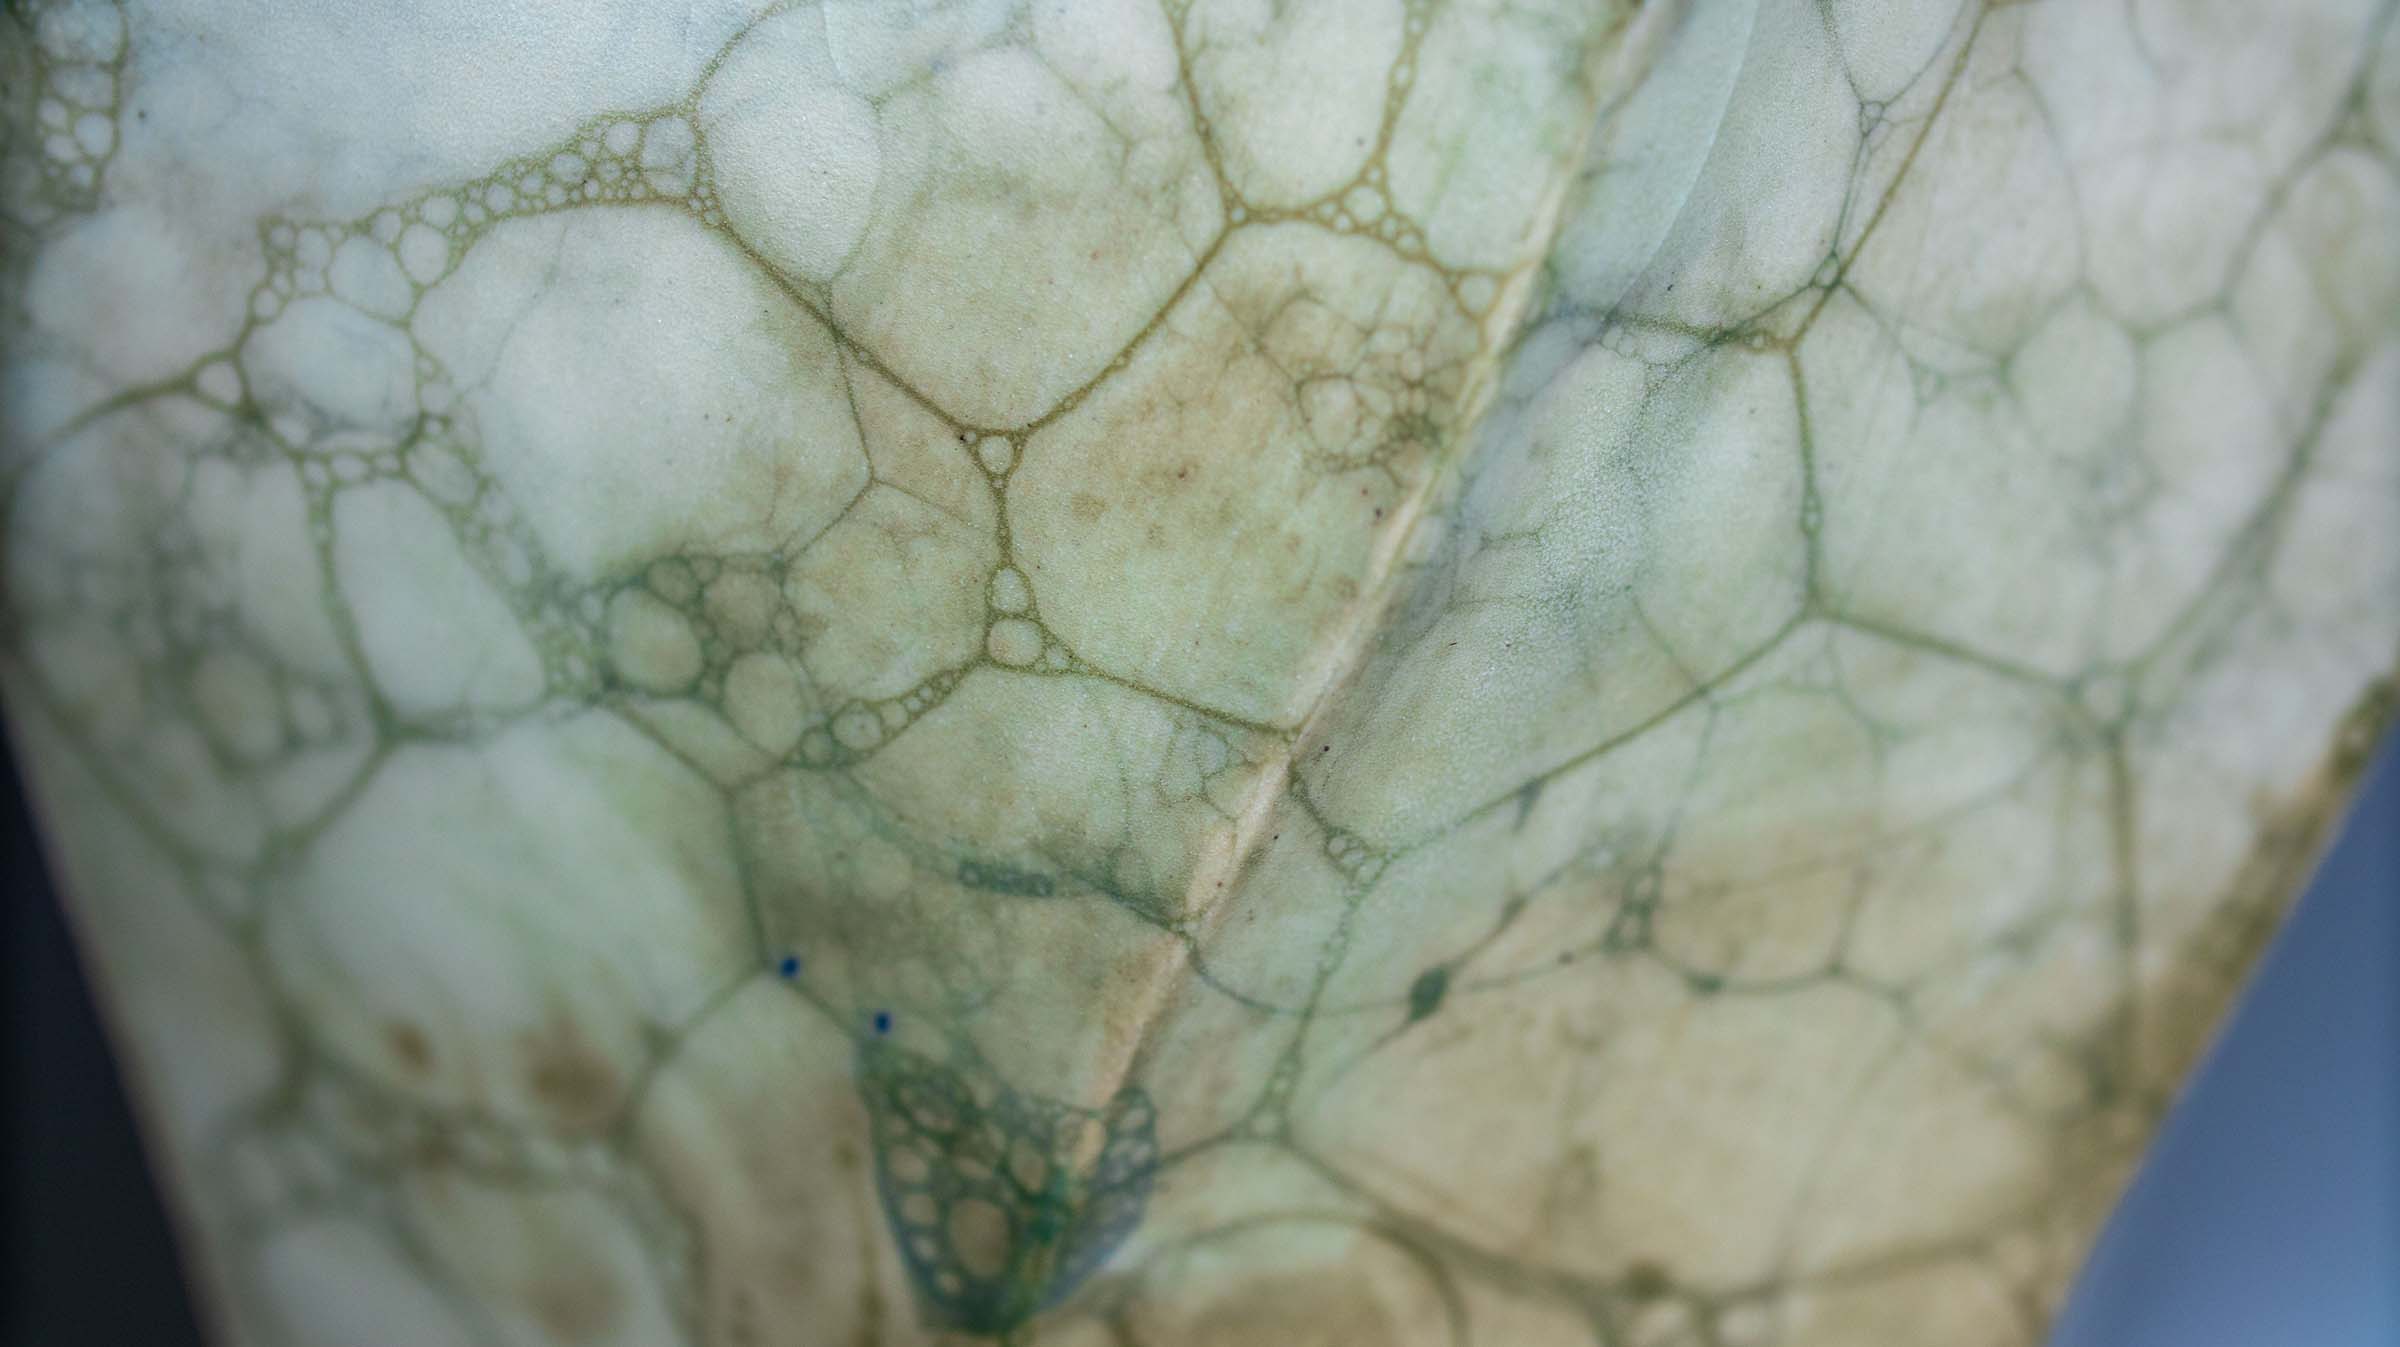
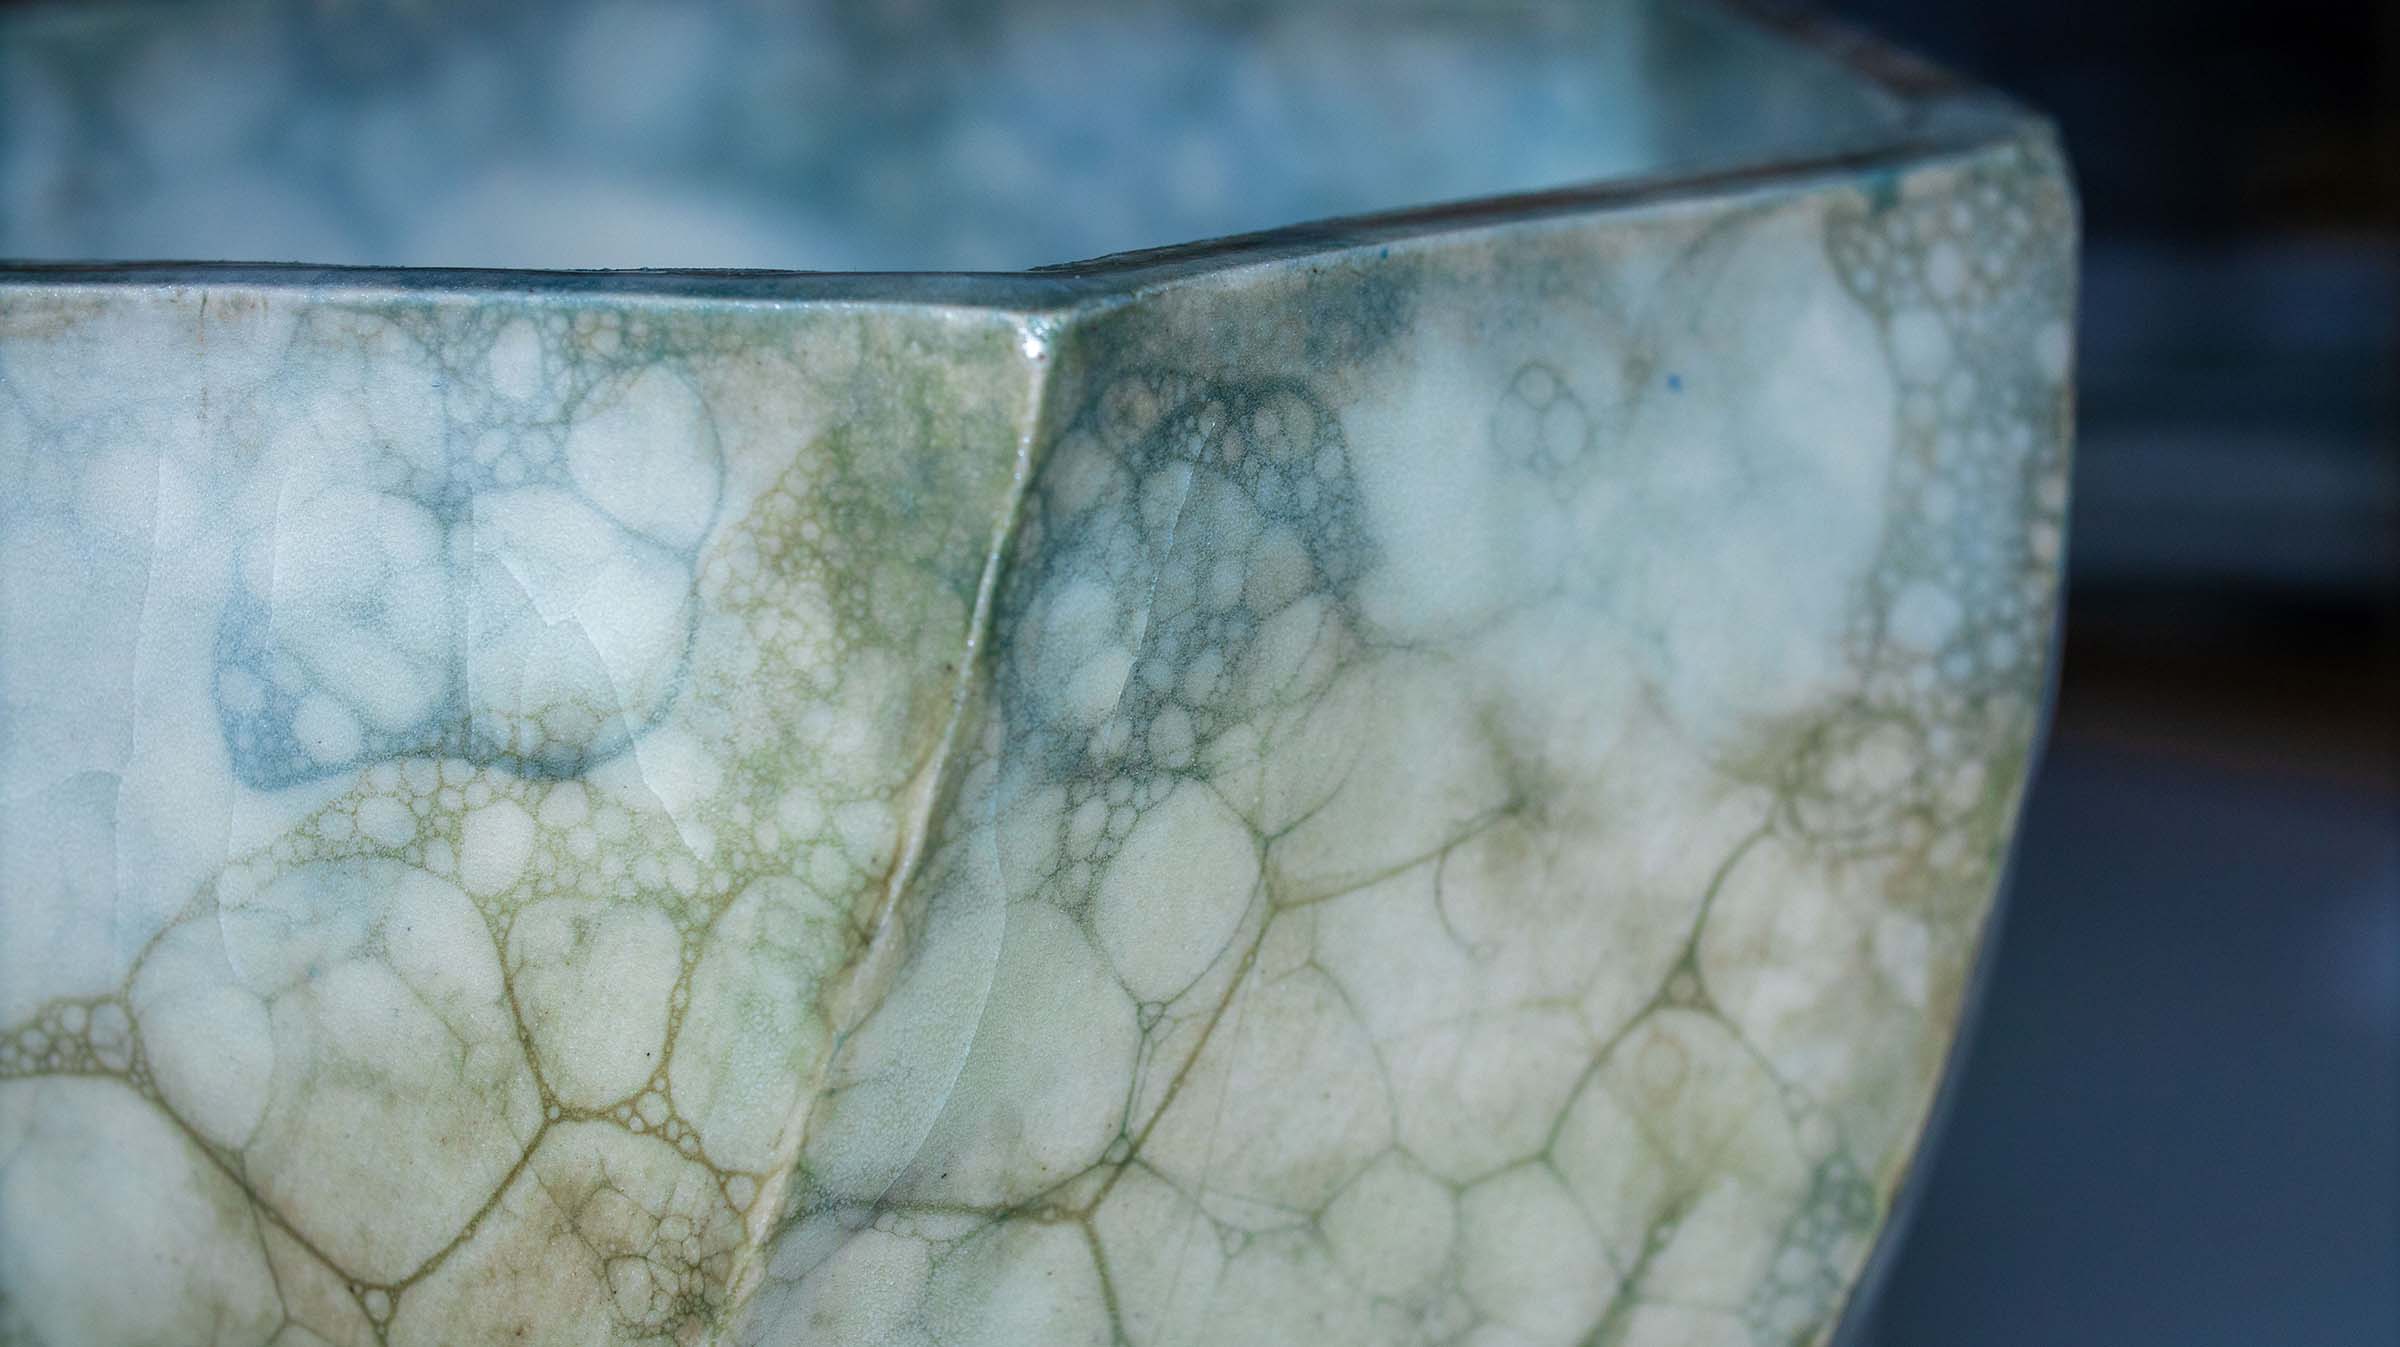
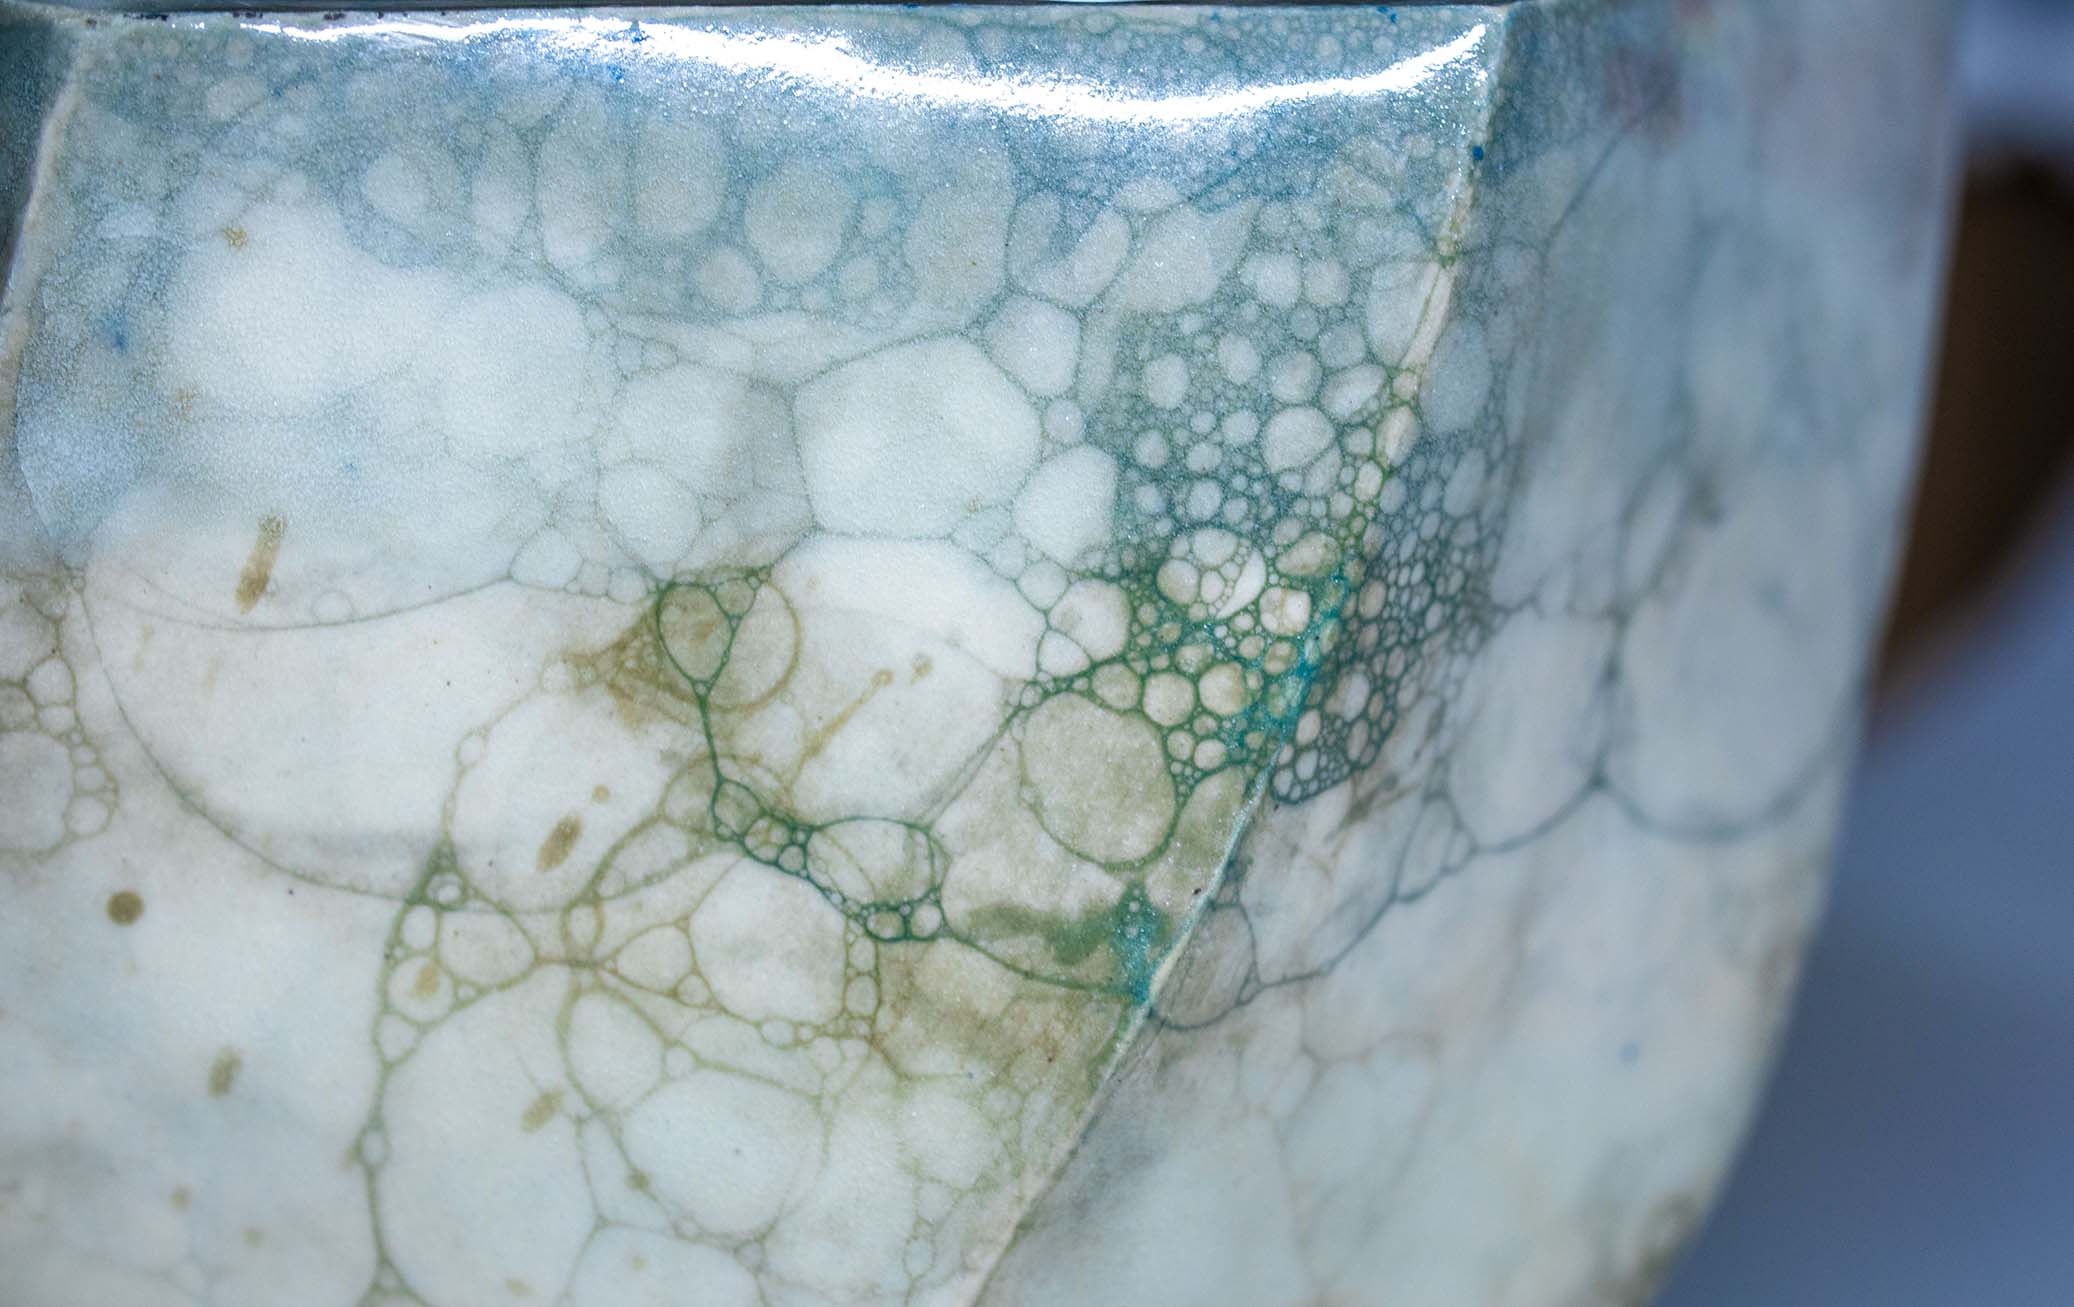
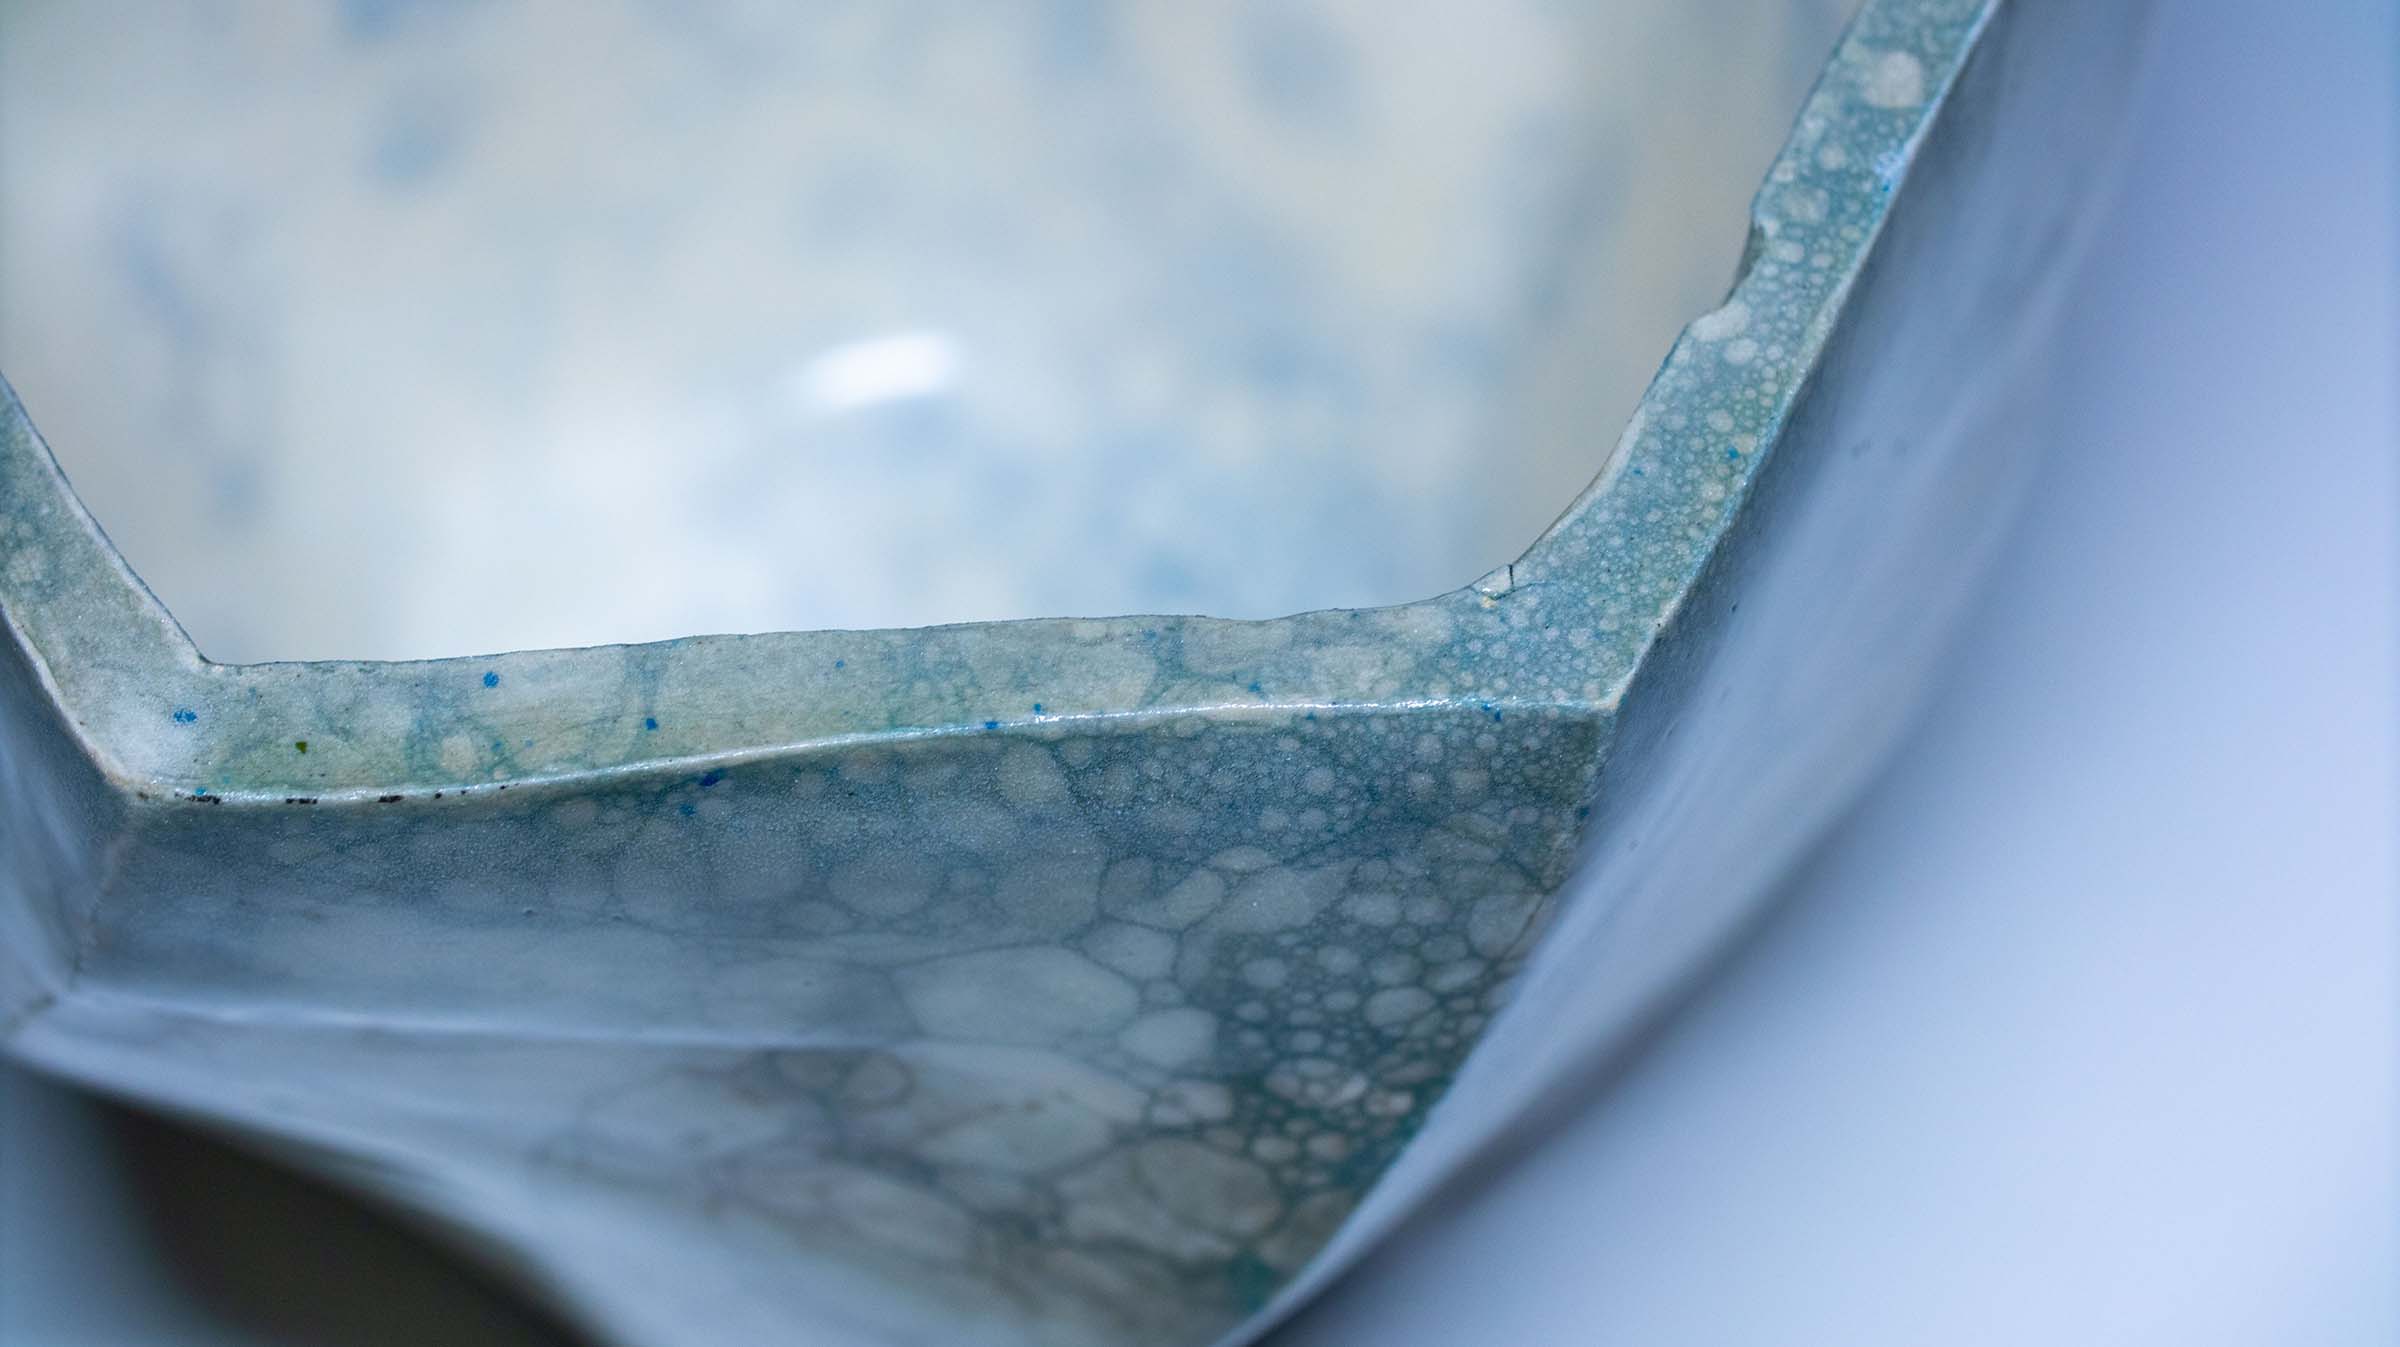
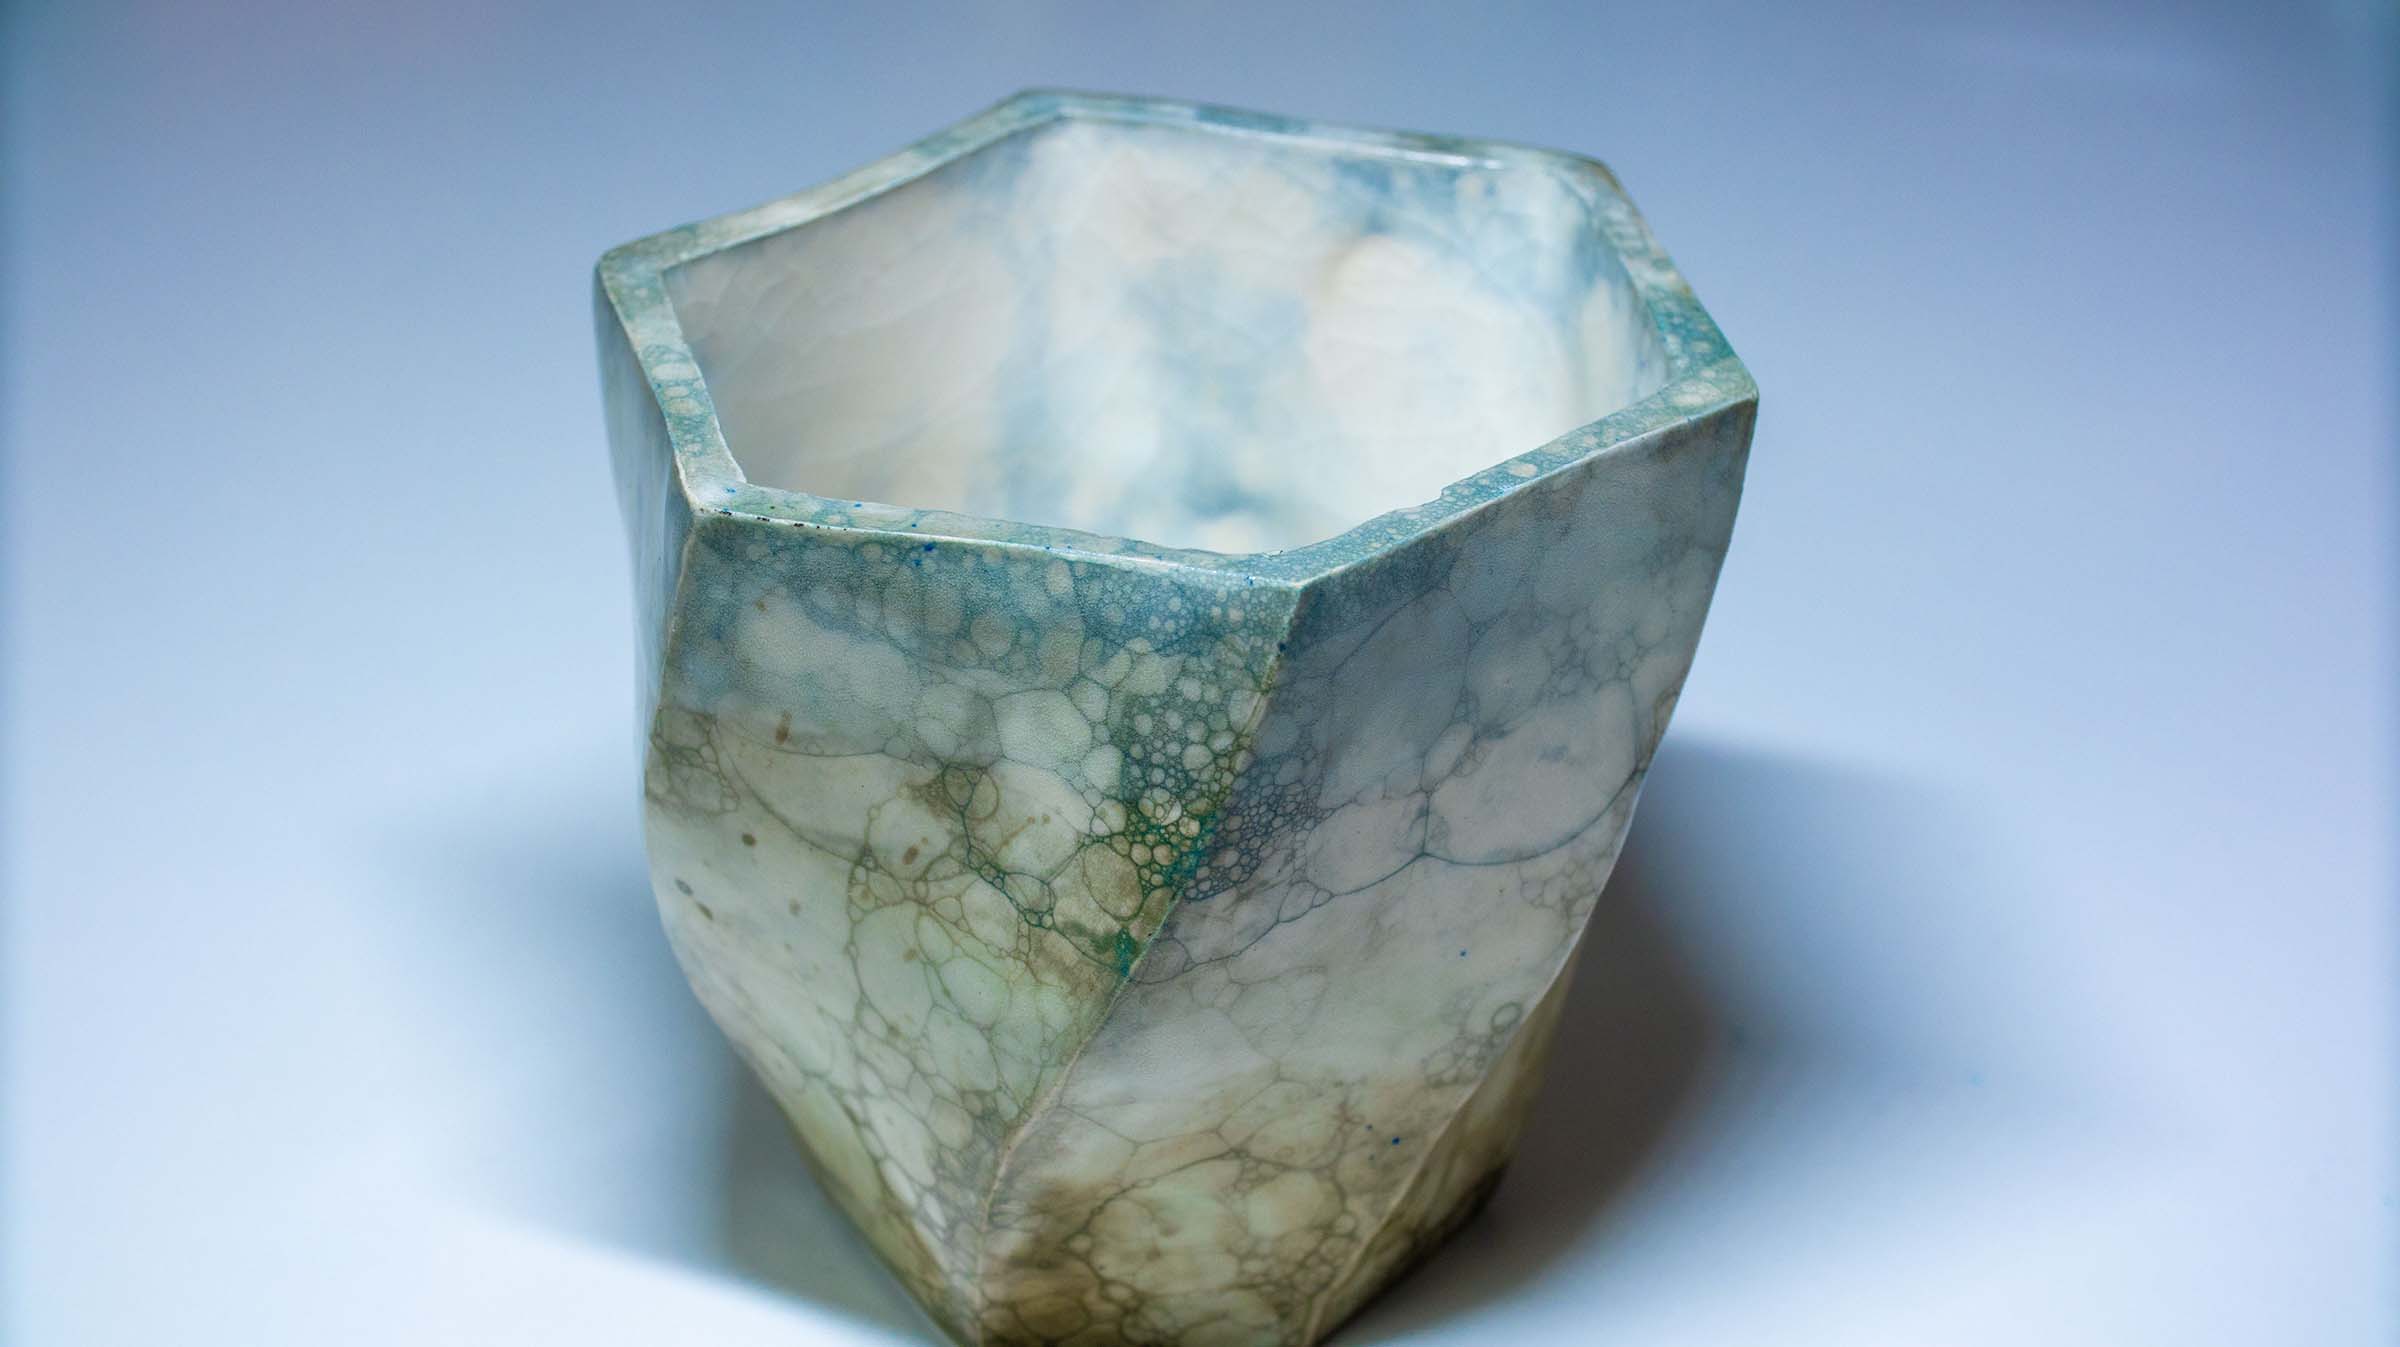
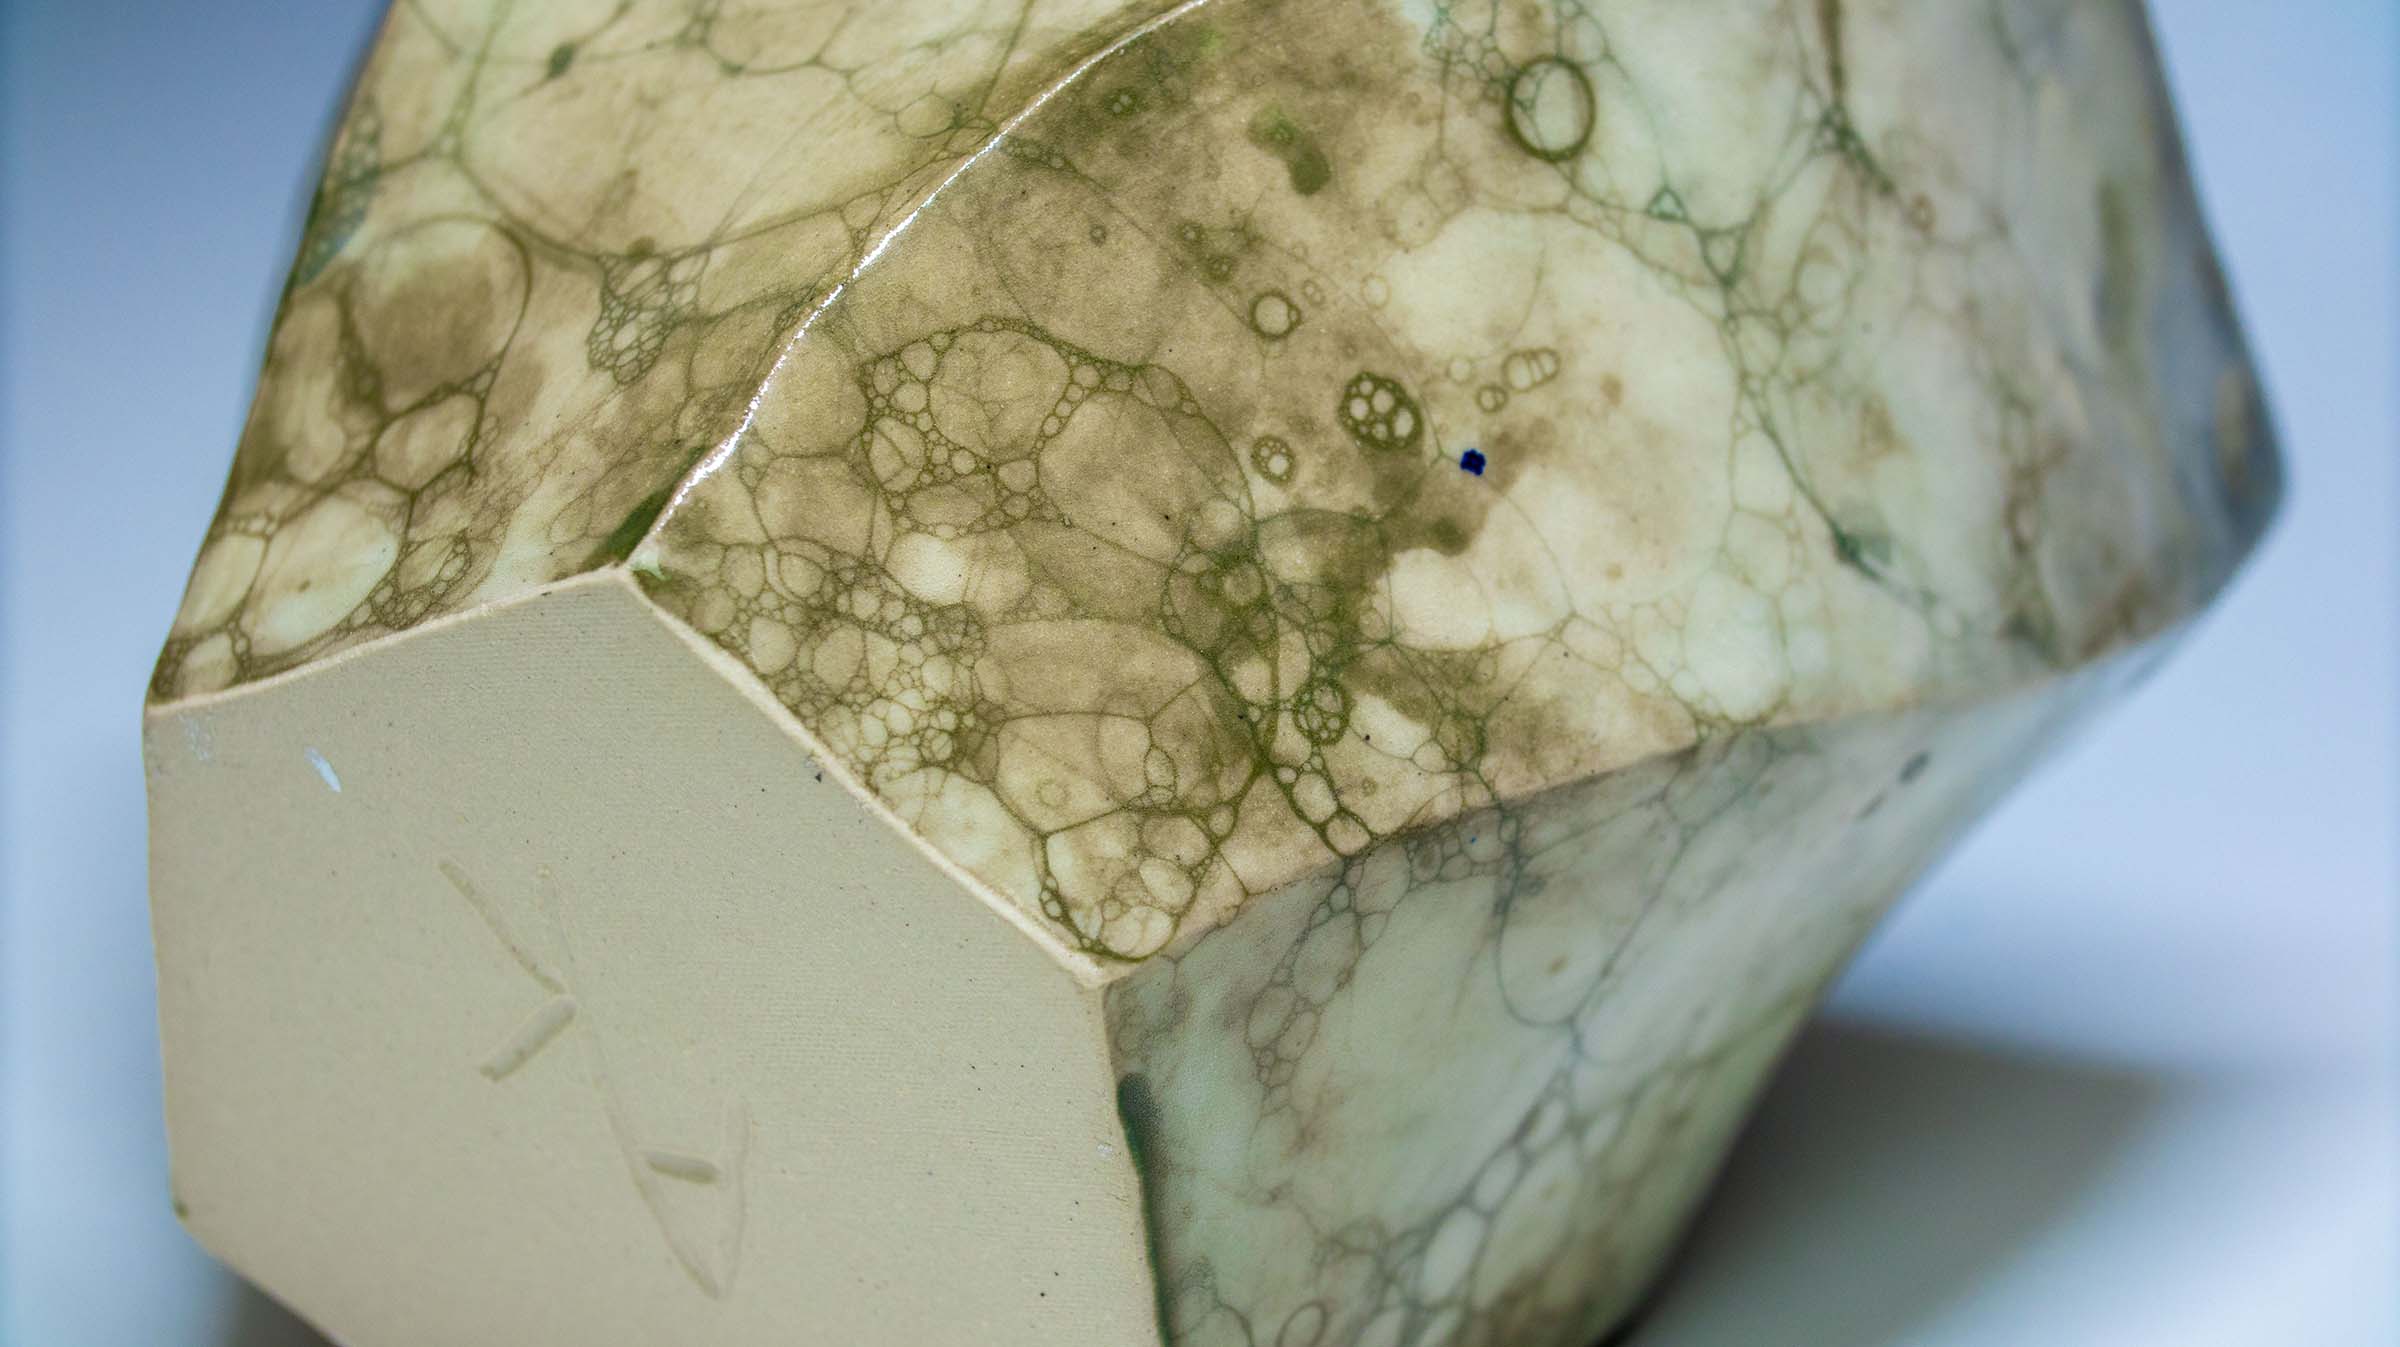
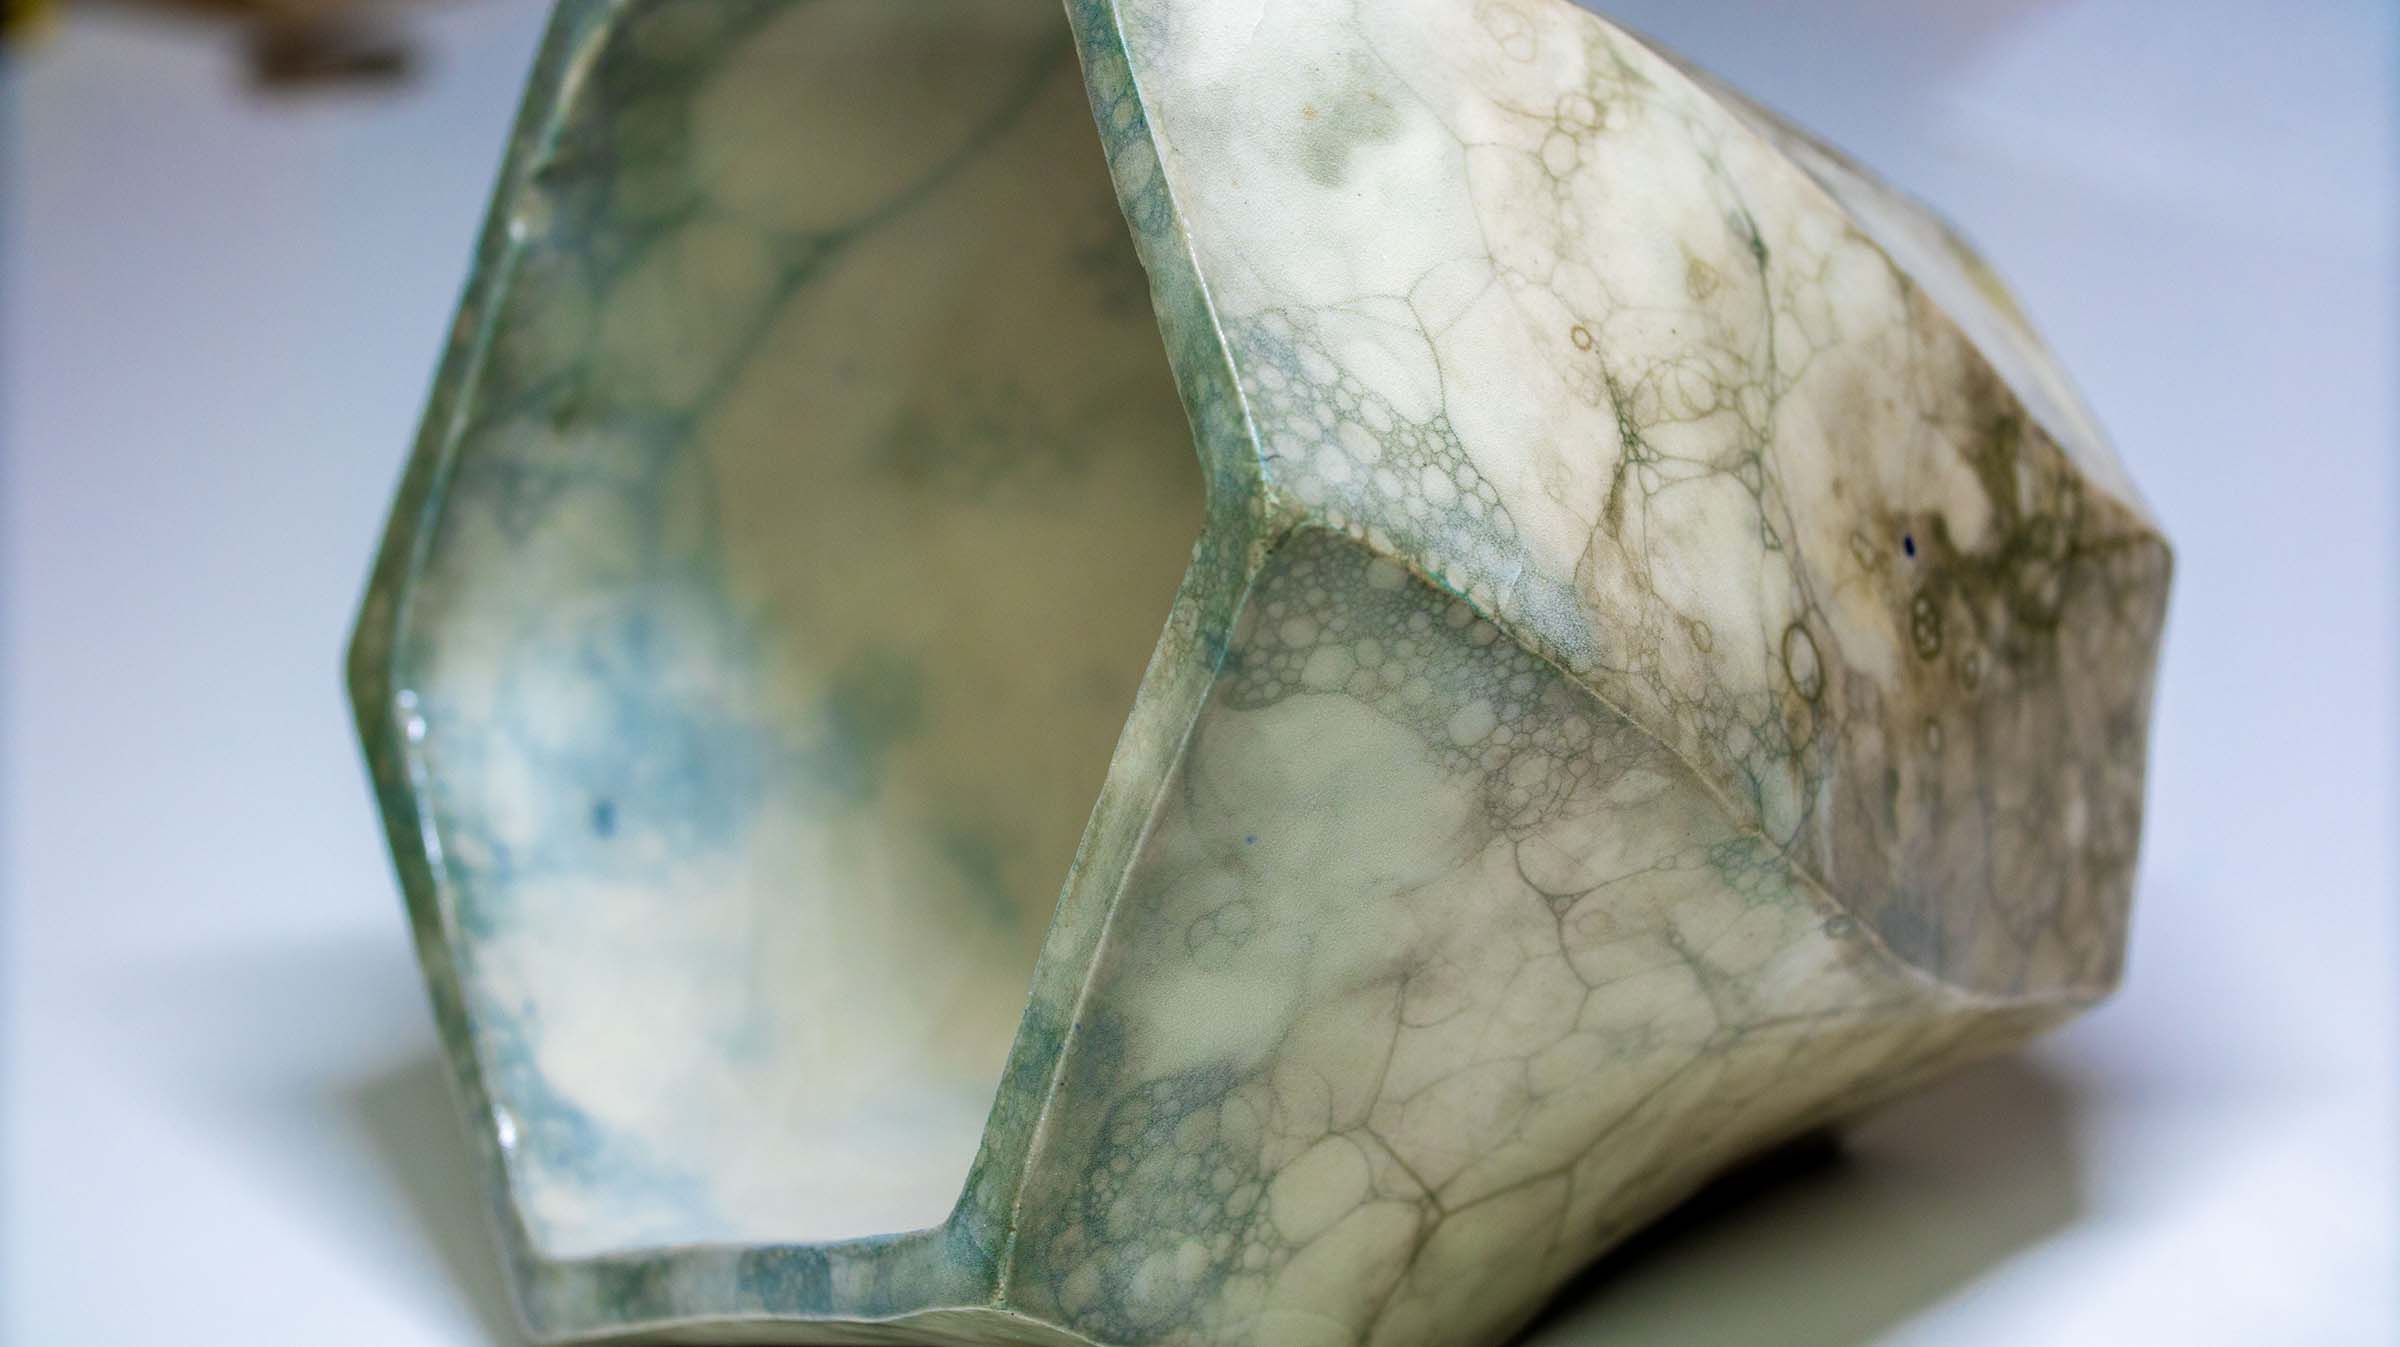
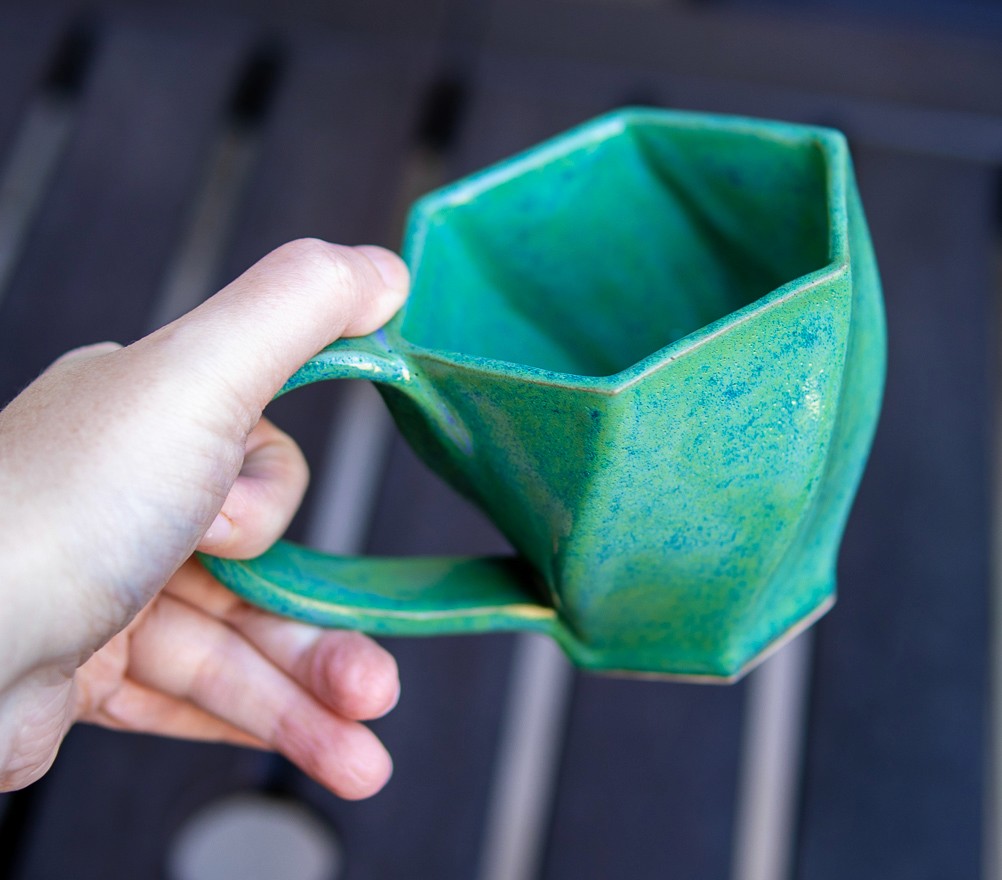
Developing 3D Printed Slab Press Molds: The key focus of my R&D, my goal was to bring complex CAD geometries into the physical world without the mess of slip casting. To do this, I developed a unique slab press molding workflow. By printing multi-part molds based on complex parametric designs, I discovered novel ways to form flat clay slabs into intricate, gravity-defying vessels. One of my finished pieces using this method was featured in Hackspace Magazine.
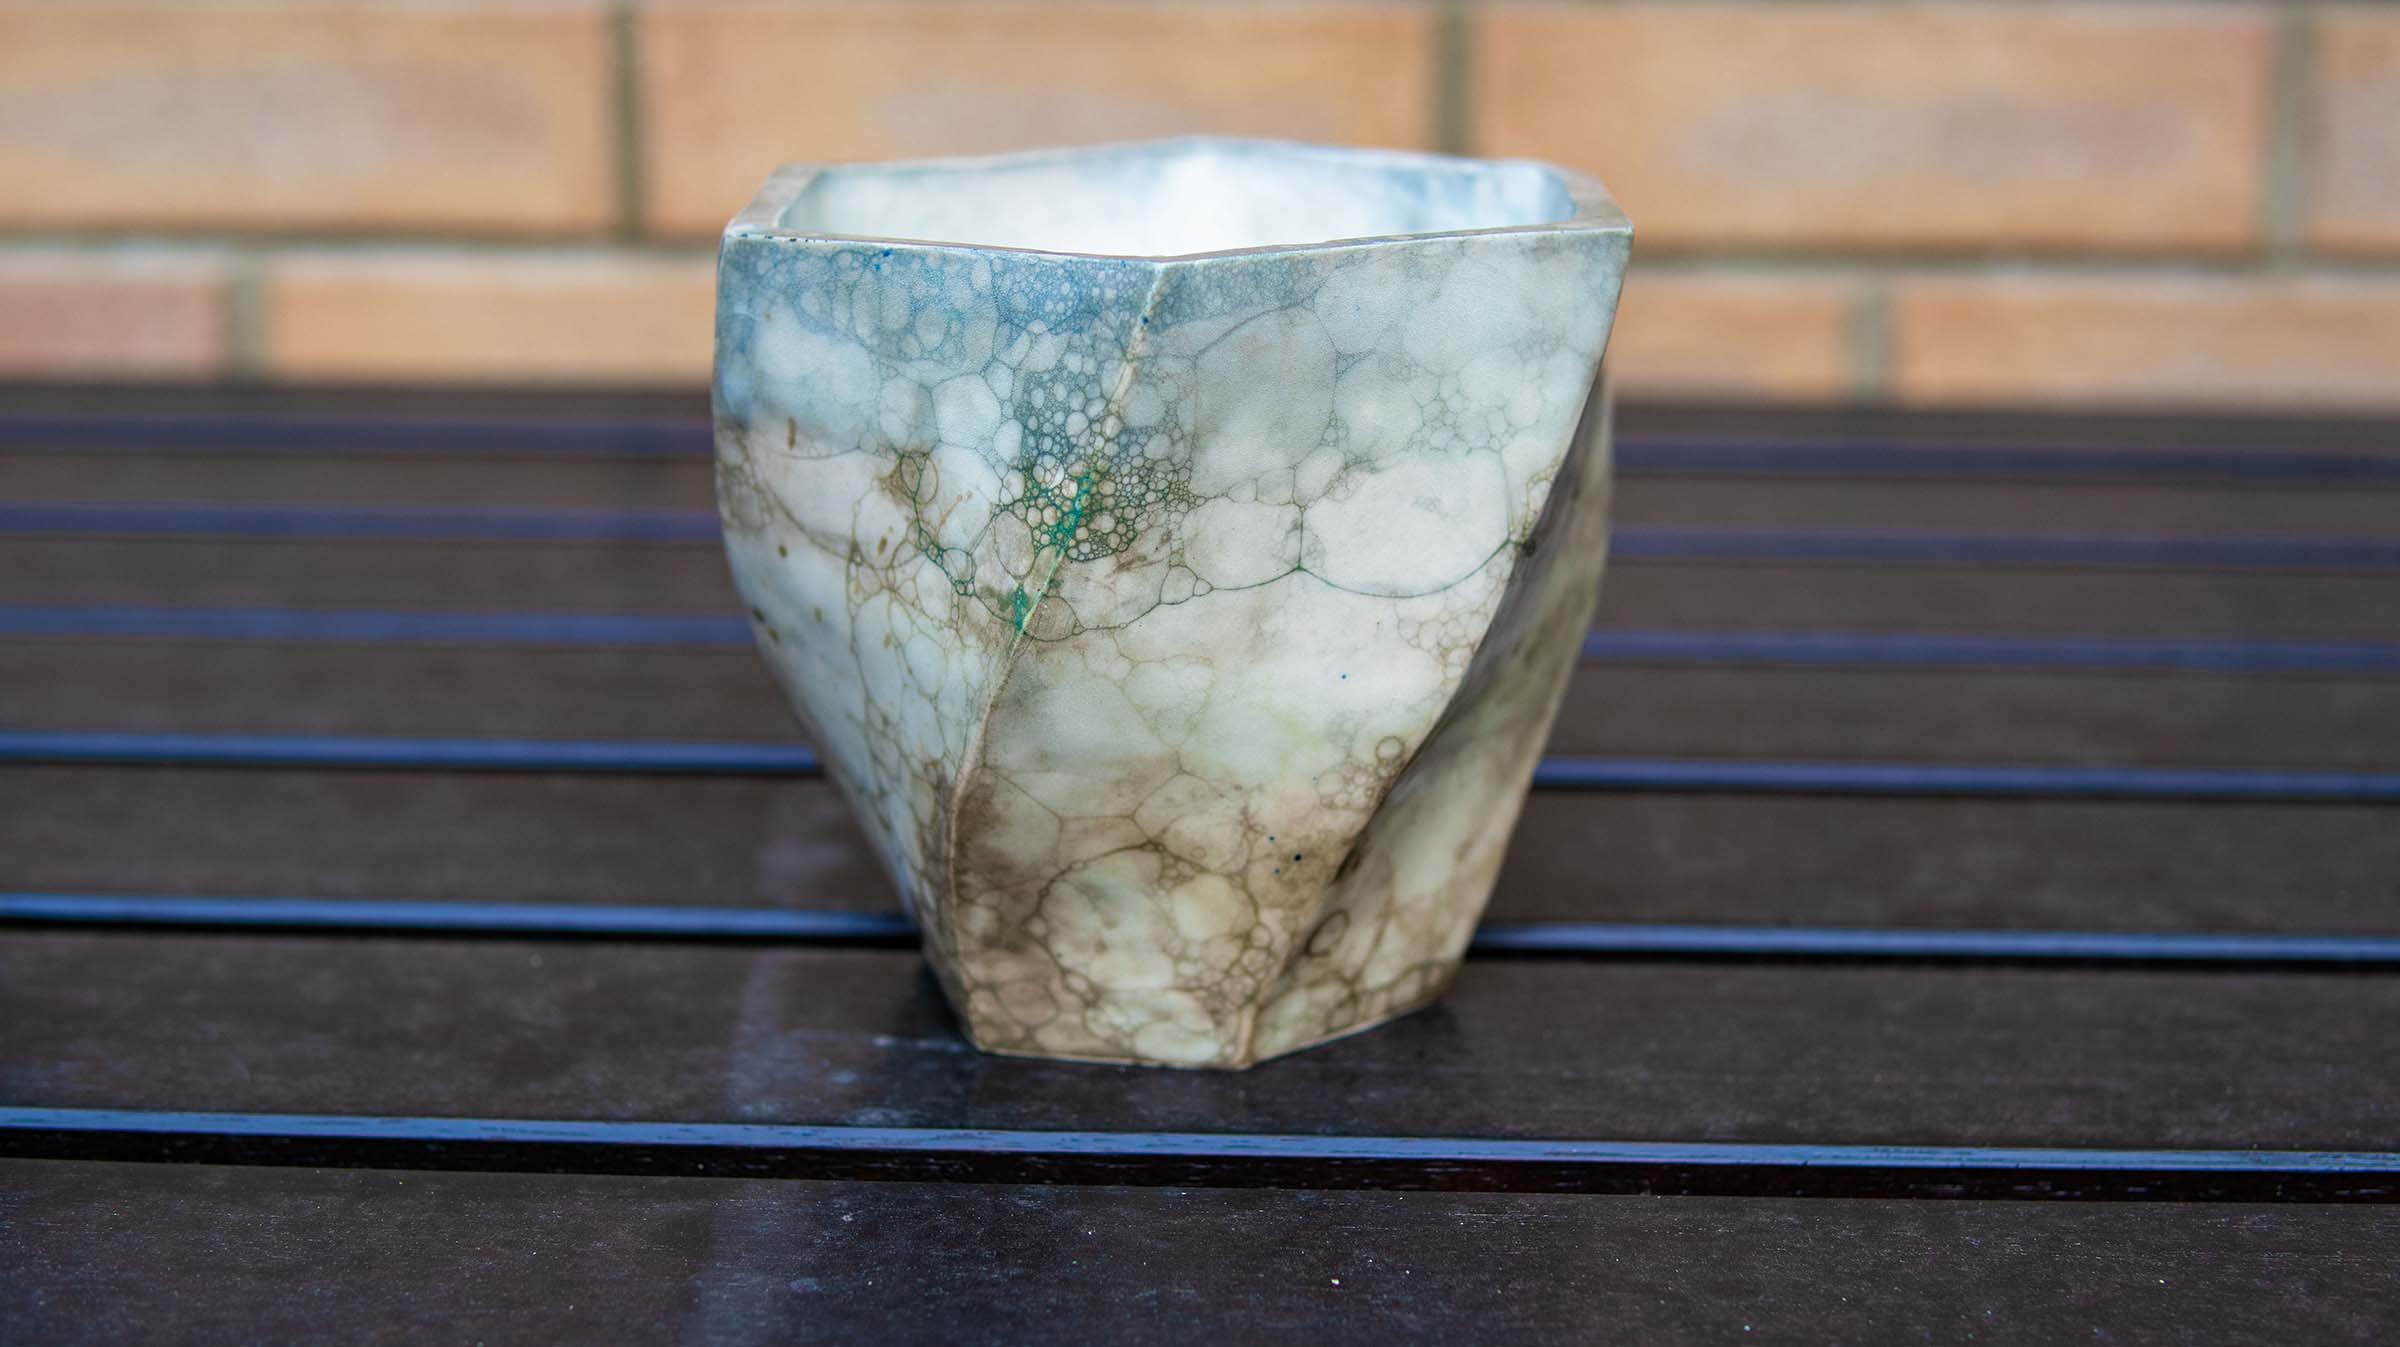
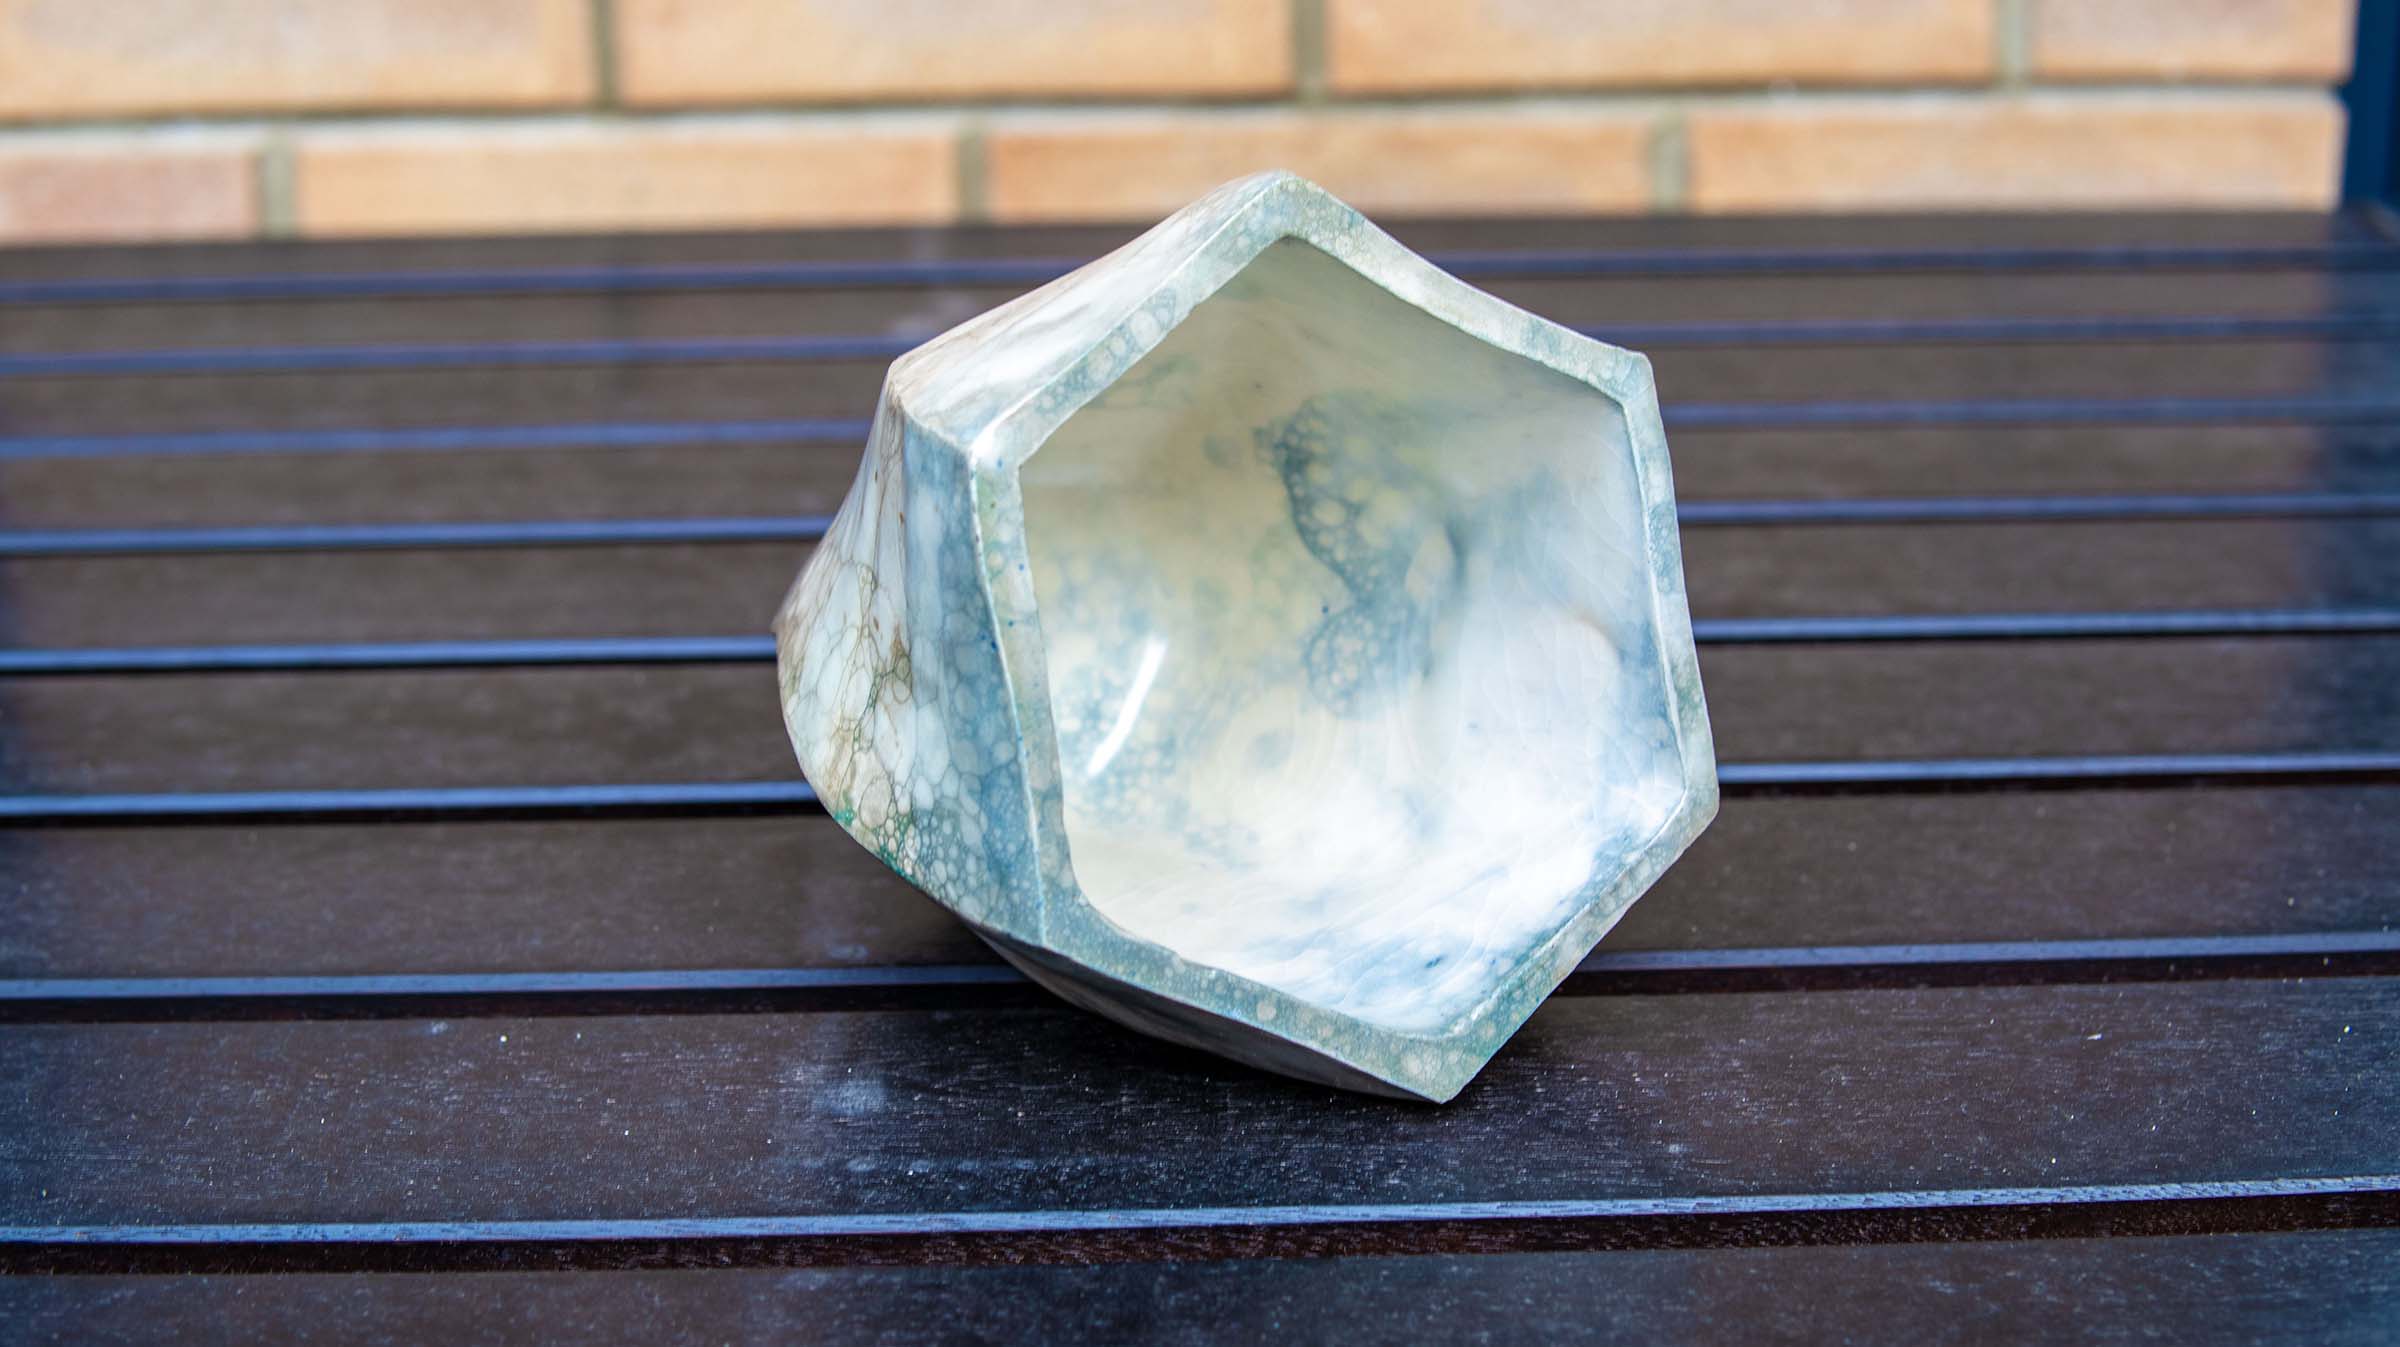
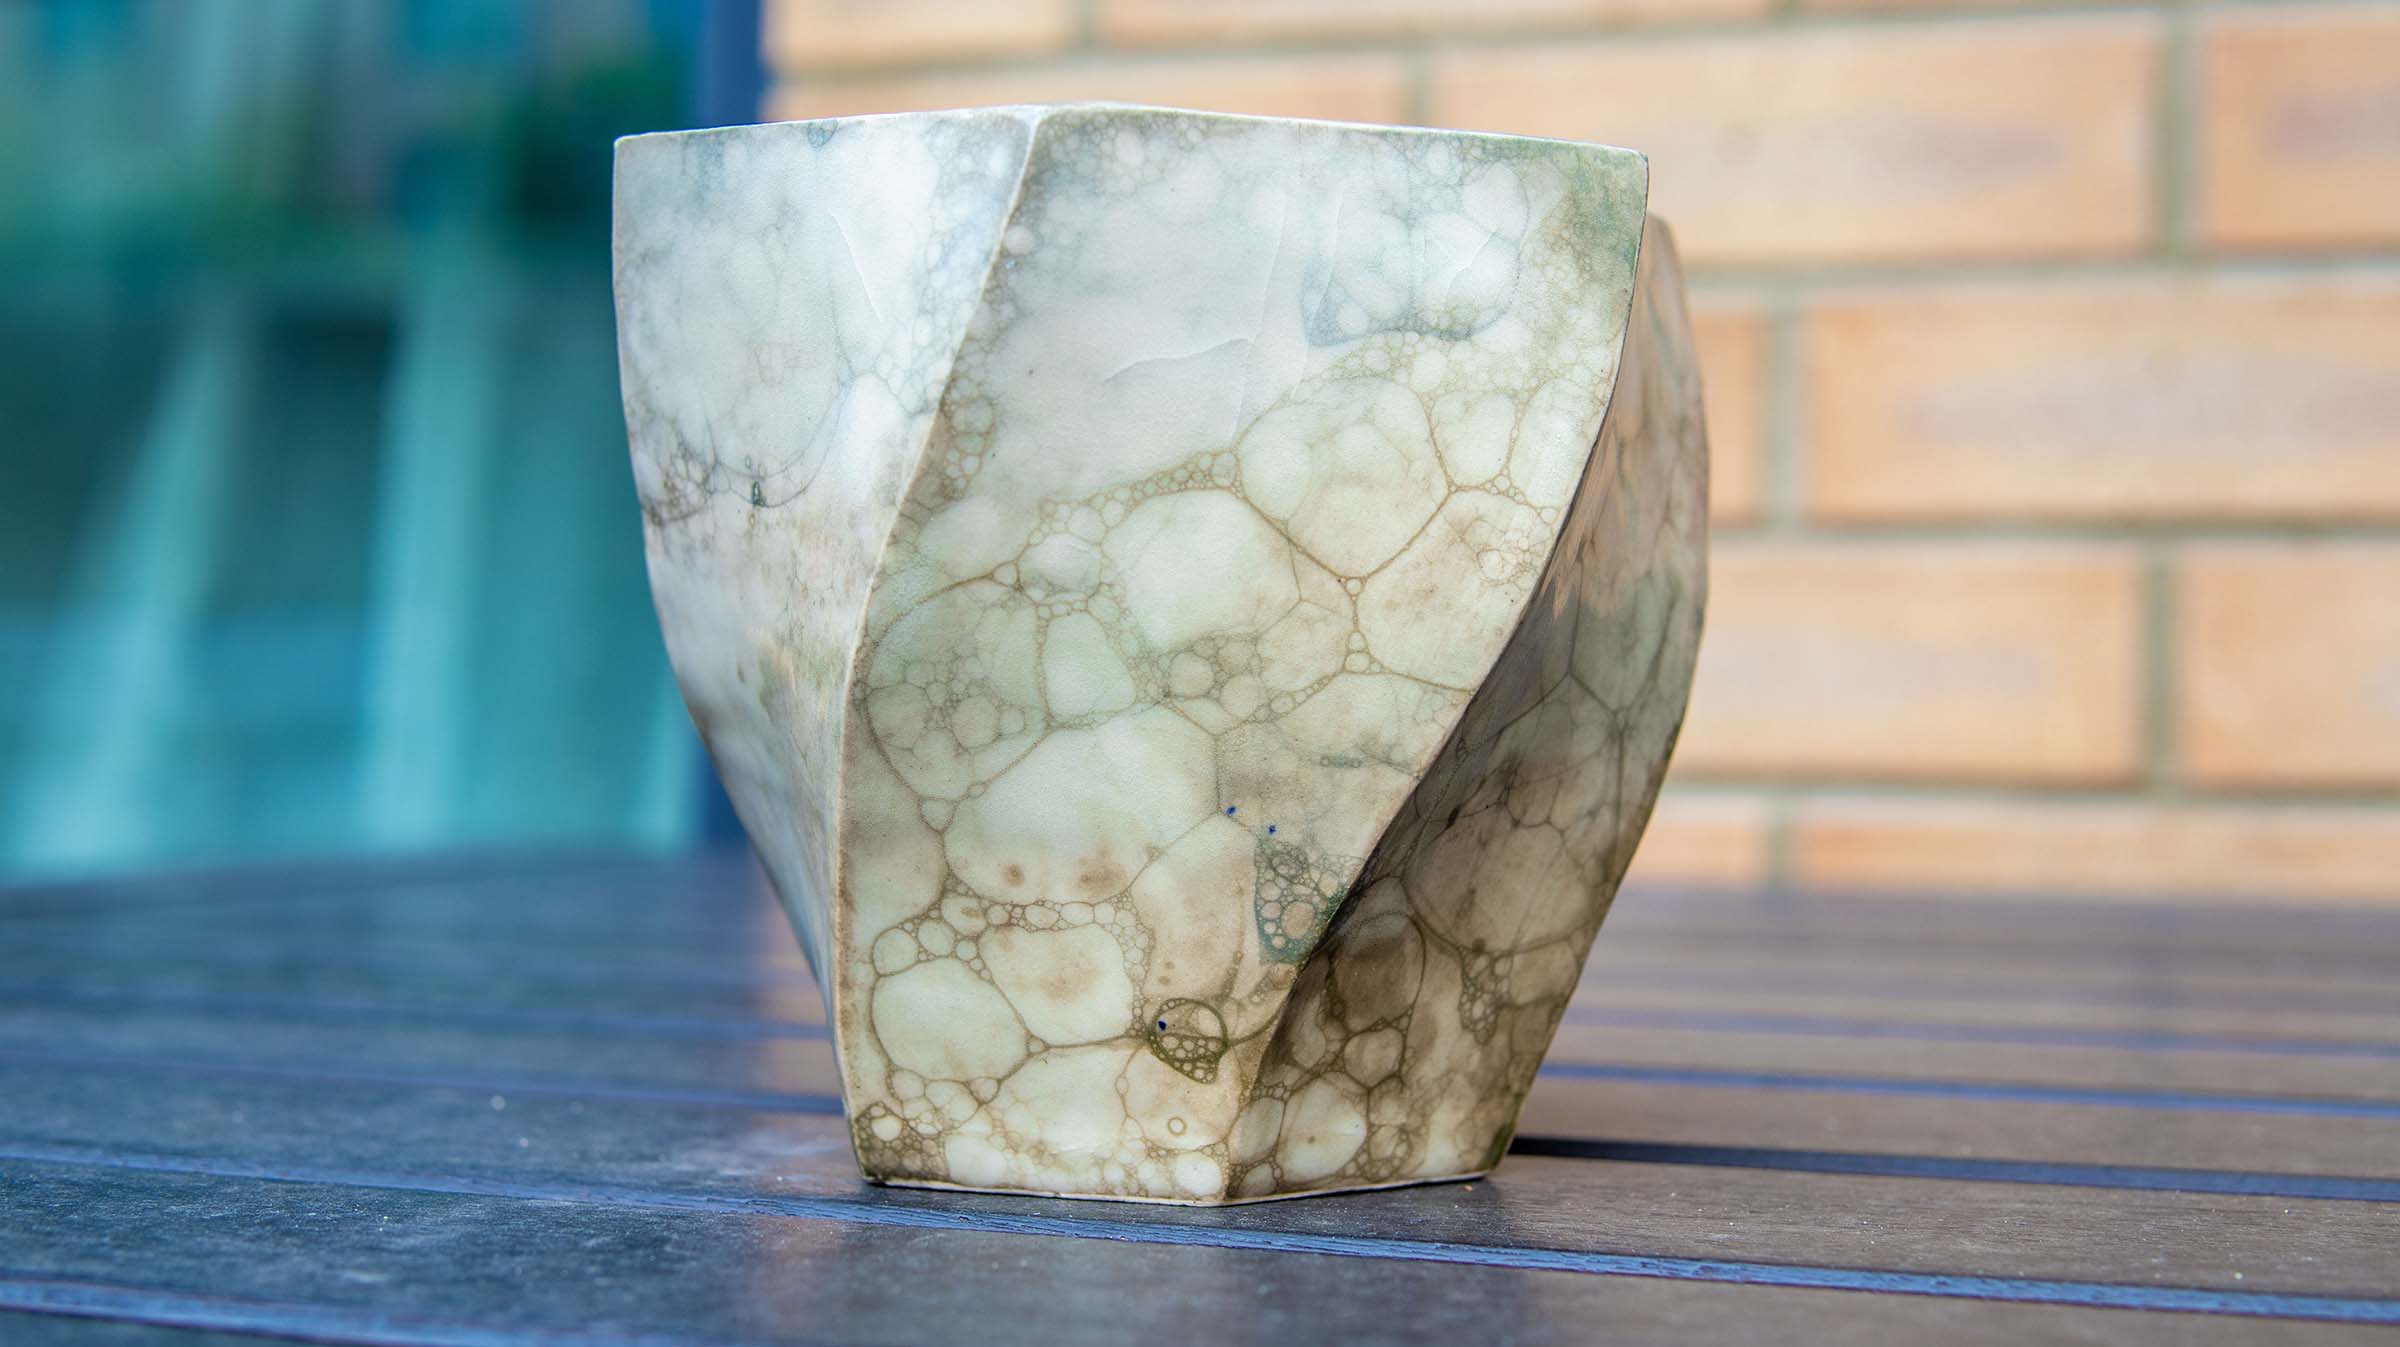
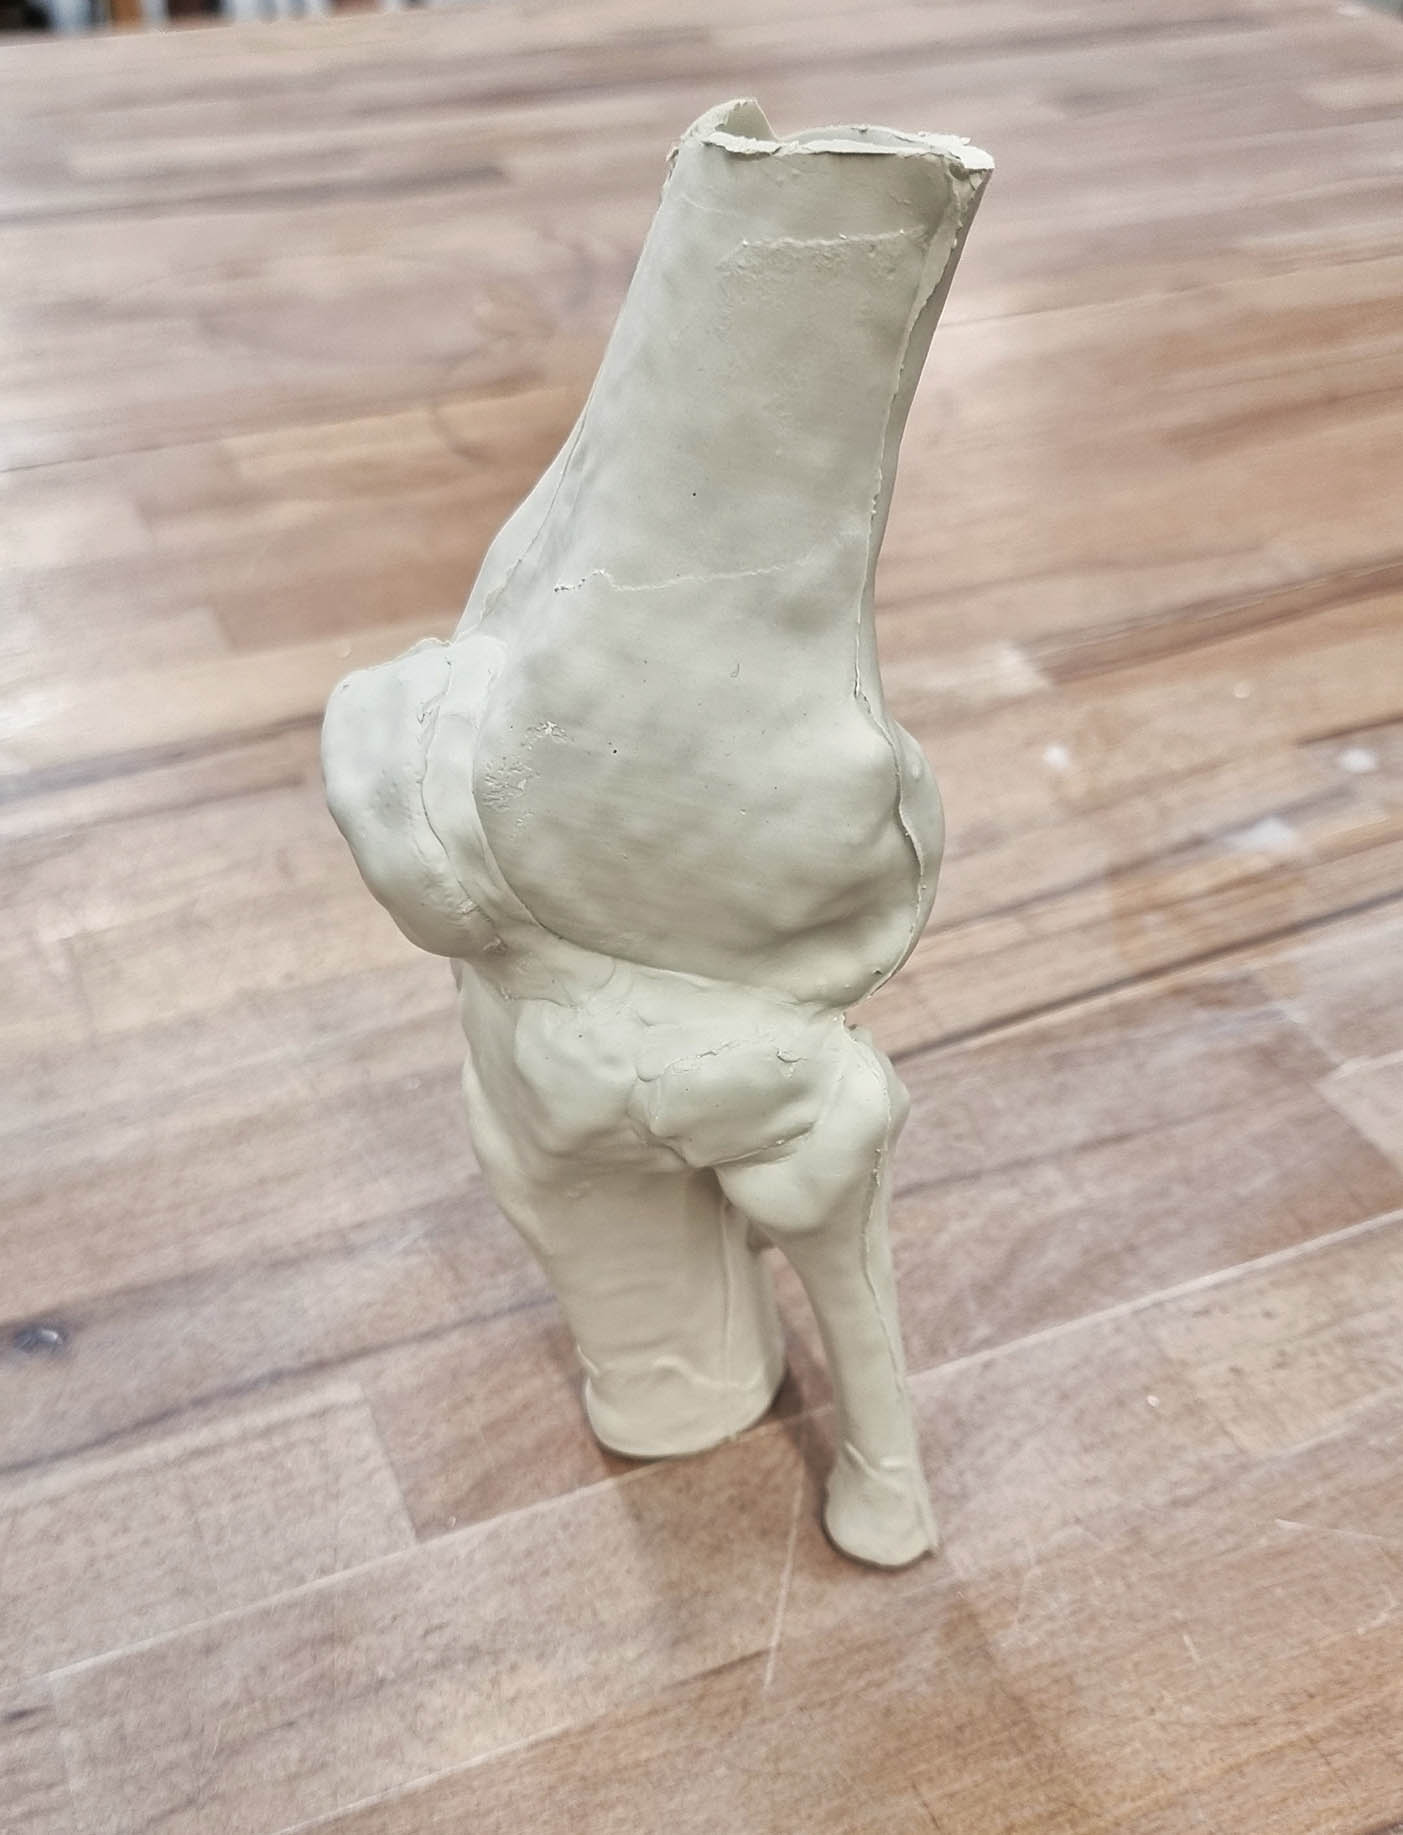
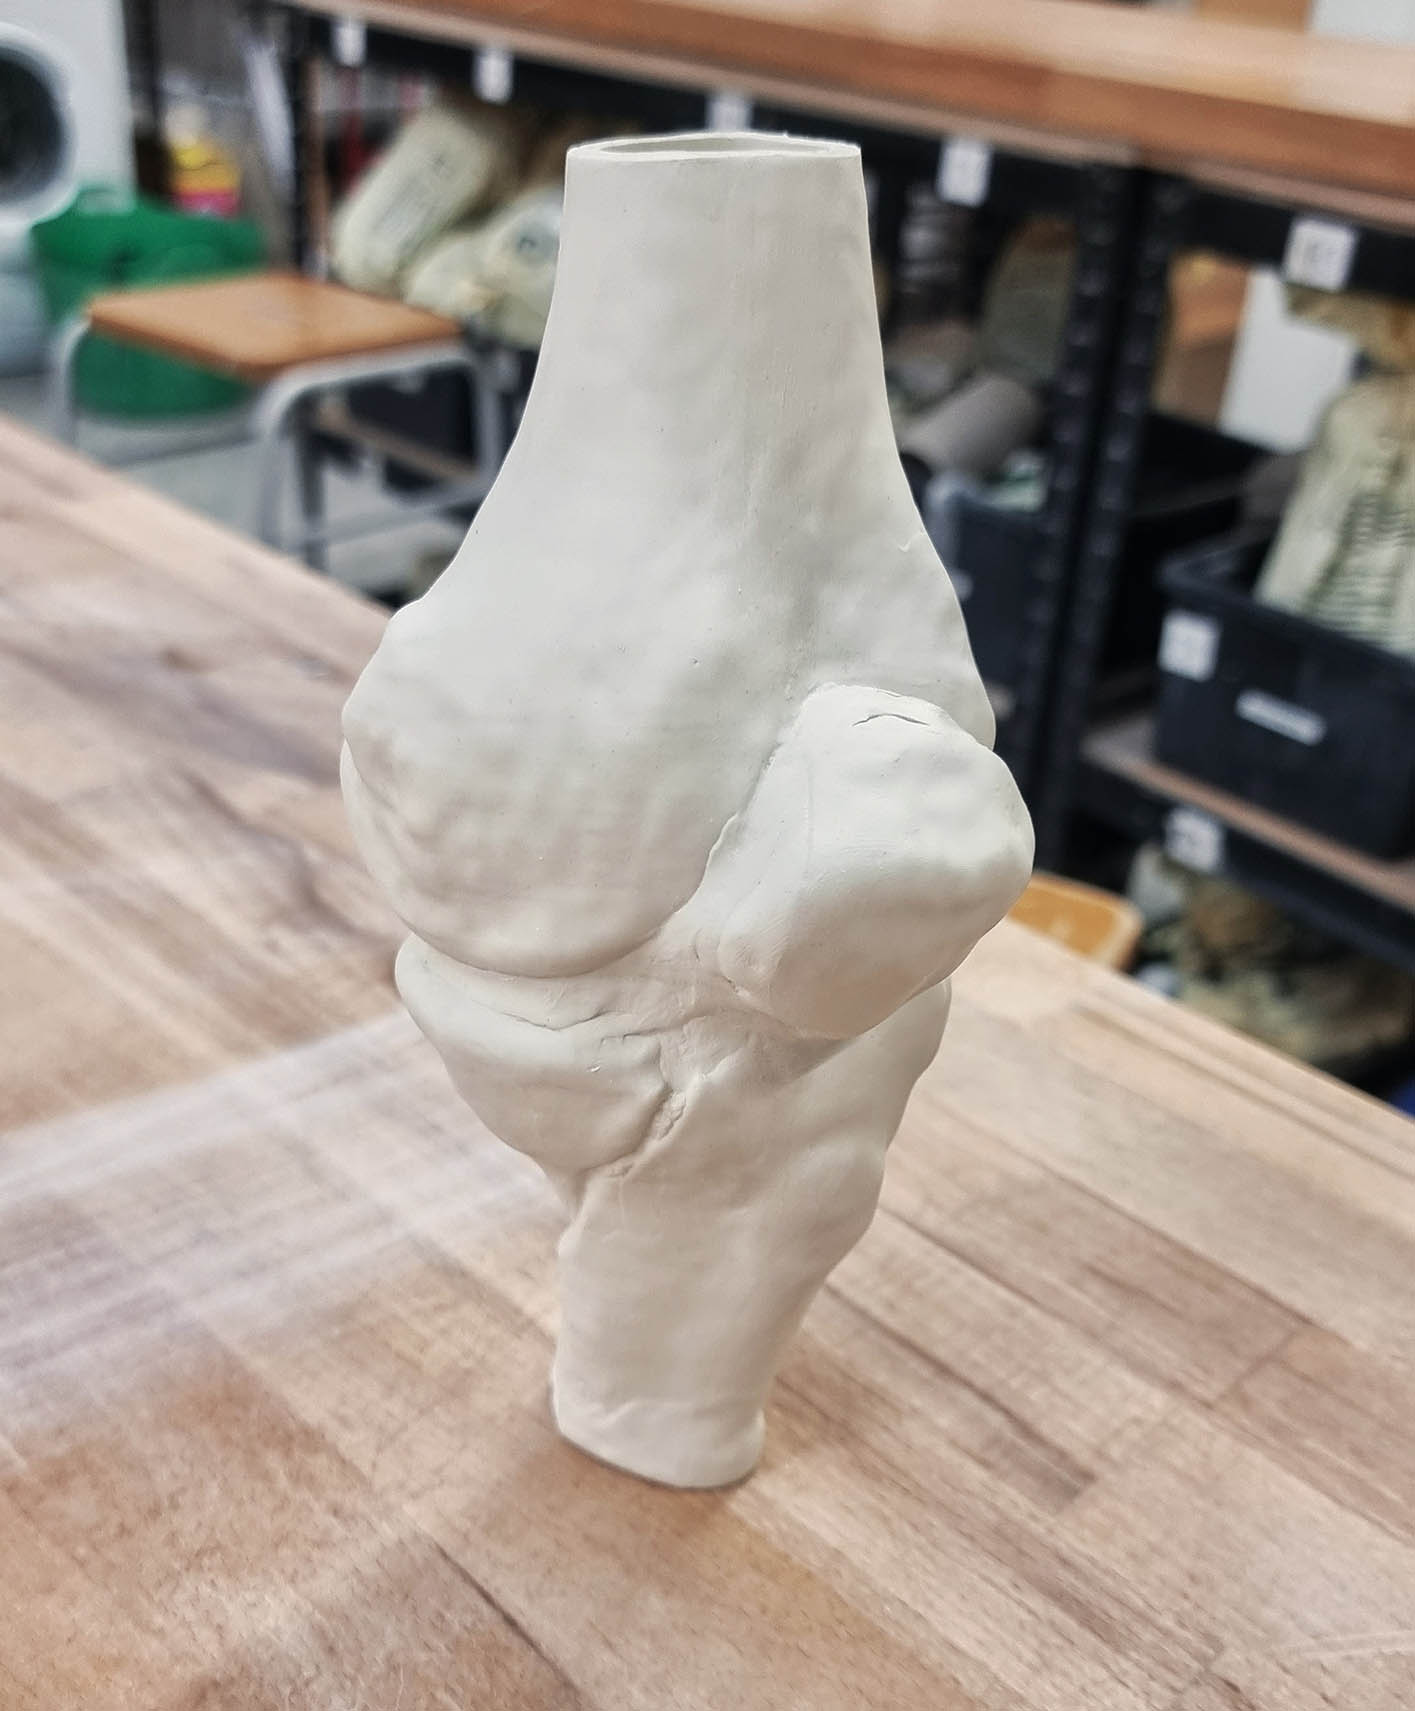
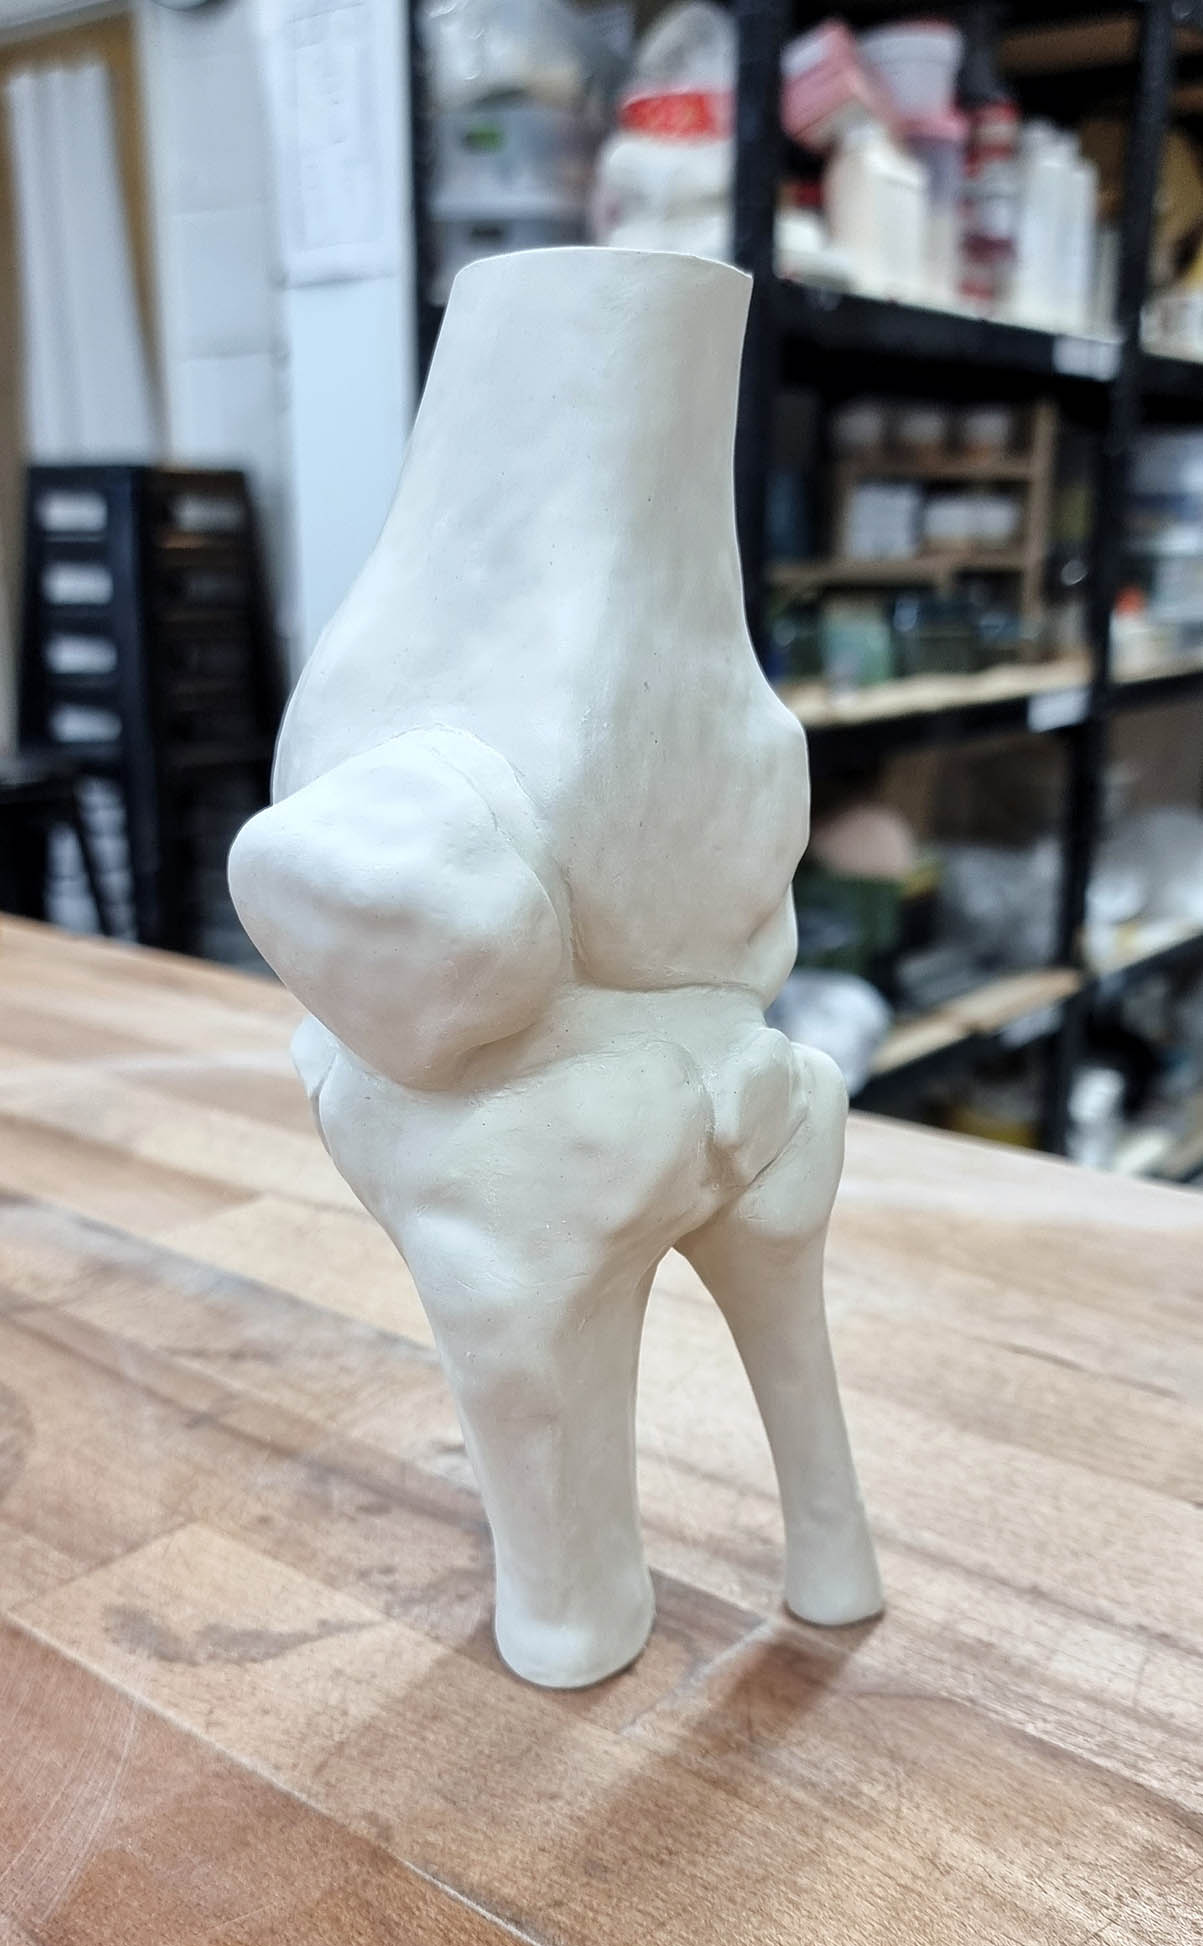
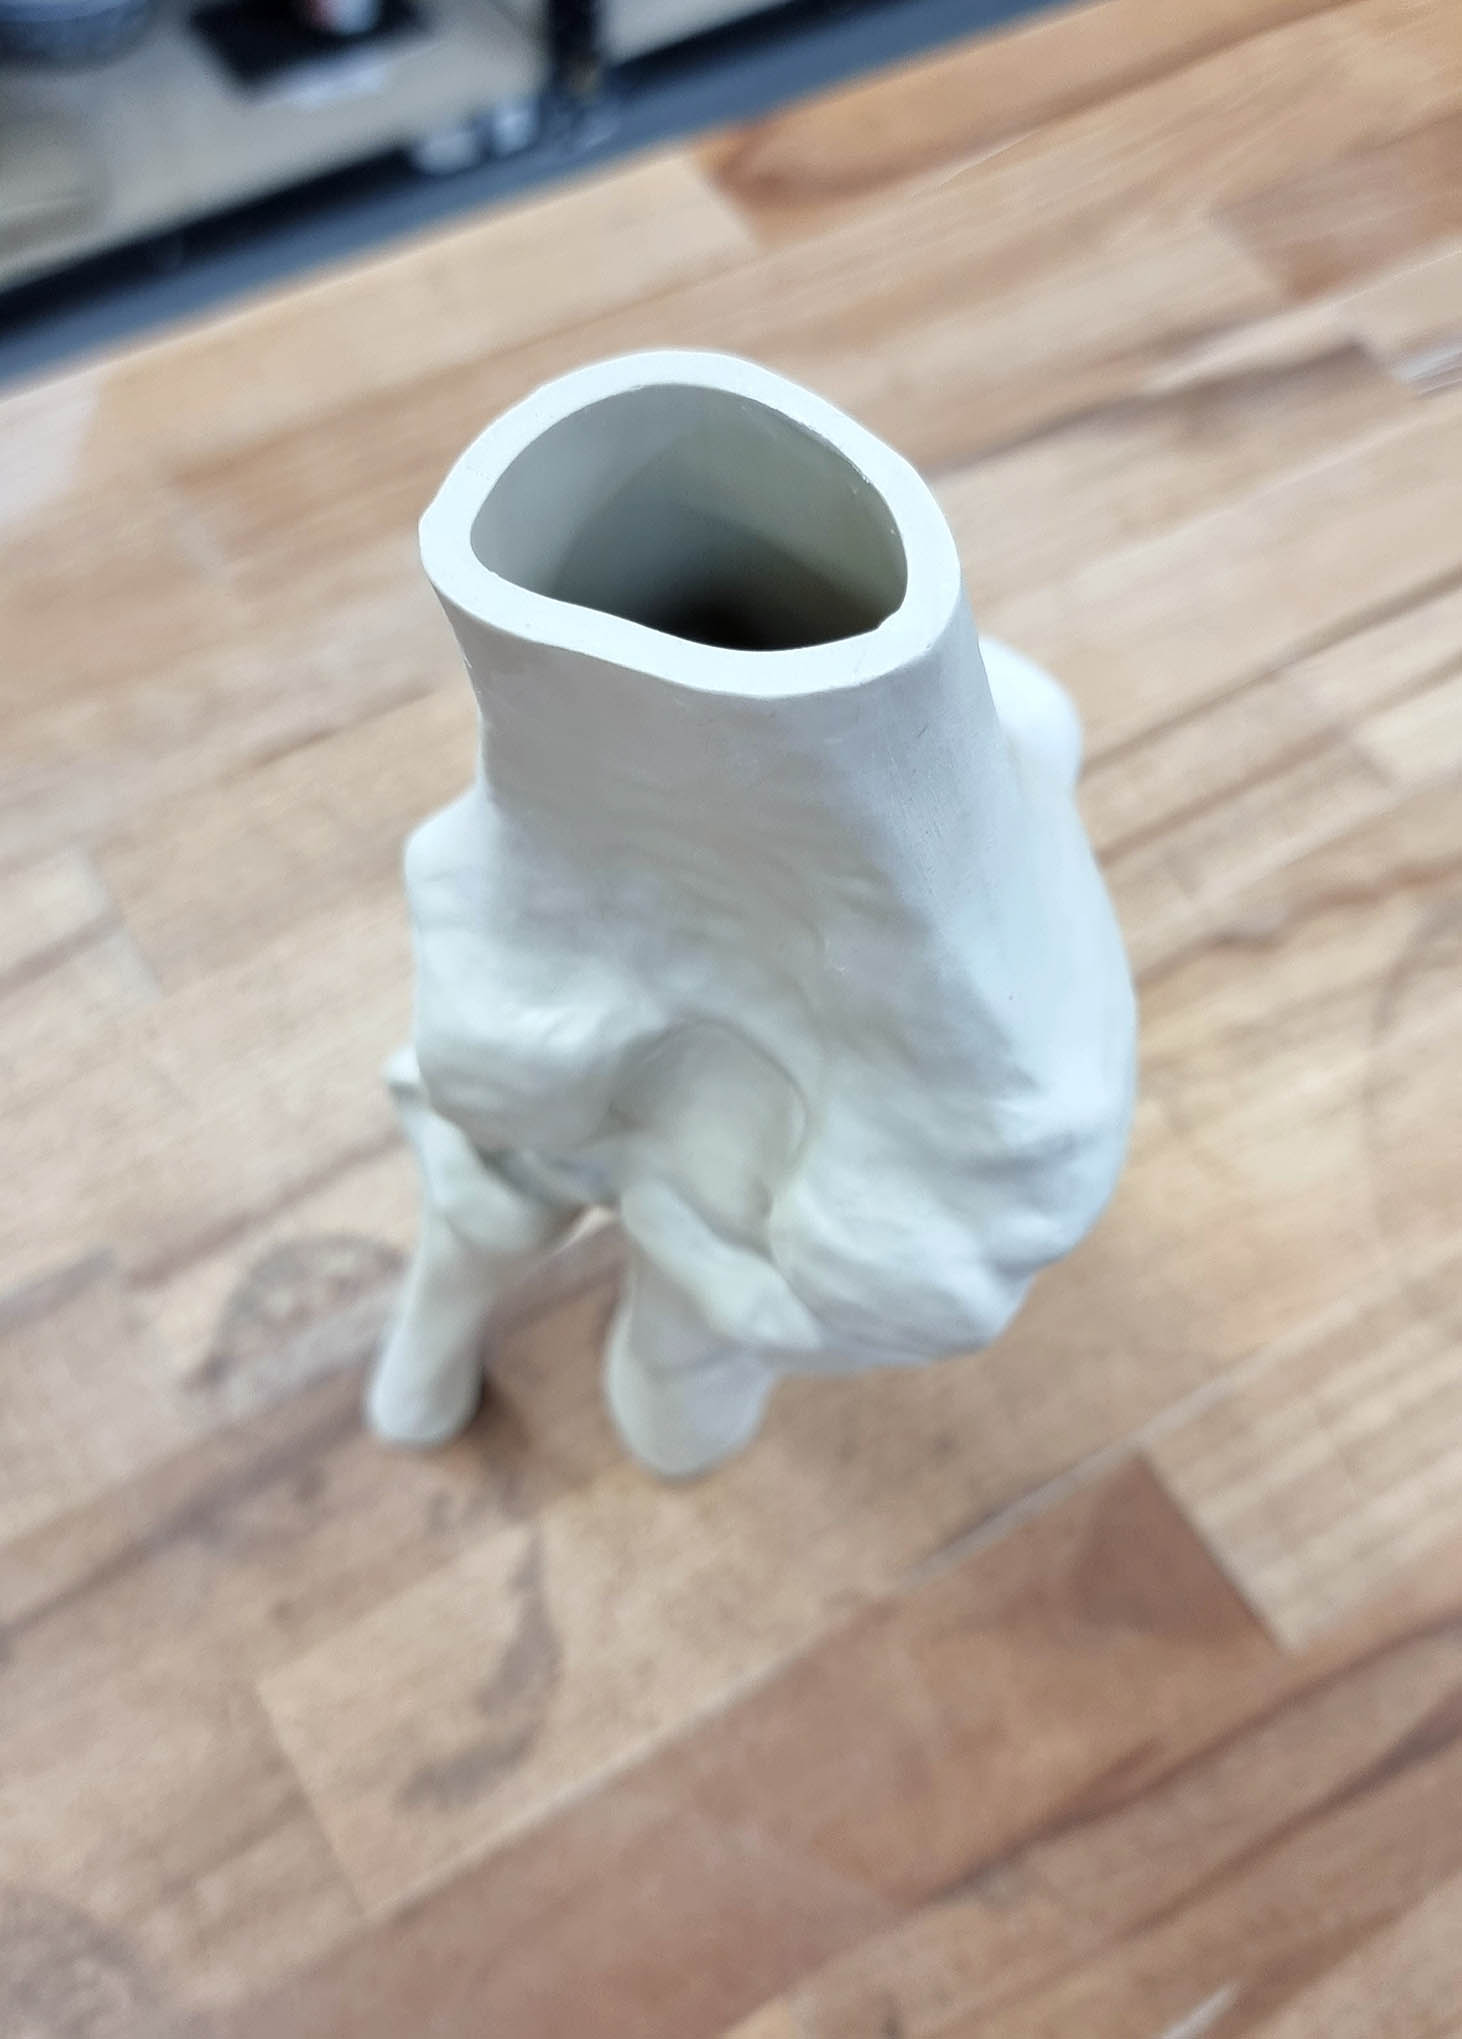
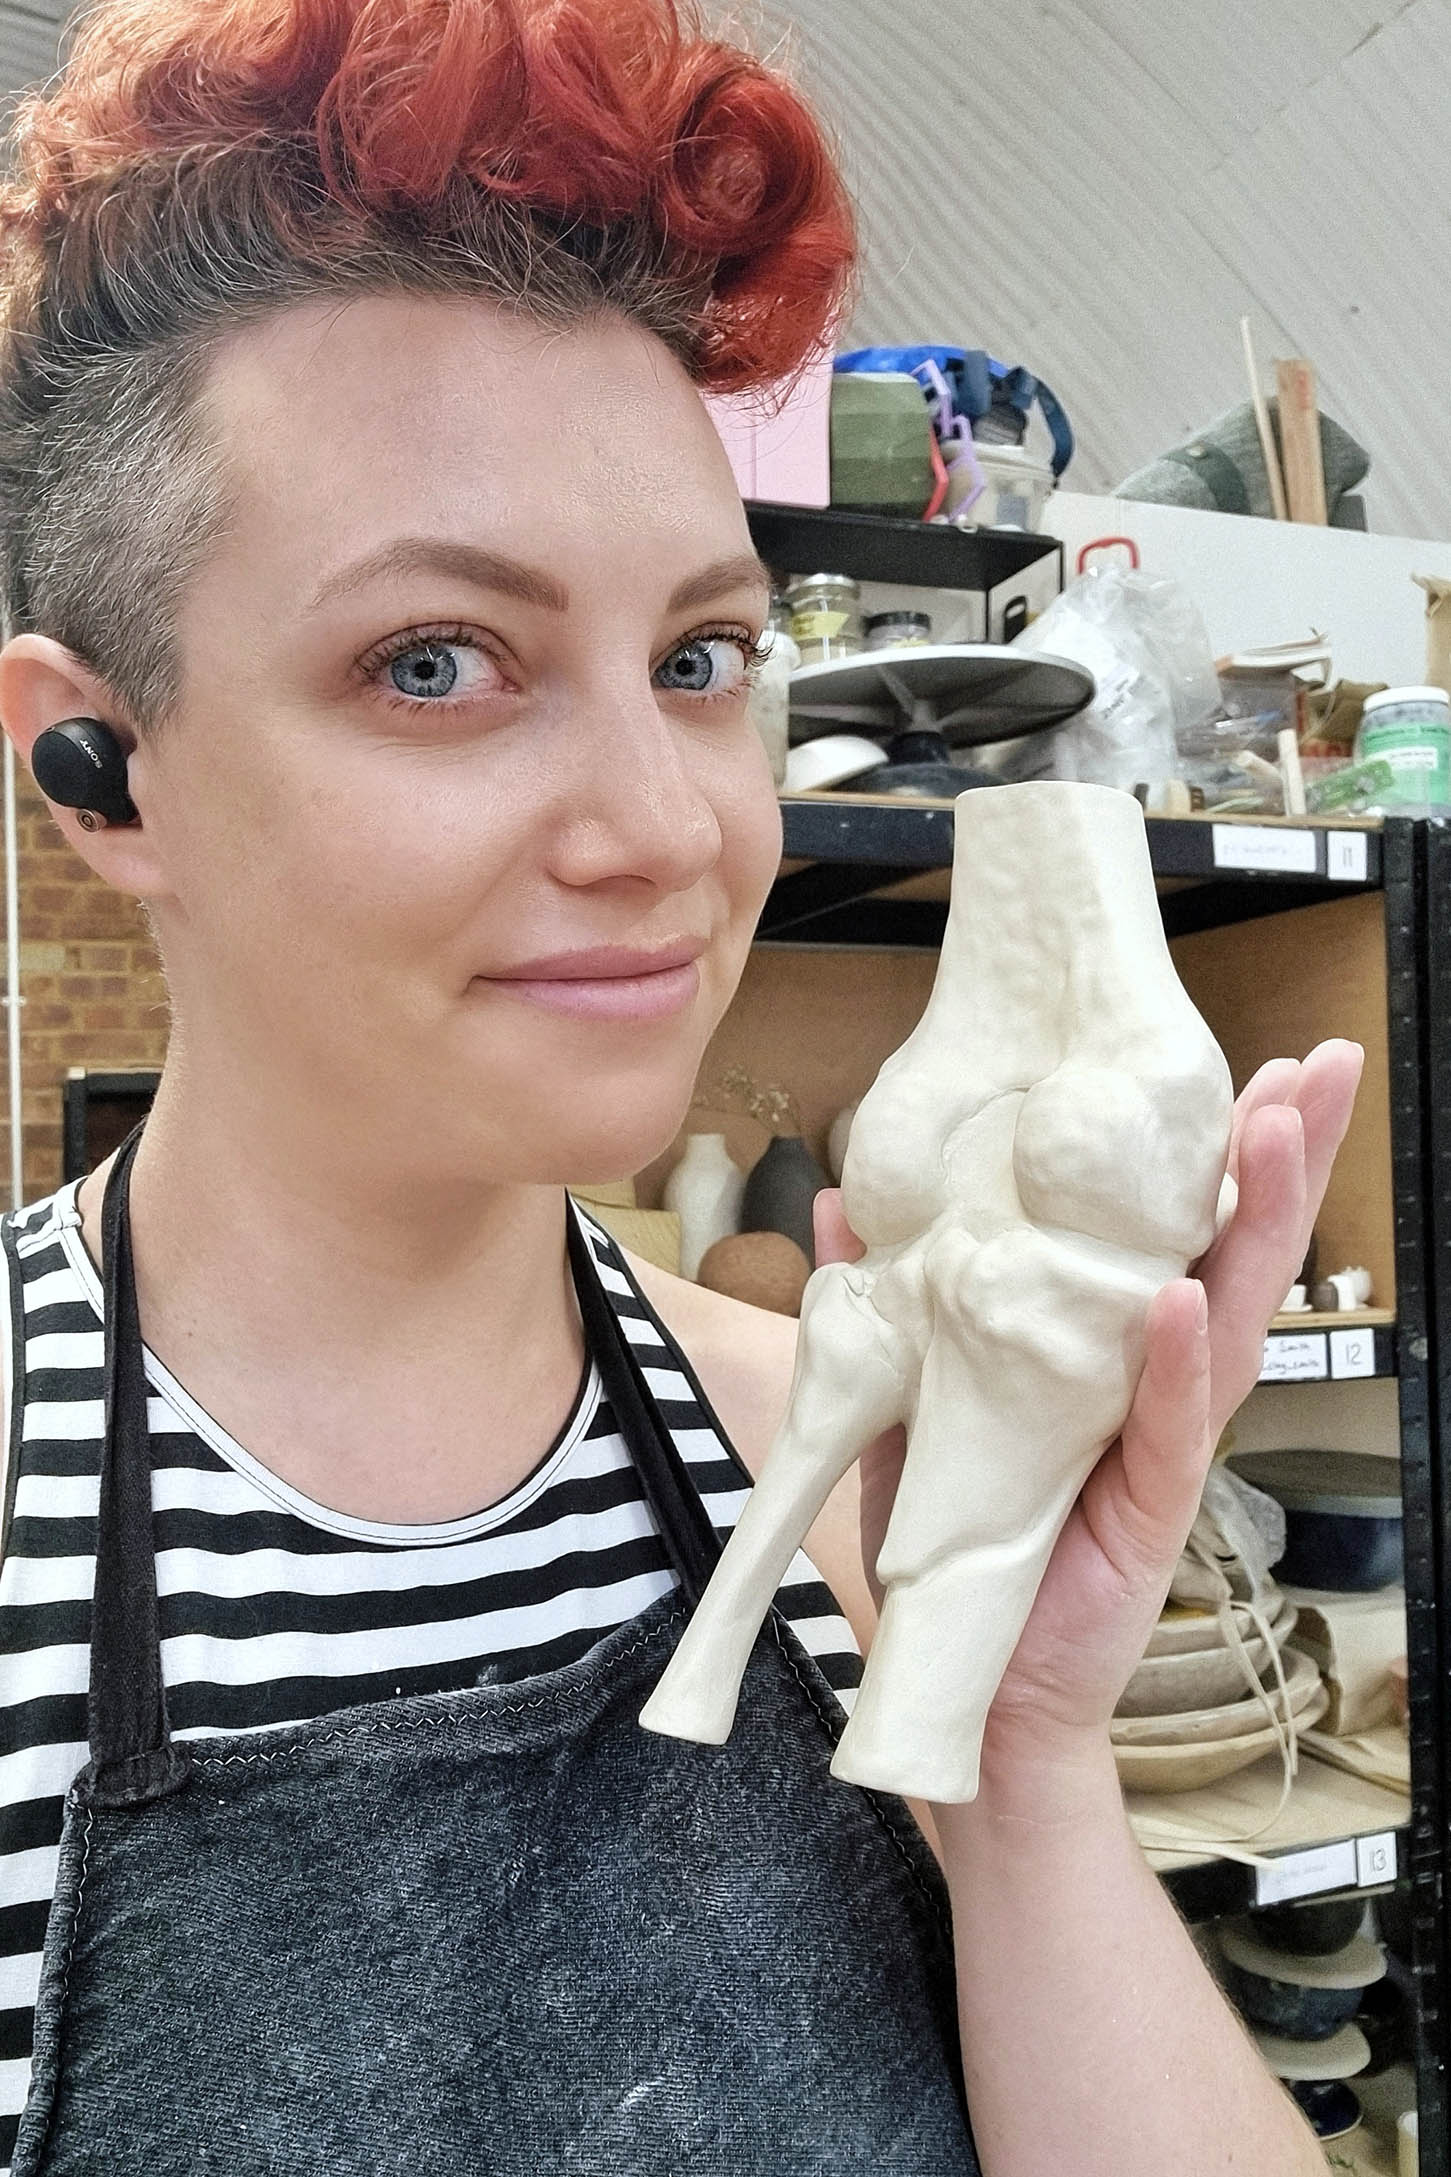
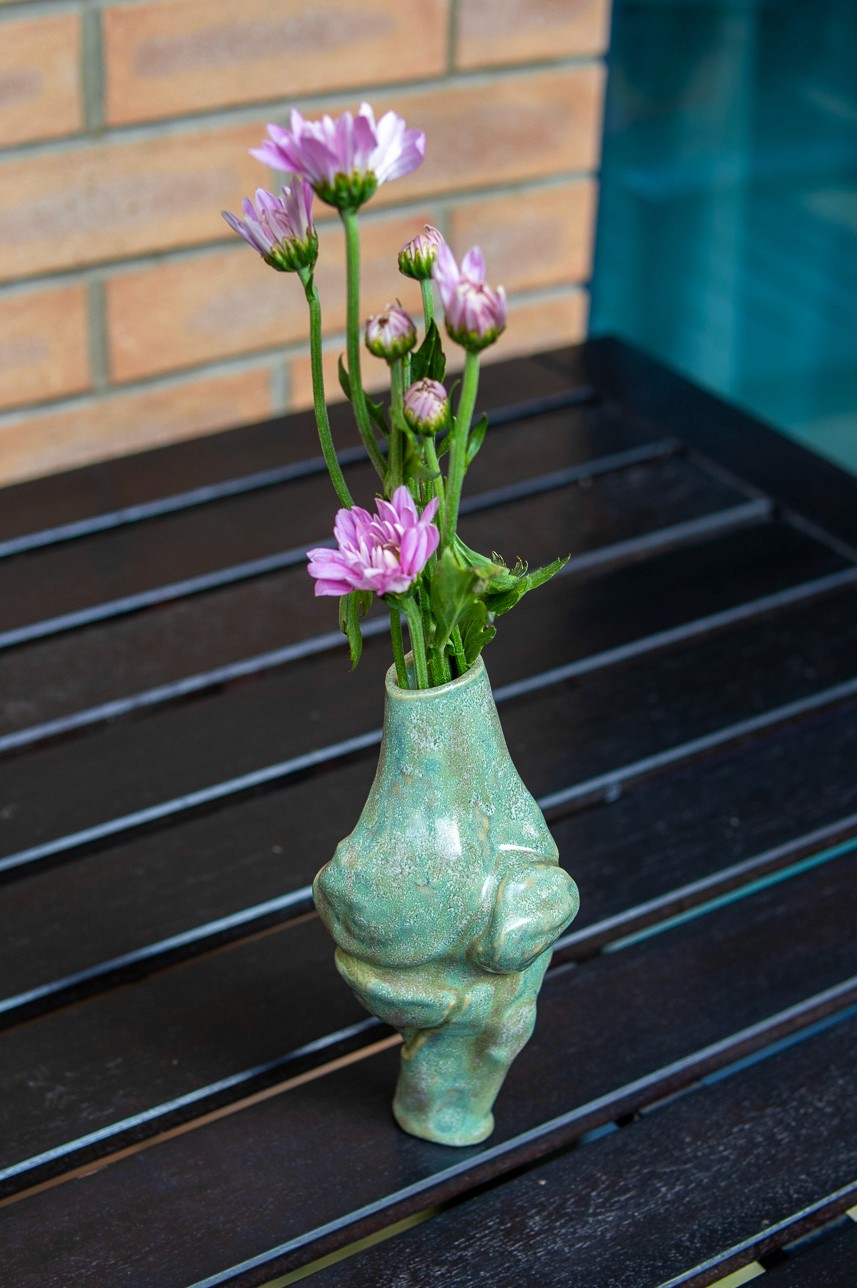
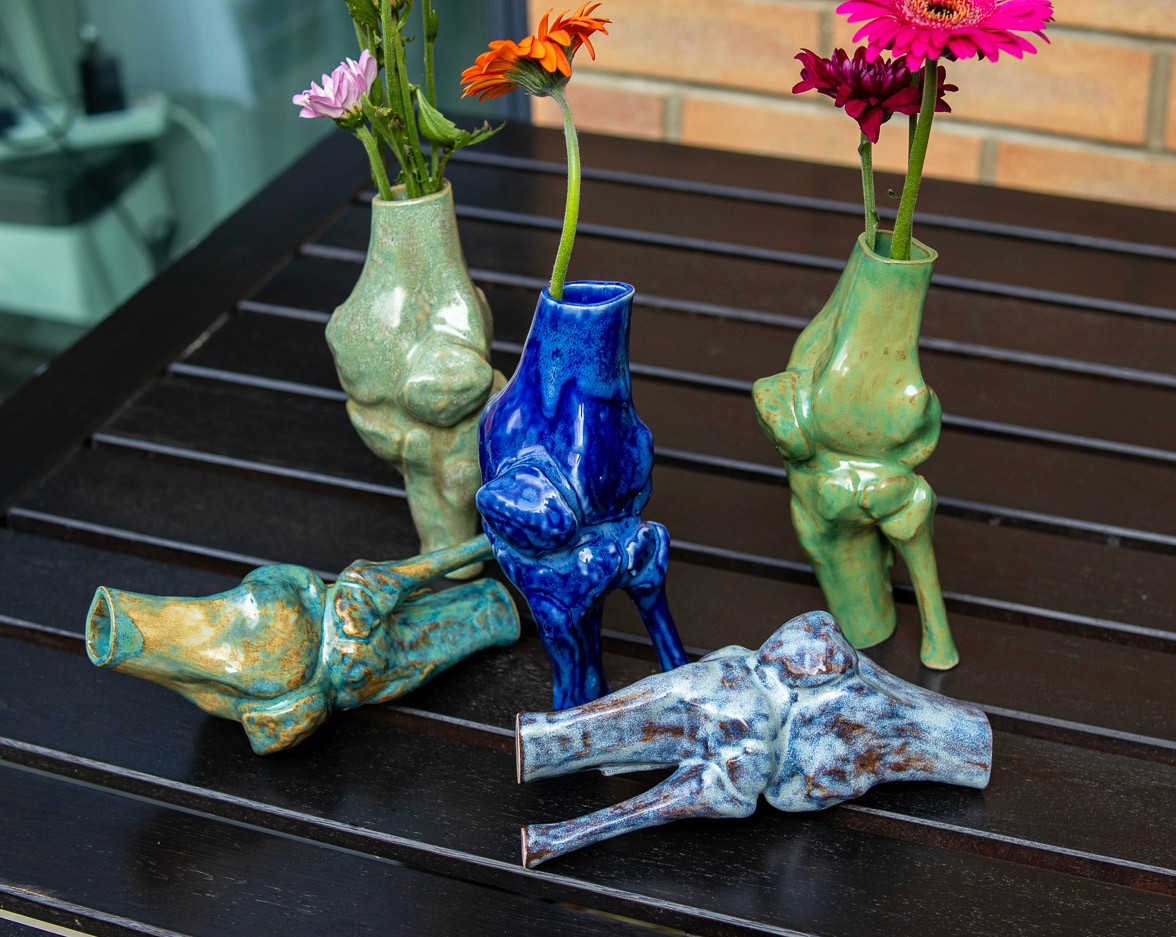
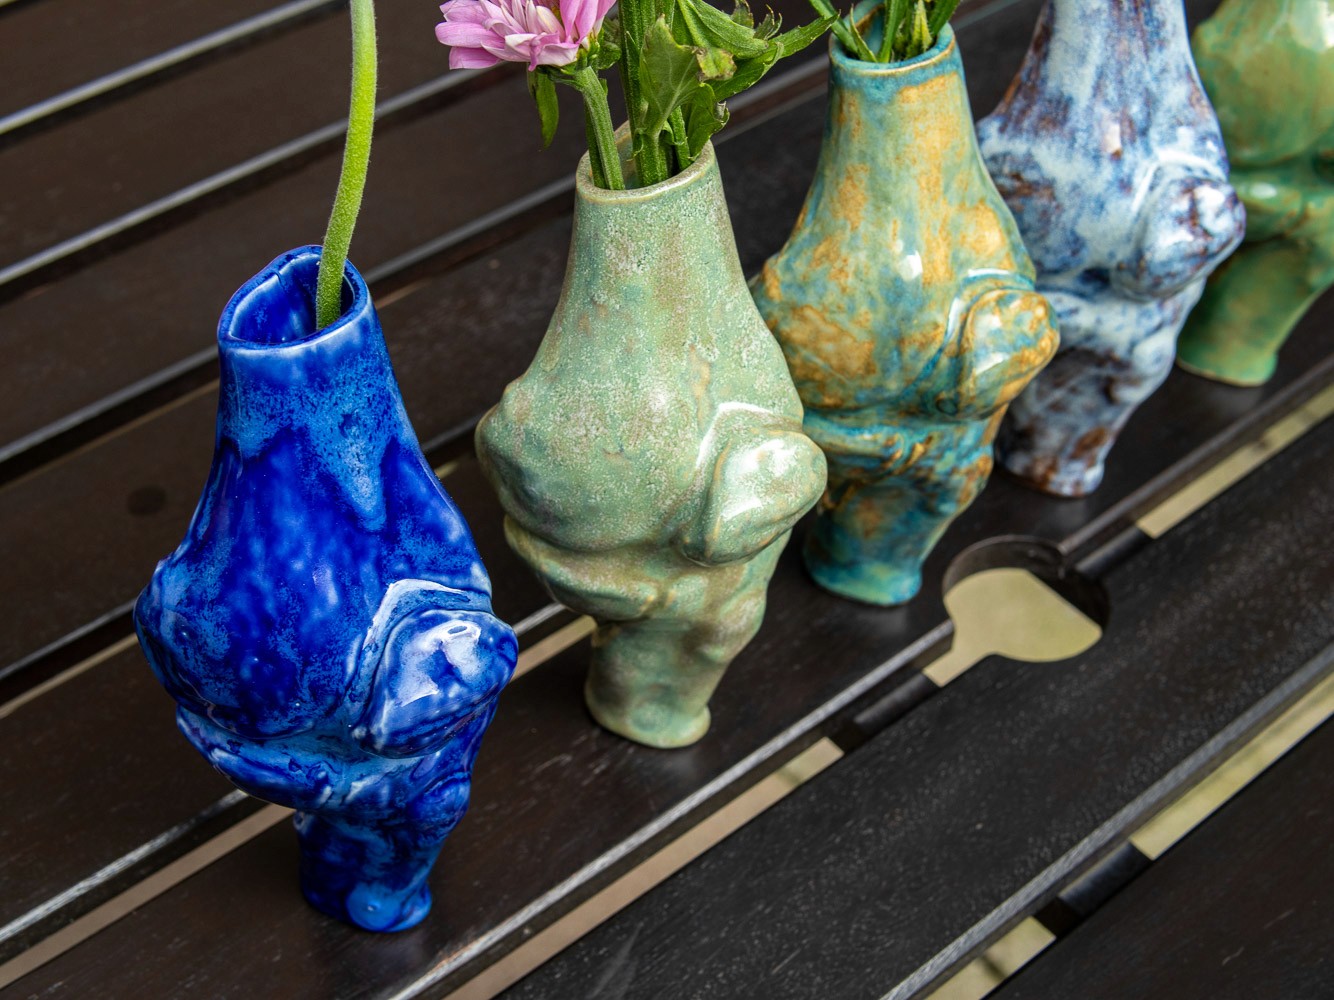
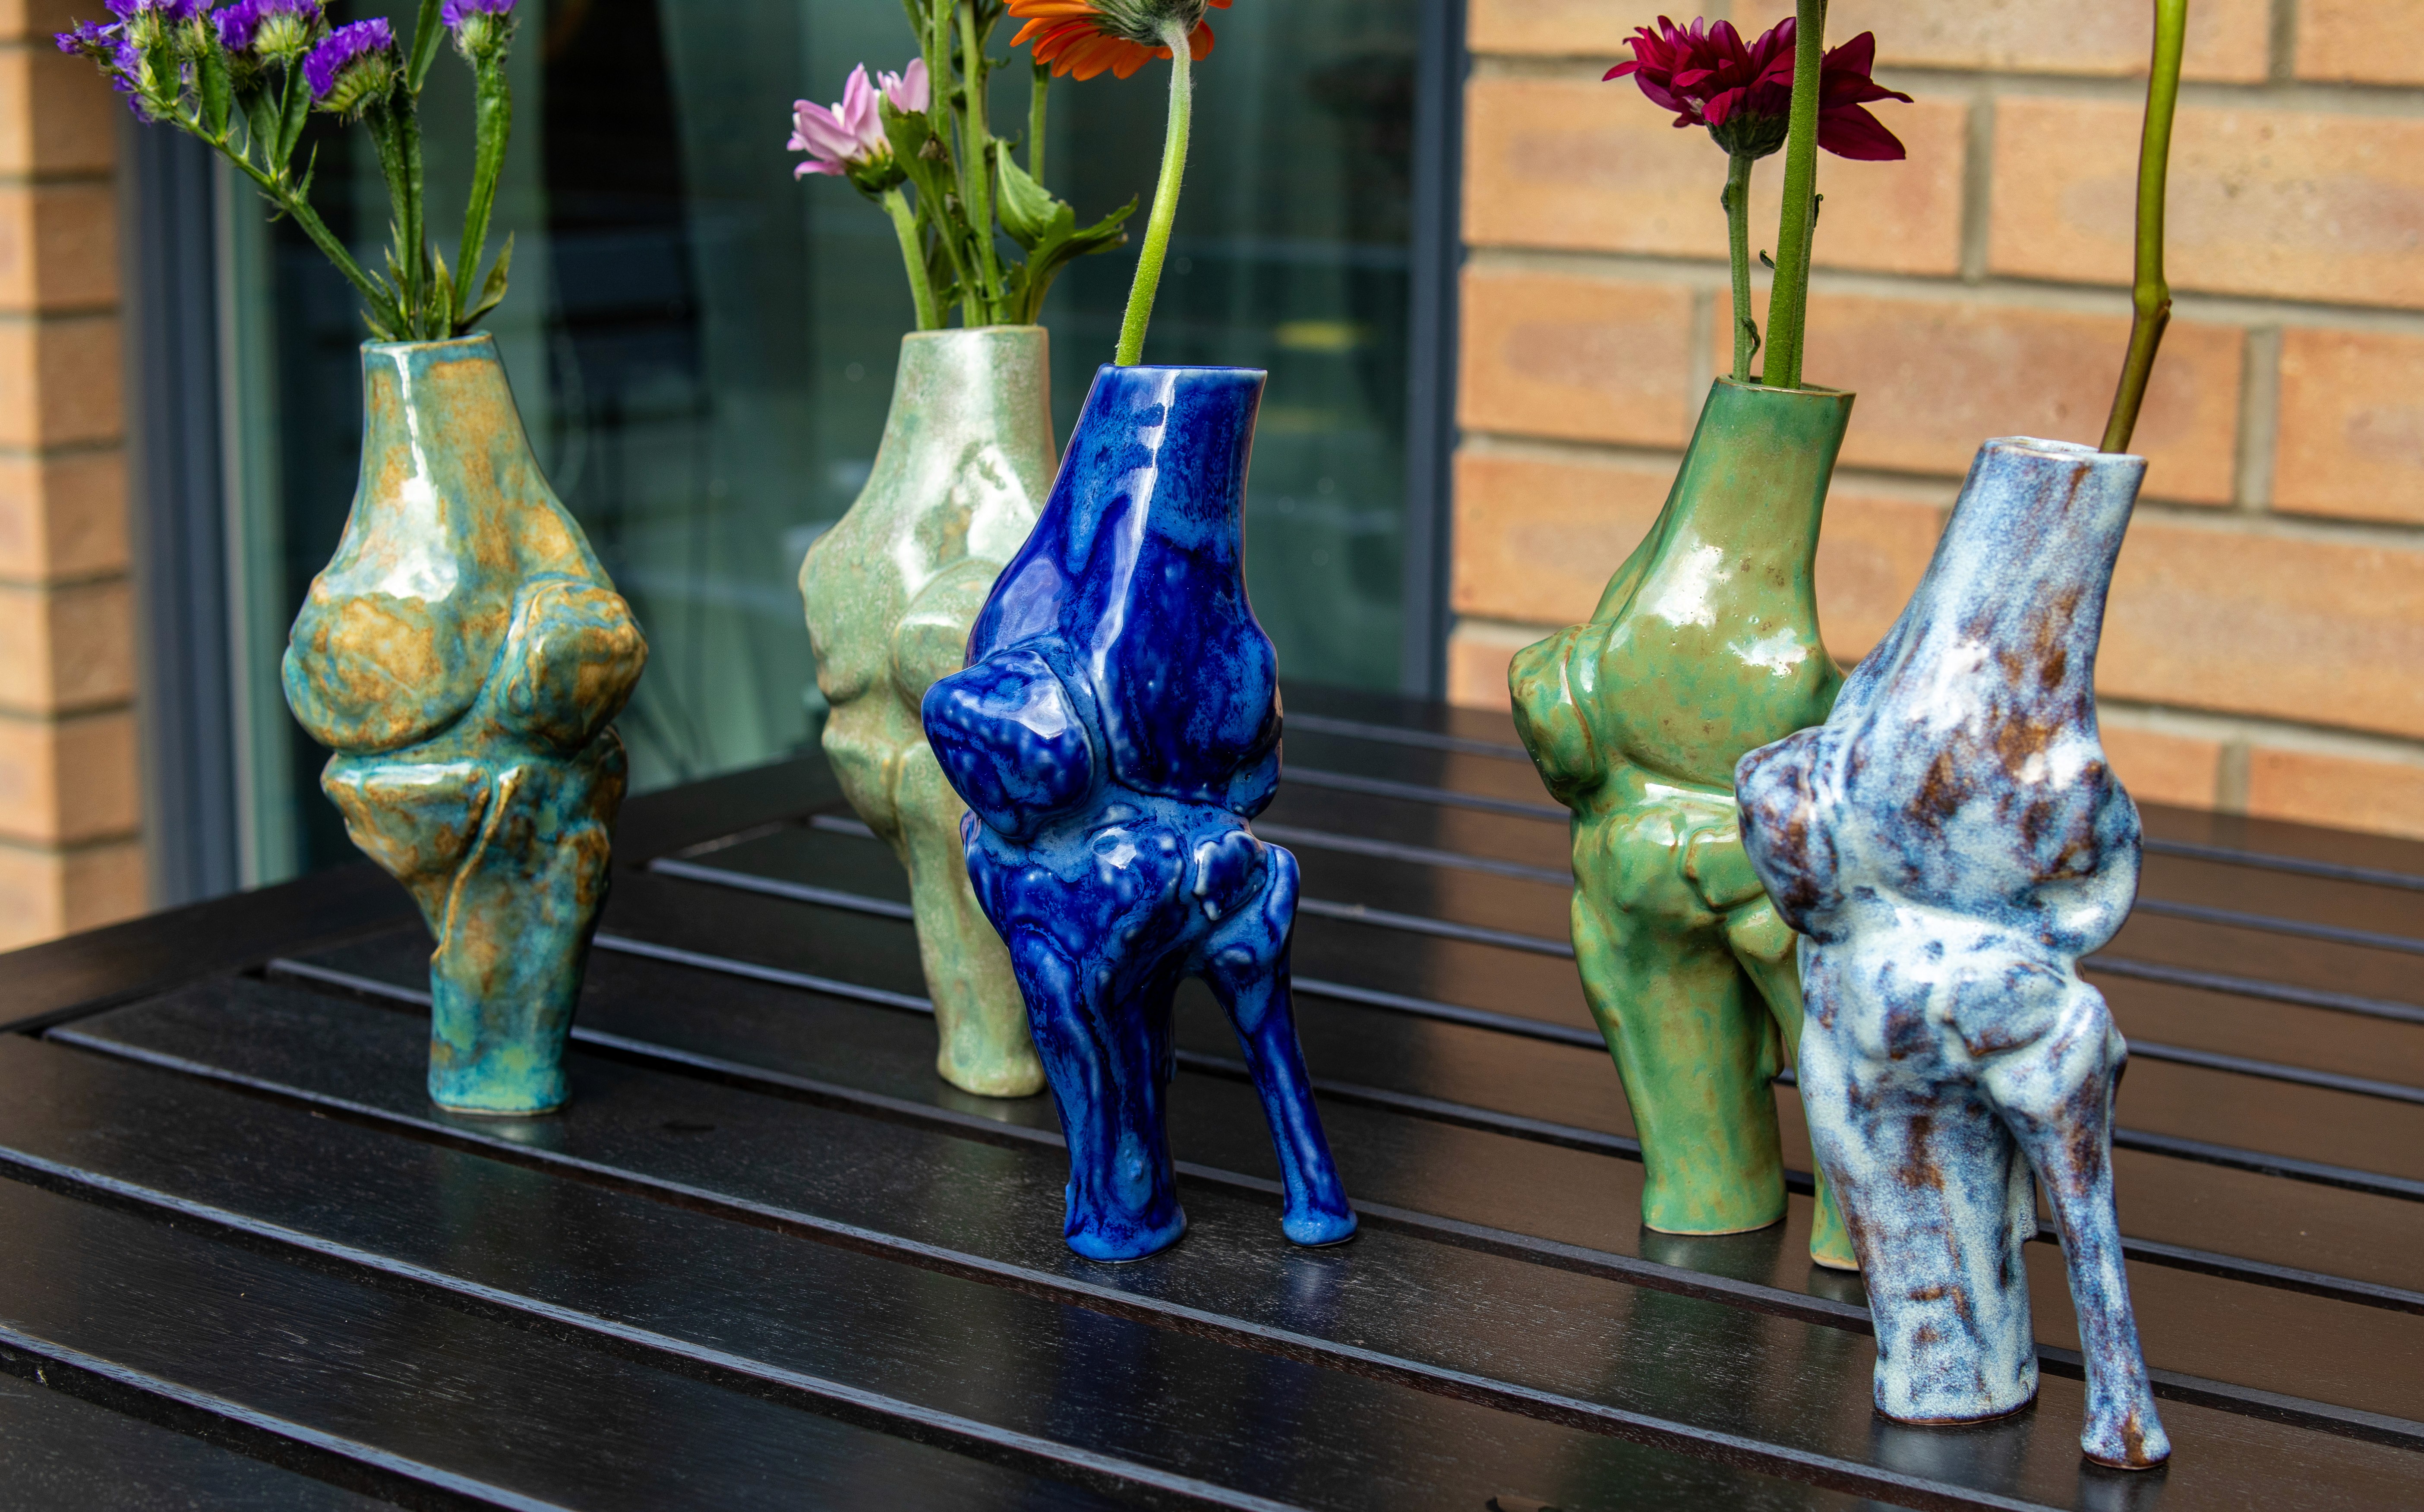
Medical Imaging to Porcelain (Slip Cast Bone Vase): An unexpected exploration of the grant was translating my own medical CT scans into a physical porcelain sculpture, brought about by a sudden accident shortly after application.
Data Processing: I utilized open-source medical software (Slicer) to convert thousands of 2D slices into a raw mesh, which was cleaned up and finally retopologized in ZBrush.
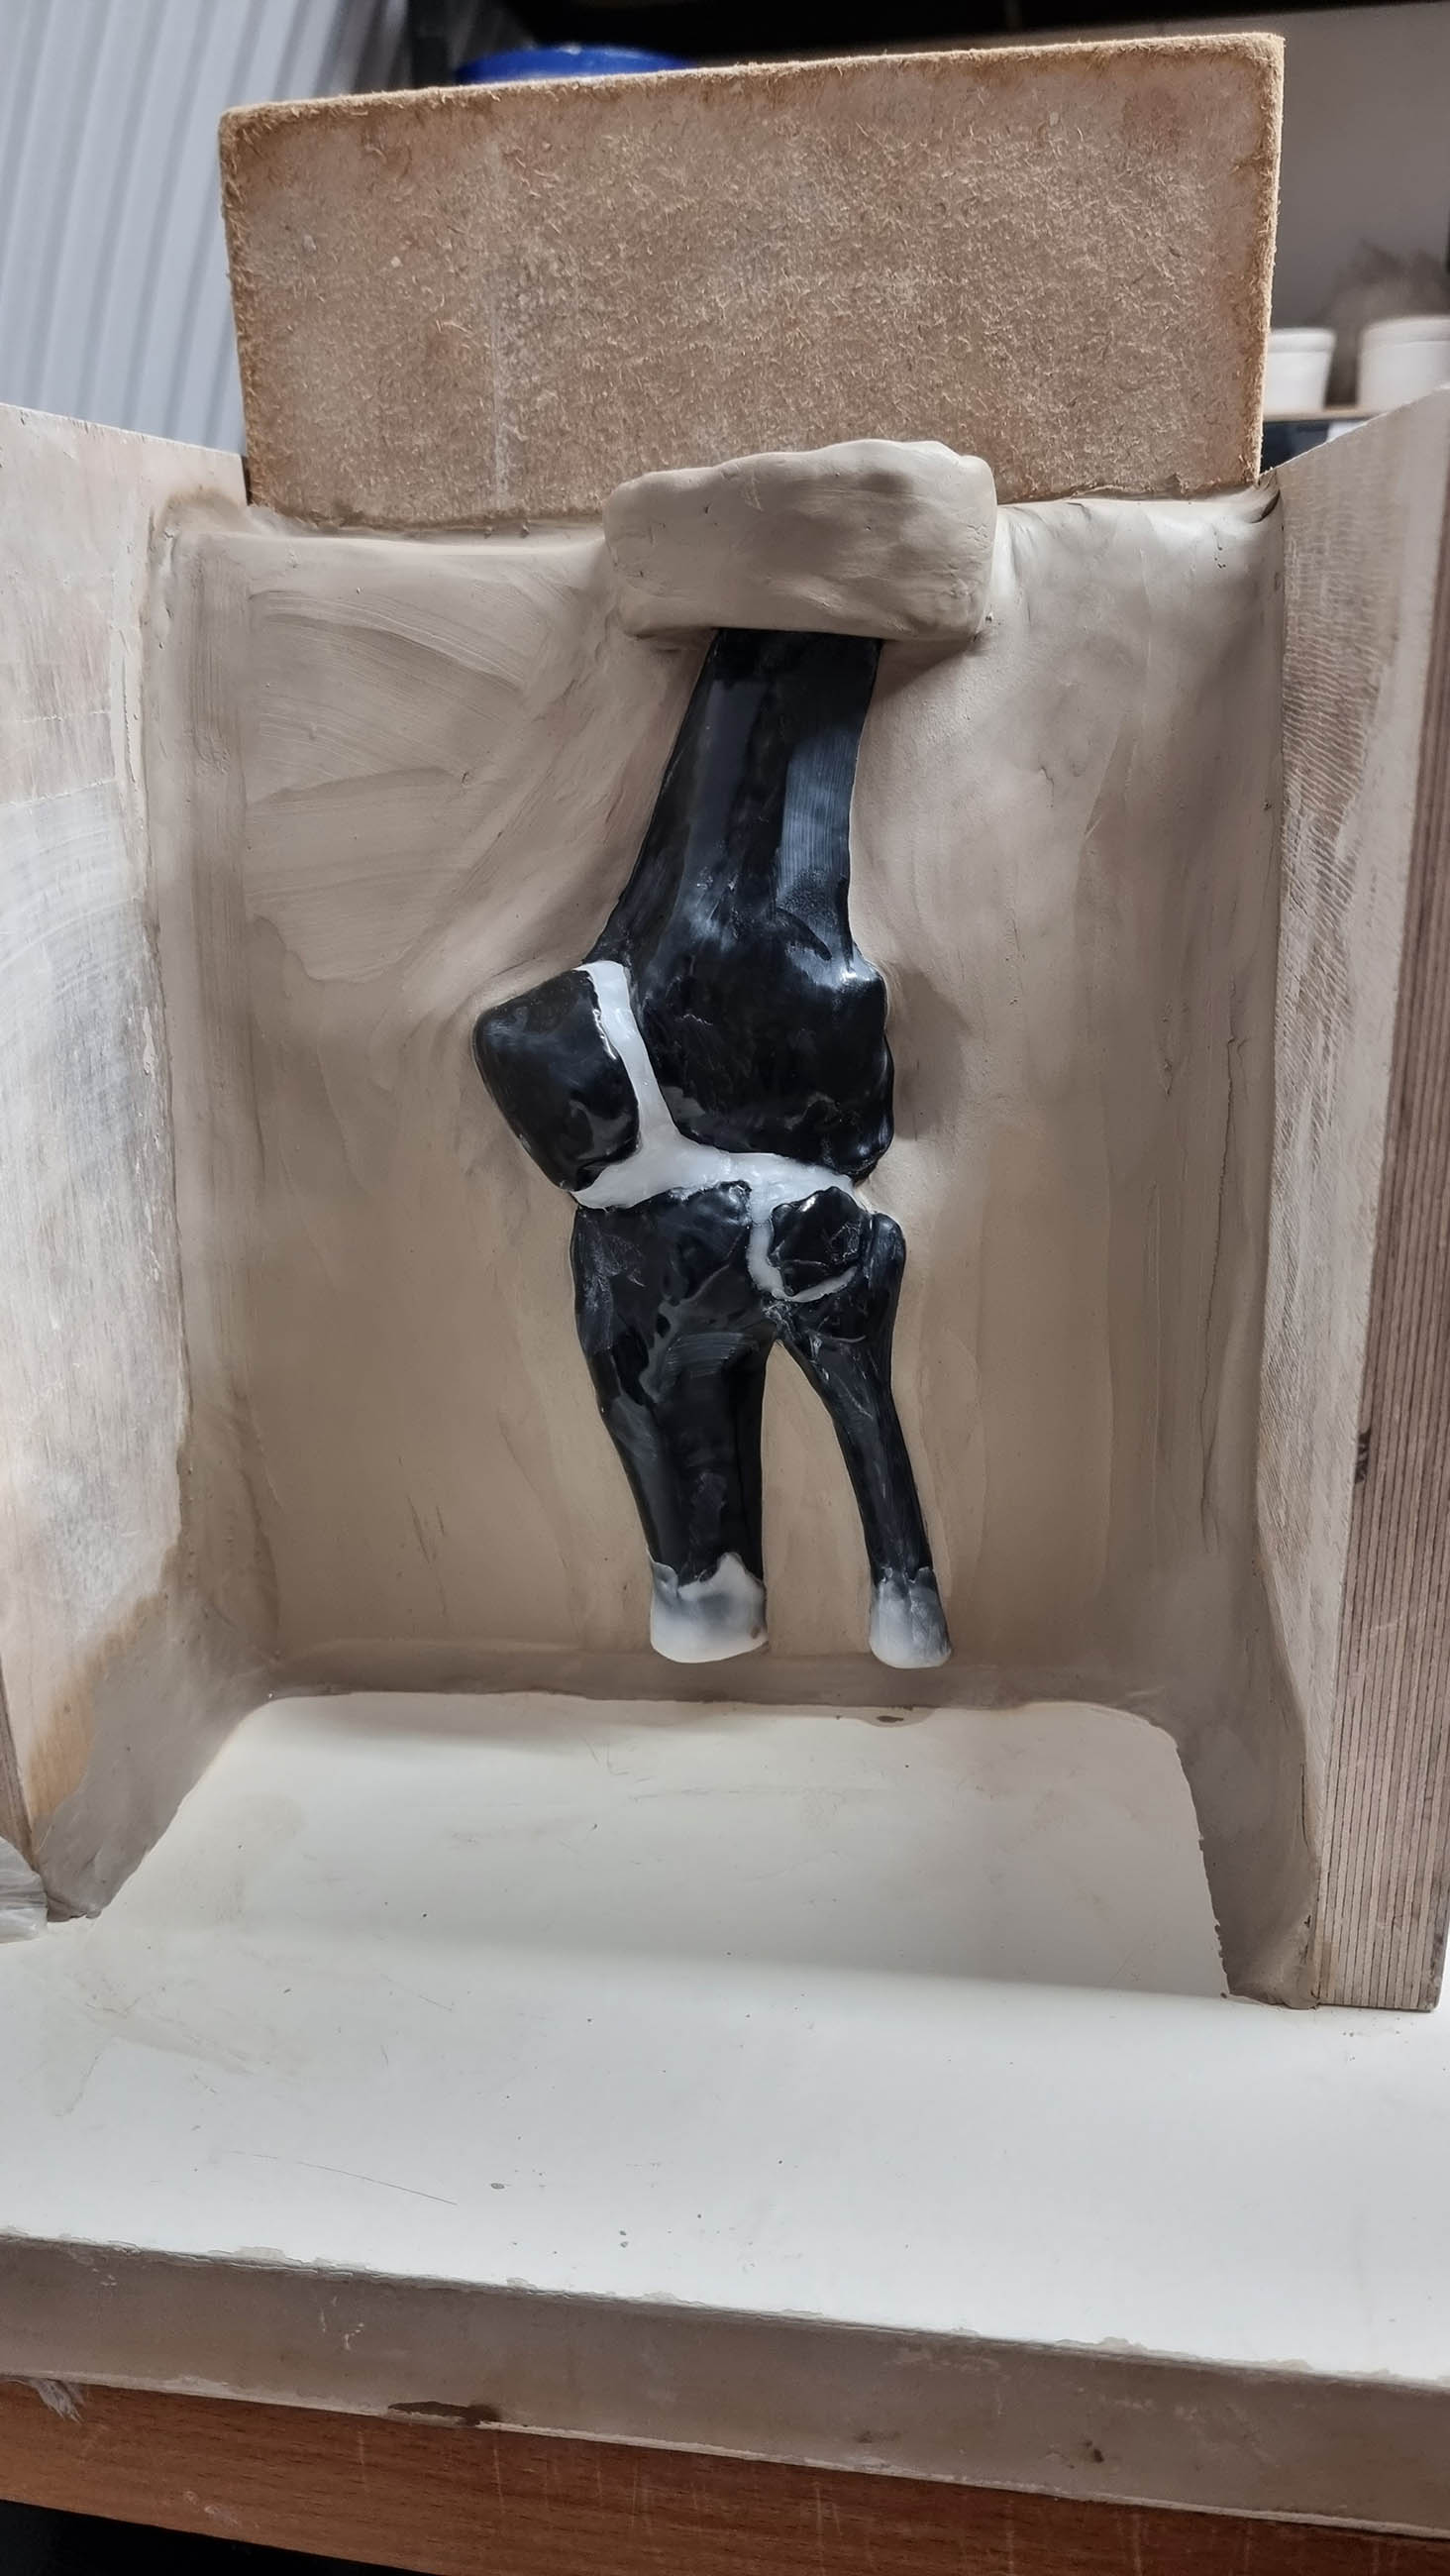
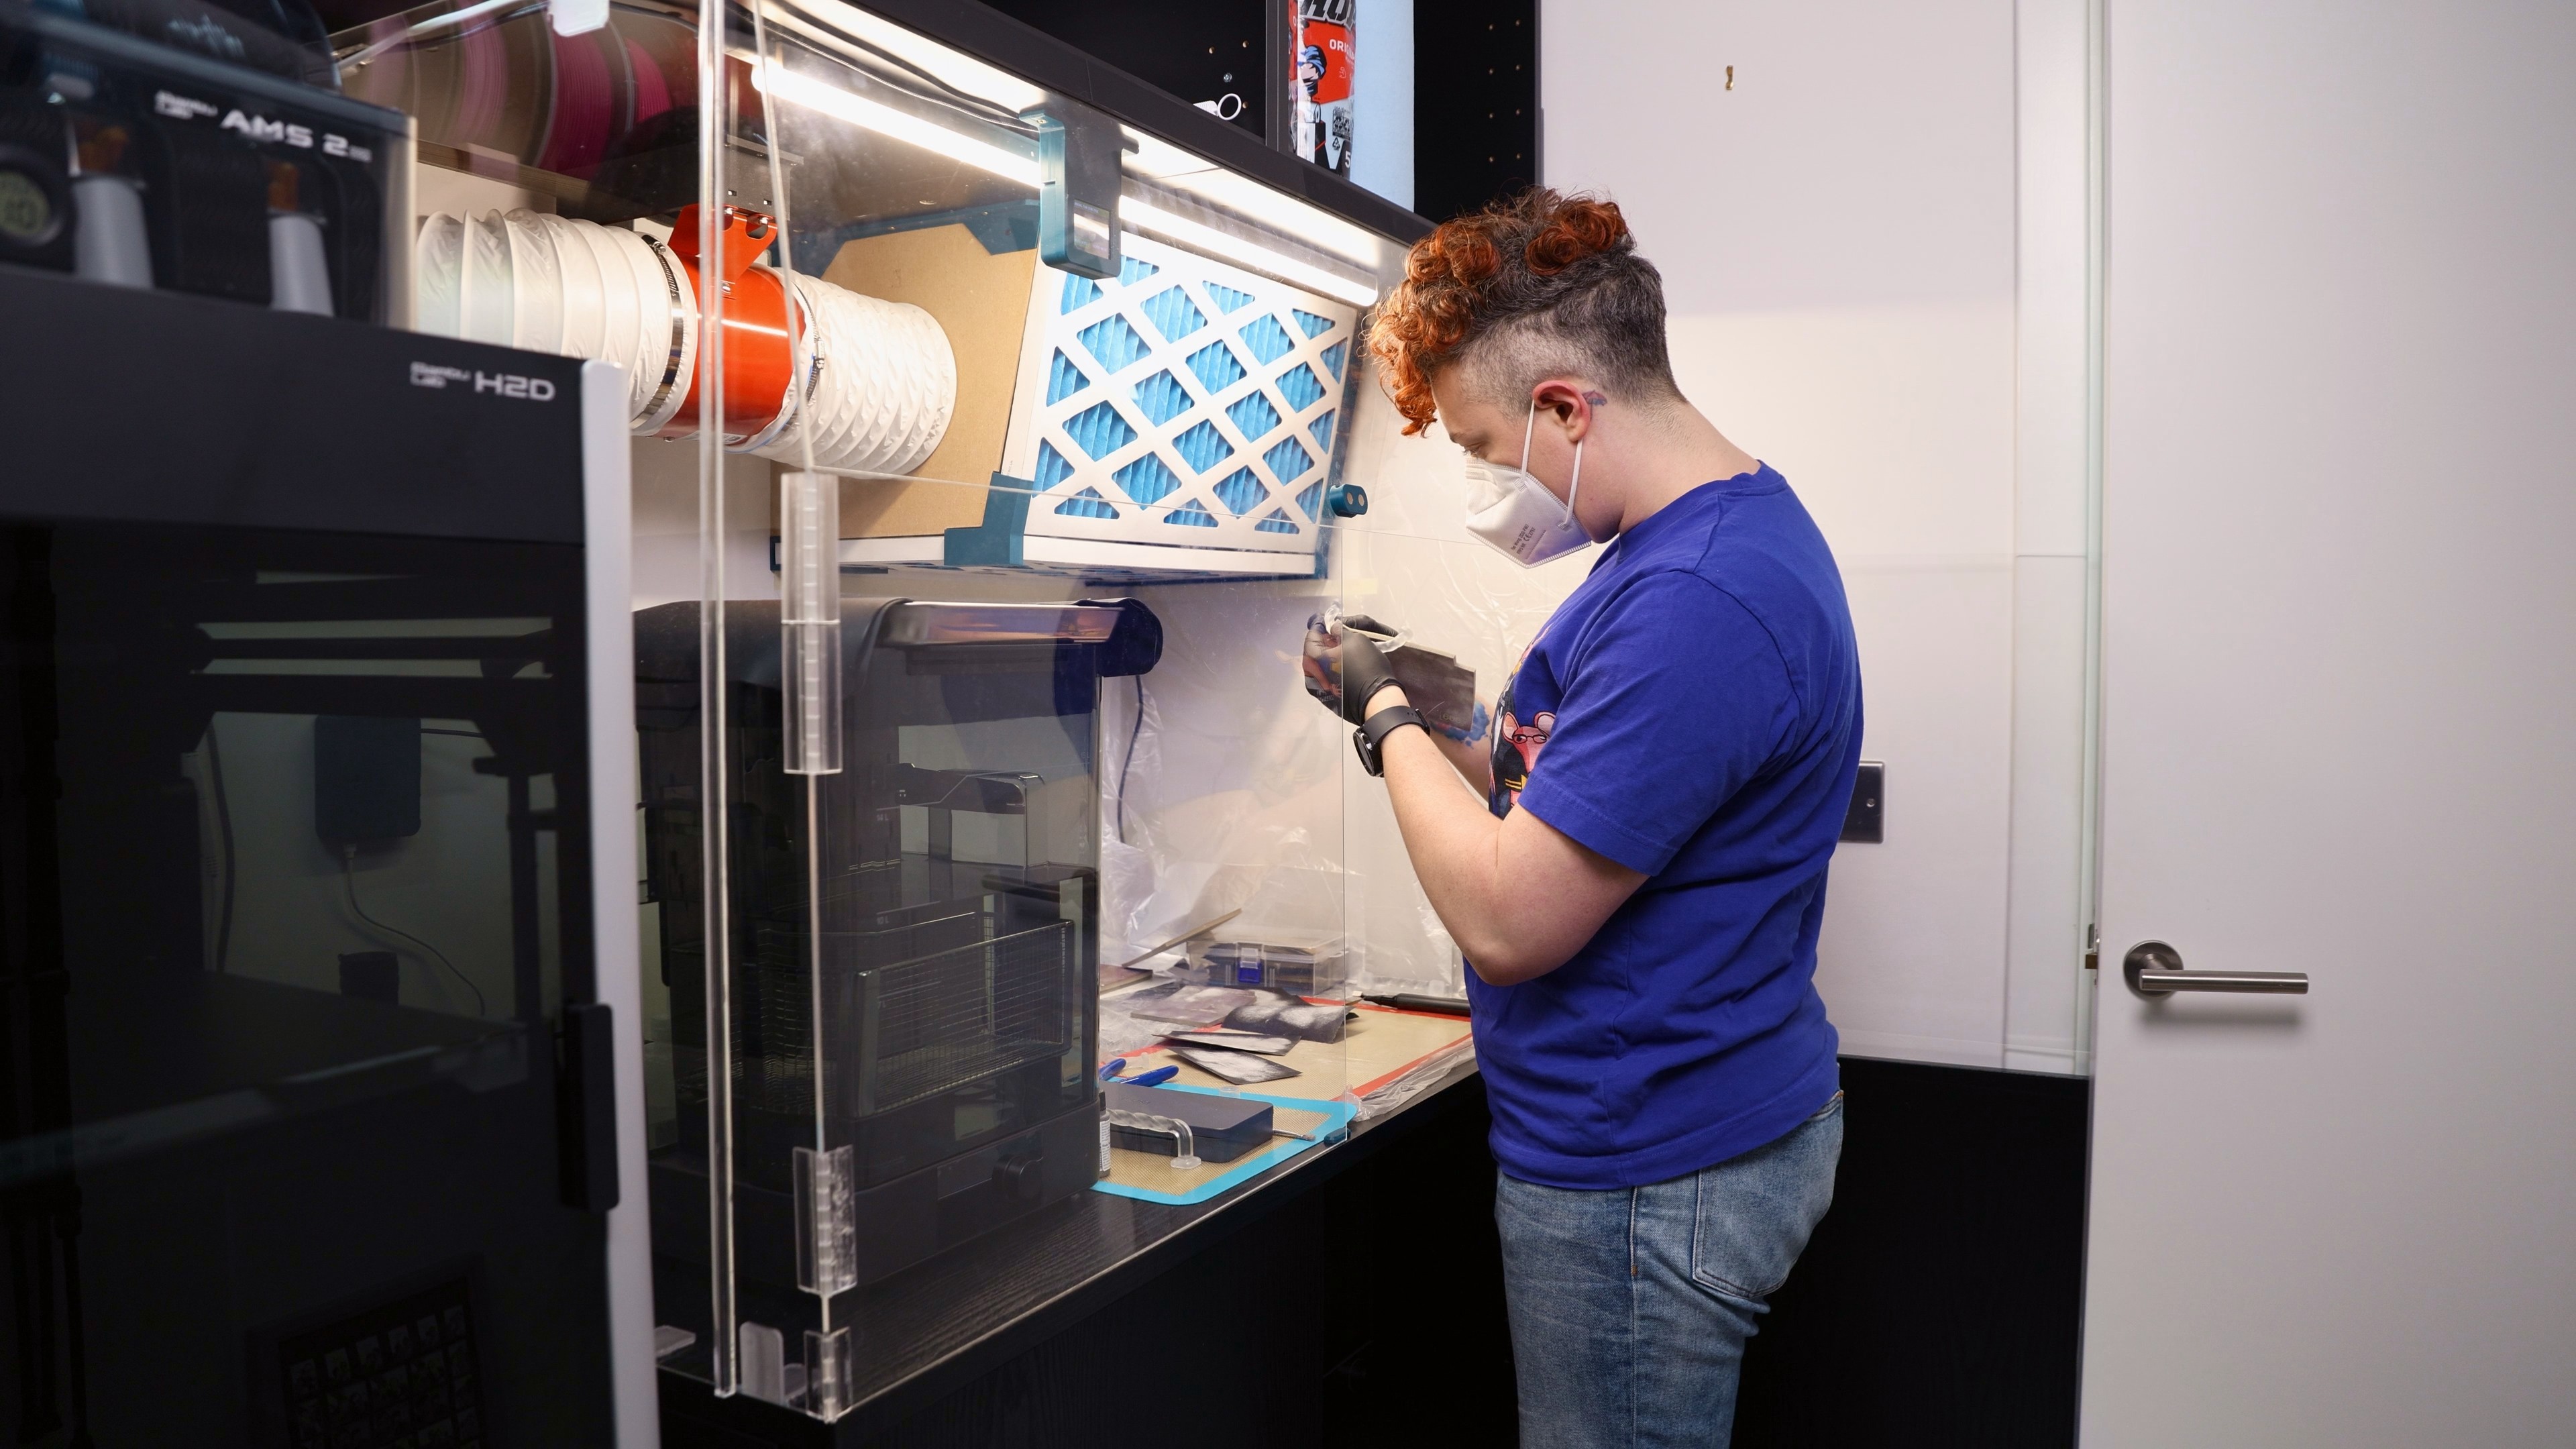
Fabrication & Finishing: The final digital bone models were printed in Polymaker PolySmooth (PVB) and chemically vapor-smoothed to eliminate layer lines for molding.
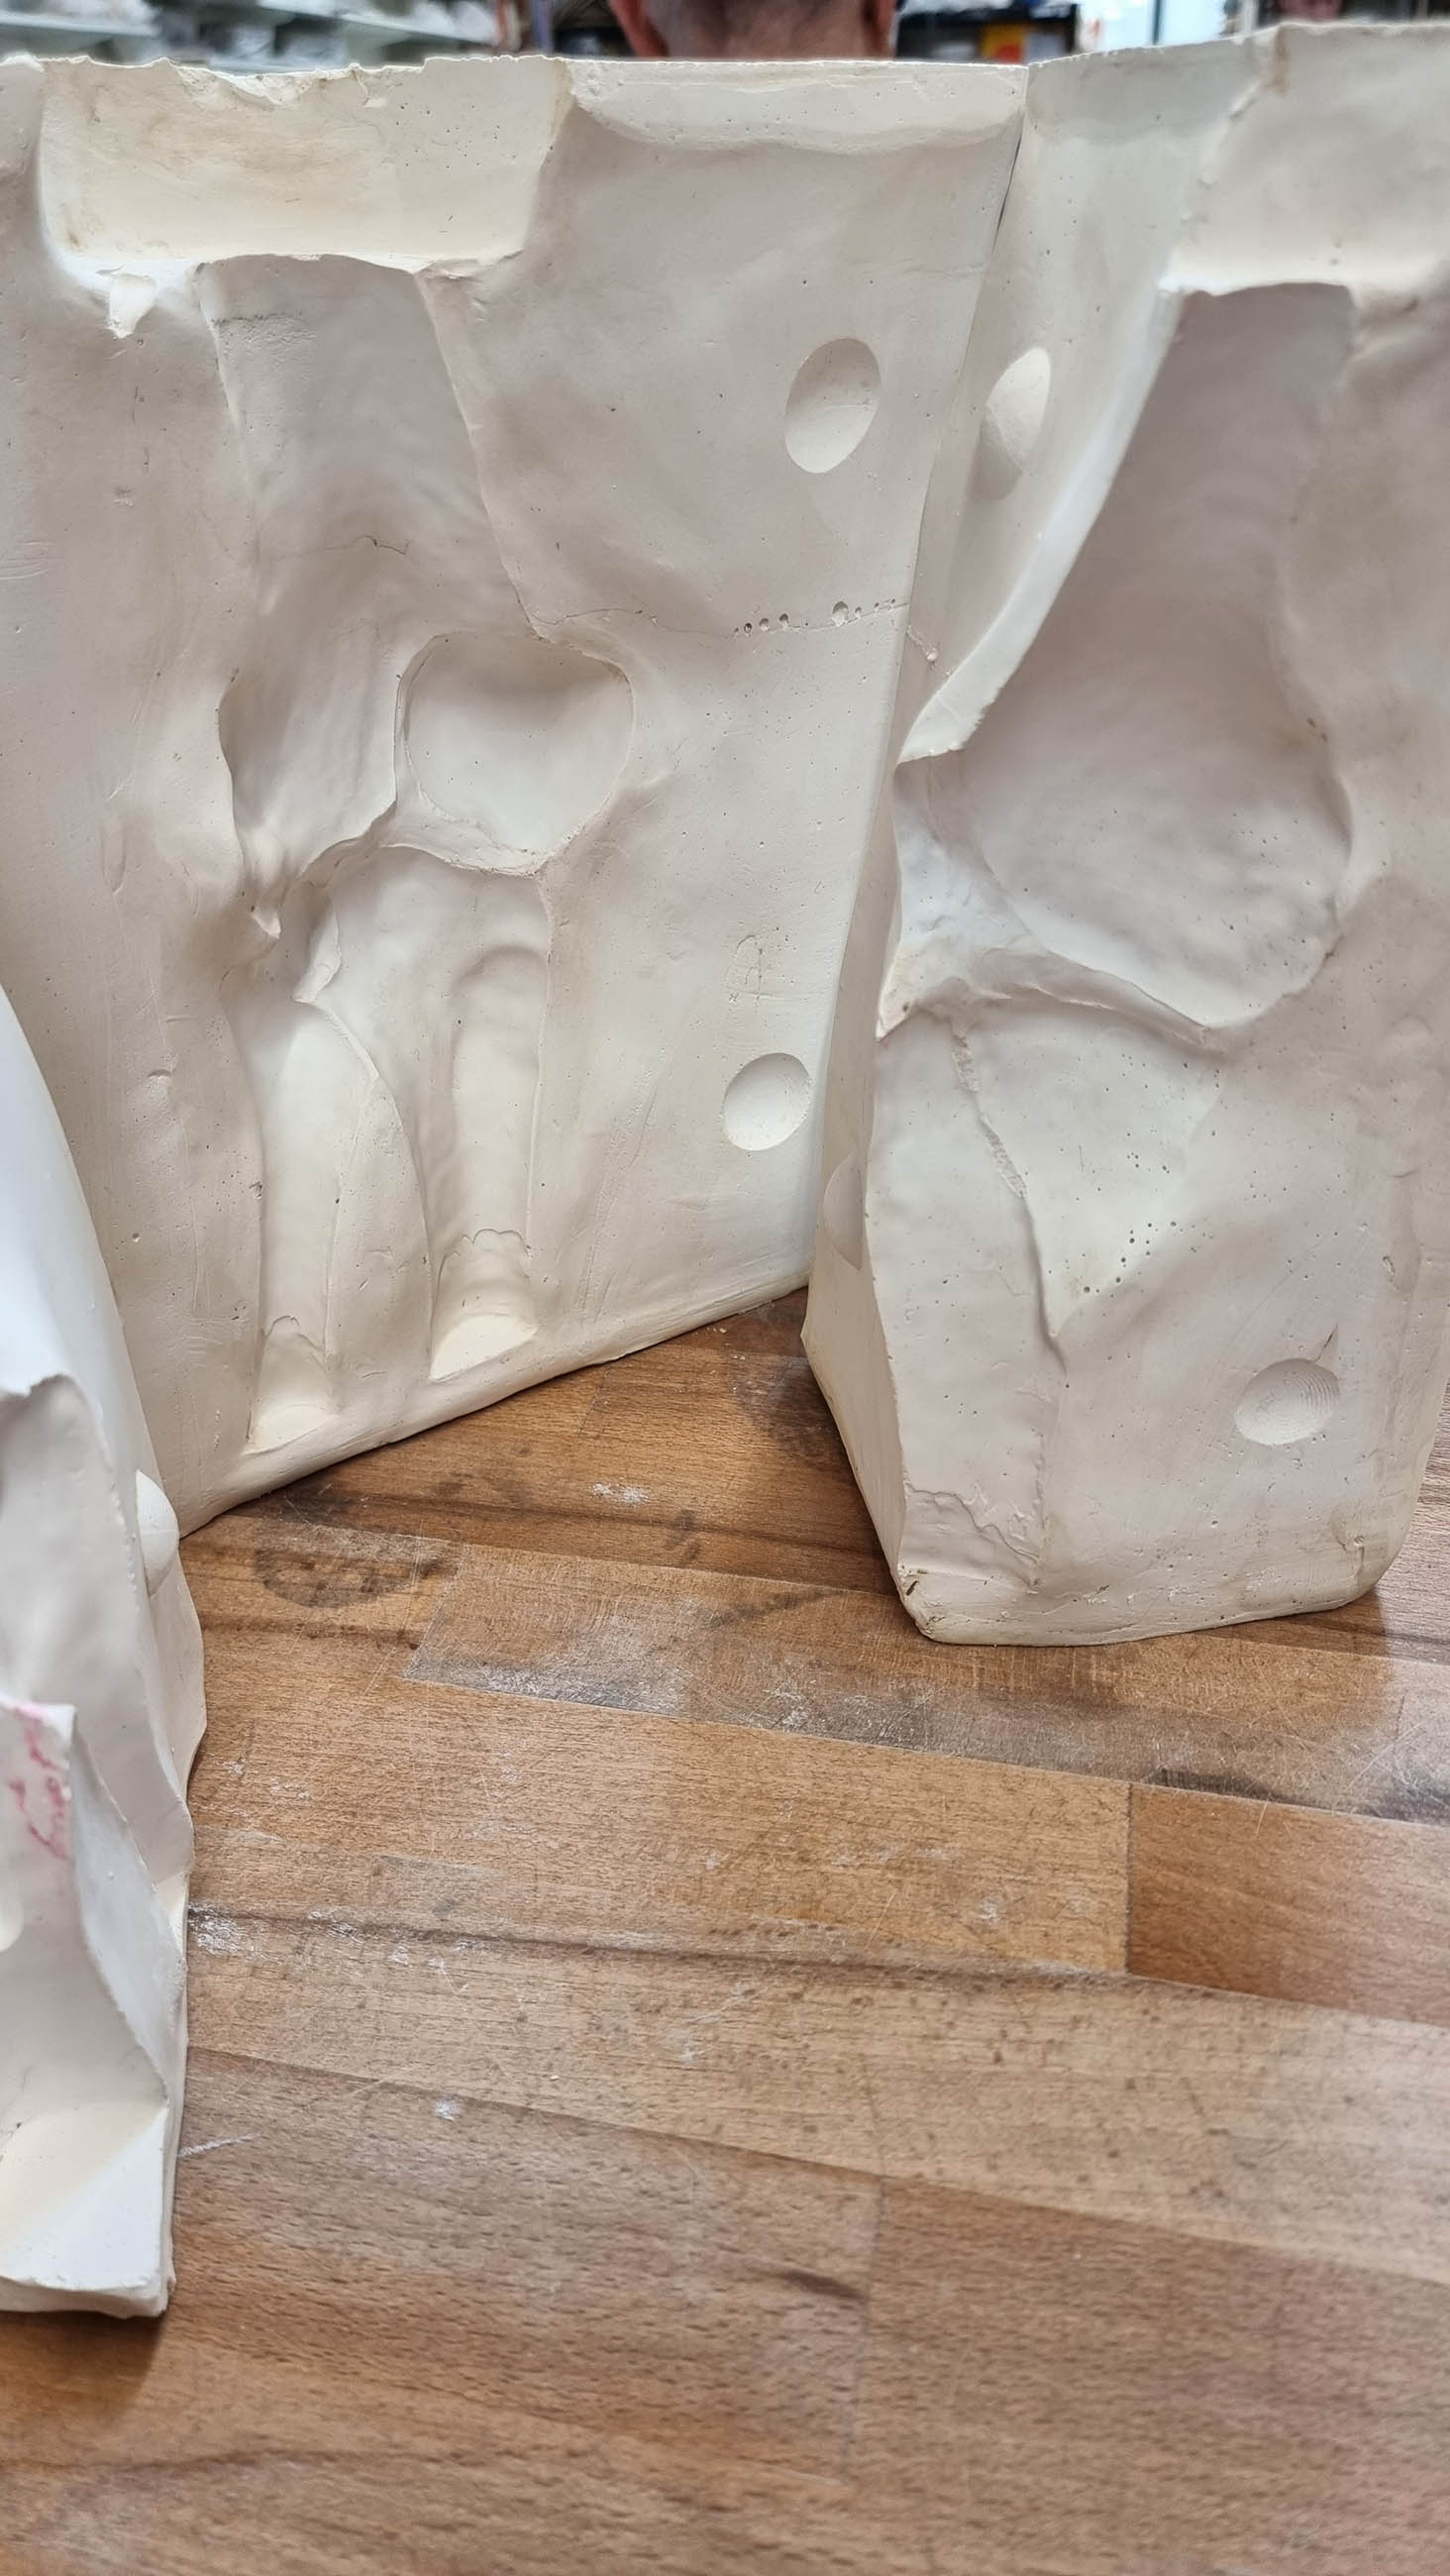
Slip Casting: Using the smoothed PVB prints as my positive, I created complex plaster molds to slip cast the final objects in porcelain, successfully turning a harrowing medical experience into a one-of-a-kind, multidisciplinary work of art.
Inventing Custom Ceramics Tools: To streamline common slab-building techniques and improve upon current wheel throwing tools, I engineered a series of bespoke tools.
The Edges and Joins Tool: Printed in Polymaker Polyflex TPU (90A shore hardness), this tool features various curves for smoothing slab joins and softening 90-degree edges, striking the perfect balance of firmness and flexibility.
The Origami Folding Rib: A modular, transforming tool designed to reduce single-use implements. Through rigorous material prototyping, I engineered a folding FDM-printed design that functions beautifully as a rib, scraper, and finishing tool on the pottery wheel.
Developing 3D Printed Slab Press Molds: The key focus of my R&D, my goal was to bring complex CAD geometries into the physical world without the mess of slip casting. To do this, I developed a unique slab press molding workflow. By printing multi-part molds based on complex parametric designs, I discovered novel ways to form flat clay slabs into intricate, gravity-defying vessels. One of my finished pieces using this method was featured in Hackspace Magazine.
Medical Imaging to Porcelain (Slip Cast Bone Vase): An unexpected exploration of the grant was translating my own medical CT scans into a physical porcelain sculpture, brought about by a sudden accident shortly after application.
Data Processing: I utilized open-source medical software (Slicer) to convert thousands of 2D slices into a raw mesh, which was cleaned up and finally retopologized in ZBrush.
Fabrication & Finishing: The final digital bone models were printed in Polymaker PolySmooth (PVB) and chemically vapor-smoothed to eliminate layer lines for molding.
Slip Casting: Using the smoothed PVB prints as my positive, I created complex plaster molds to slip cast the final objects in porcelain, successfully turning a harrowing medical experience into a one-of-a-kind, multidisciplinary work of art.


Additional Photos