DYCP GRANT STUDY
One of the hardest parts of being an innovator is often finding the financial support to chase your craziest dreams.
I’m thrilled to be able to share the research, discoveries and finished work that the DYCP Arts Grant has enabled me to pursue.
I learned about the Arts Council England’s Develop Your Creative Practice grant in 2022 and knew that I couldn’t pass up the opportunity to receive proper support to deep dive into exploratory research and development. I’m proud to say that my first application for the grant was accepted in December 2022 and I was able to kick off 2023 with the question:
How far can you improve ancient ceramics techniques with 3D design and digital fabrication techniques?
Custom Ceramics Tools: The Edges and Joins Tool & Origami Folding Rib
3D Printed ceramics tools are nothing new in the general sense; one look online will provide a plethora of 3D printed stamps, cutters and rollers one can use to enhance their practice.
But could 3D design and printing be utilised to push the creative envelope and develop something that didn’t currently exist on the market?
As much as it felt like a well trodden path already, I wanted to try my hand at developing my own unique objects to make working with clay a more pleasant experience. Using my own desire for specific tools as fuel alongside the feedback of other makers at my communal ceramics studio, I was able to narrow down my large pool of hair brained ideas down to two worth pursuing: the Edges and Joins Tool, and Origami Folding Rib.
Let the design process begin!
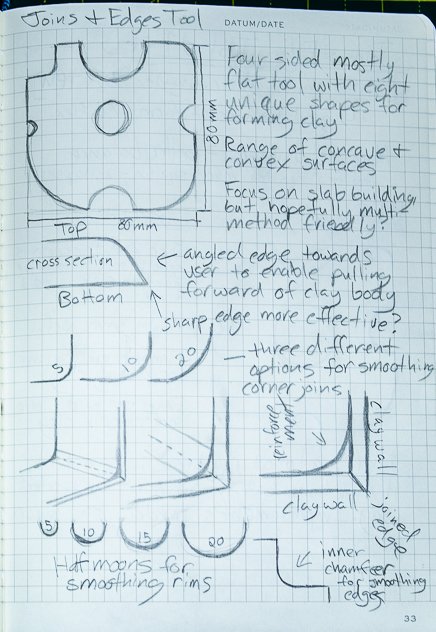
The Joins and Edges Tool took inspiration heavily from the cheap and cheerful tool that often comes with a tube of silicone caulk for sealing up a bathroom, something little more than a piece of plastic with the edges cut off. I saw a way something similar could be developed to streamline common slab-building techniques.
The tool makes the most of its real estate; each corner features a different sized curve for smoothing slab joins, with one inverted for softening 90 degree edges. The spaces in between are filled with half moons for finishing rims of different sizes.
I envisioned the tool as firm but flexible; Polymaker Polyflex TPU in 90A shore hardness provided this perfectly. Testing the tool myself alongside getting feedback from ‘beta testers’ allowed me to iterate on the design as seen to the right until it felt like it worked the way I wanted it to.
I played a bit with the aesthetics of the tool but ultimately liked Version 3 the best!
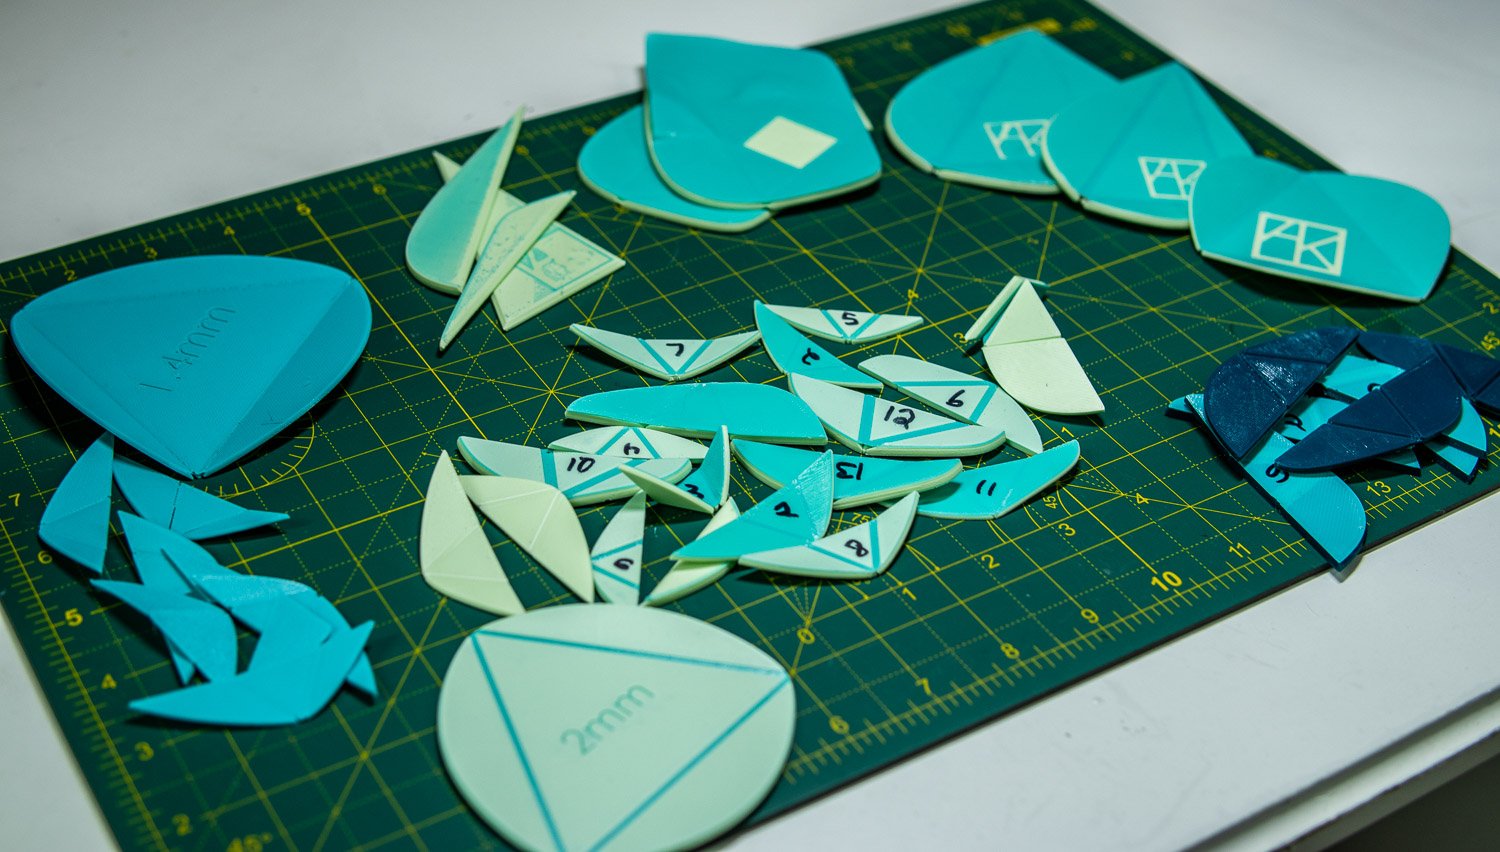
The Origami Folding Rib Tool came about from my desire to eliminate single use tools combined with my need to push myself creatively. I love objects that are modular, can fold and morph shape, and thus it was only logical (to my own unusual mind) to try and make a ceramics tool that could transform into more than one object.
Unlike the Edges and Joins Tool, finding a way to bring this idea into reality required a great deal of materials and functionality prototyping. Since I was limited in my manufacturing process, I had to find a way to make it work with a single extrusion FDM 3D printer, or give it up entirely.
It took NUMEROUS attempts to produce a result that didn’t break or fall apart, but surprisingly the first stable prototype not only worked, but worked well. I tested the Origami Folding Rib Tool multiple times on the wheel with porcelain clay and was thrilled to discover it not only worked great as a rib, but also as a scraper and finishing tool!
I didn’t want to JUST create tools. Since these designs were inspired by own my desire to make, I wanted to use the finished prototypes to actually MAKE things. Below are a range of pieces created using my own custom tools as part of the process.
3D Printed Slab Press Mould
Sometimes innovation looks less like creating something never seen before, and more like combining pre-existing things in a way that transforms a process entirely.
Even in my early days of ceramics I was determined to find ways to use technology to help me fabricate pieces that would otherwise be too challenging or outright impossible to make. I dreamt of shapes that would look mesmerising in clay; things that would be easy to design on a computer without the constraints of gravity and materiality but difficult to render in my medium of choice. This yearning pulled me towards what would become the lengthy process of developing 3D printed slab press moulds.
I knew that slip casting was a production method well suited to complex moulds, but 3D printing for slip casting was also already a well established process used by many successful artists. Slip casting is also messy, time consuming, and not accessible to all makers.
Perhaps there was another way.
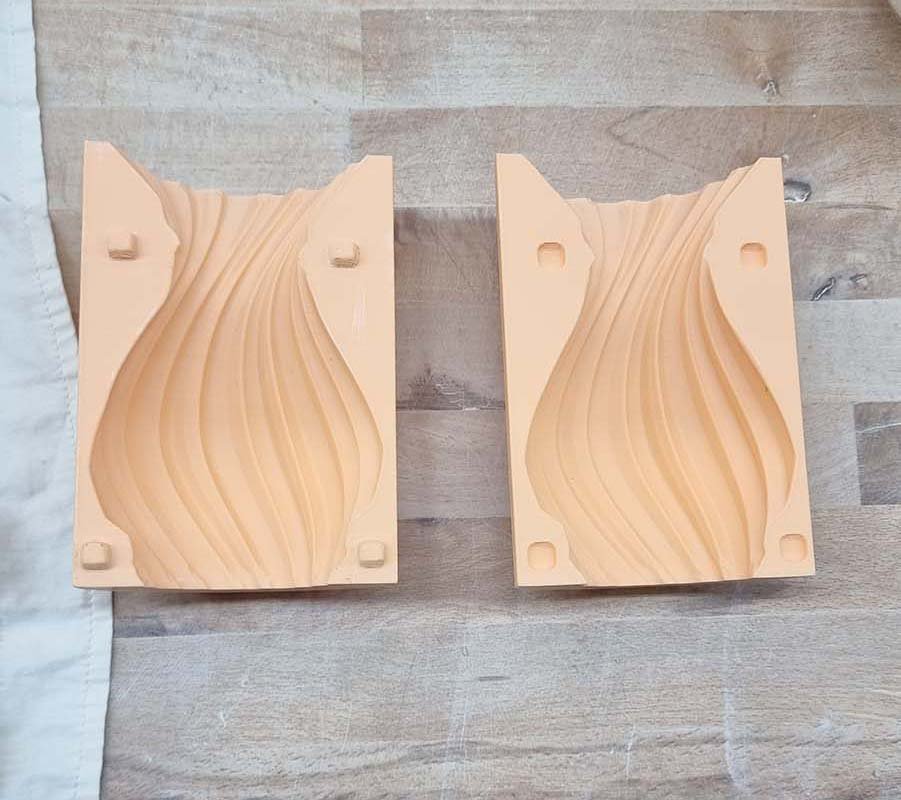
My thought was that slabs (uniformly flat pieces of clay) were easier to manipulate than slip, and that gravity could be used to coax the clay to take certain forms with the help of solid forms. Simple drape forms for slab built bowls and plates already exist, but typically are restricted to simple forms that will easily release from the hardened clay.
Could 3D printing help create more complex shapes?
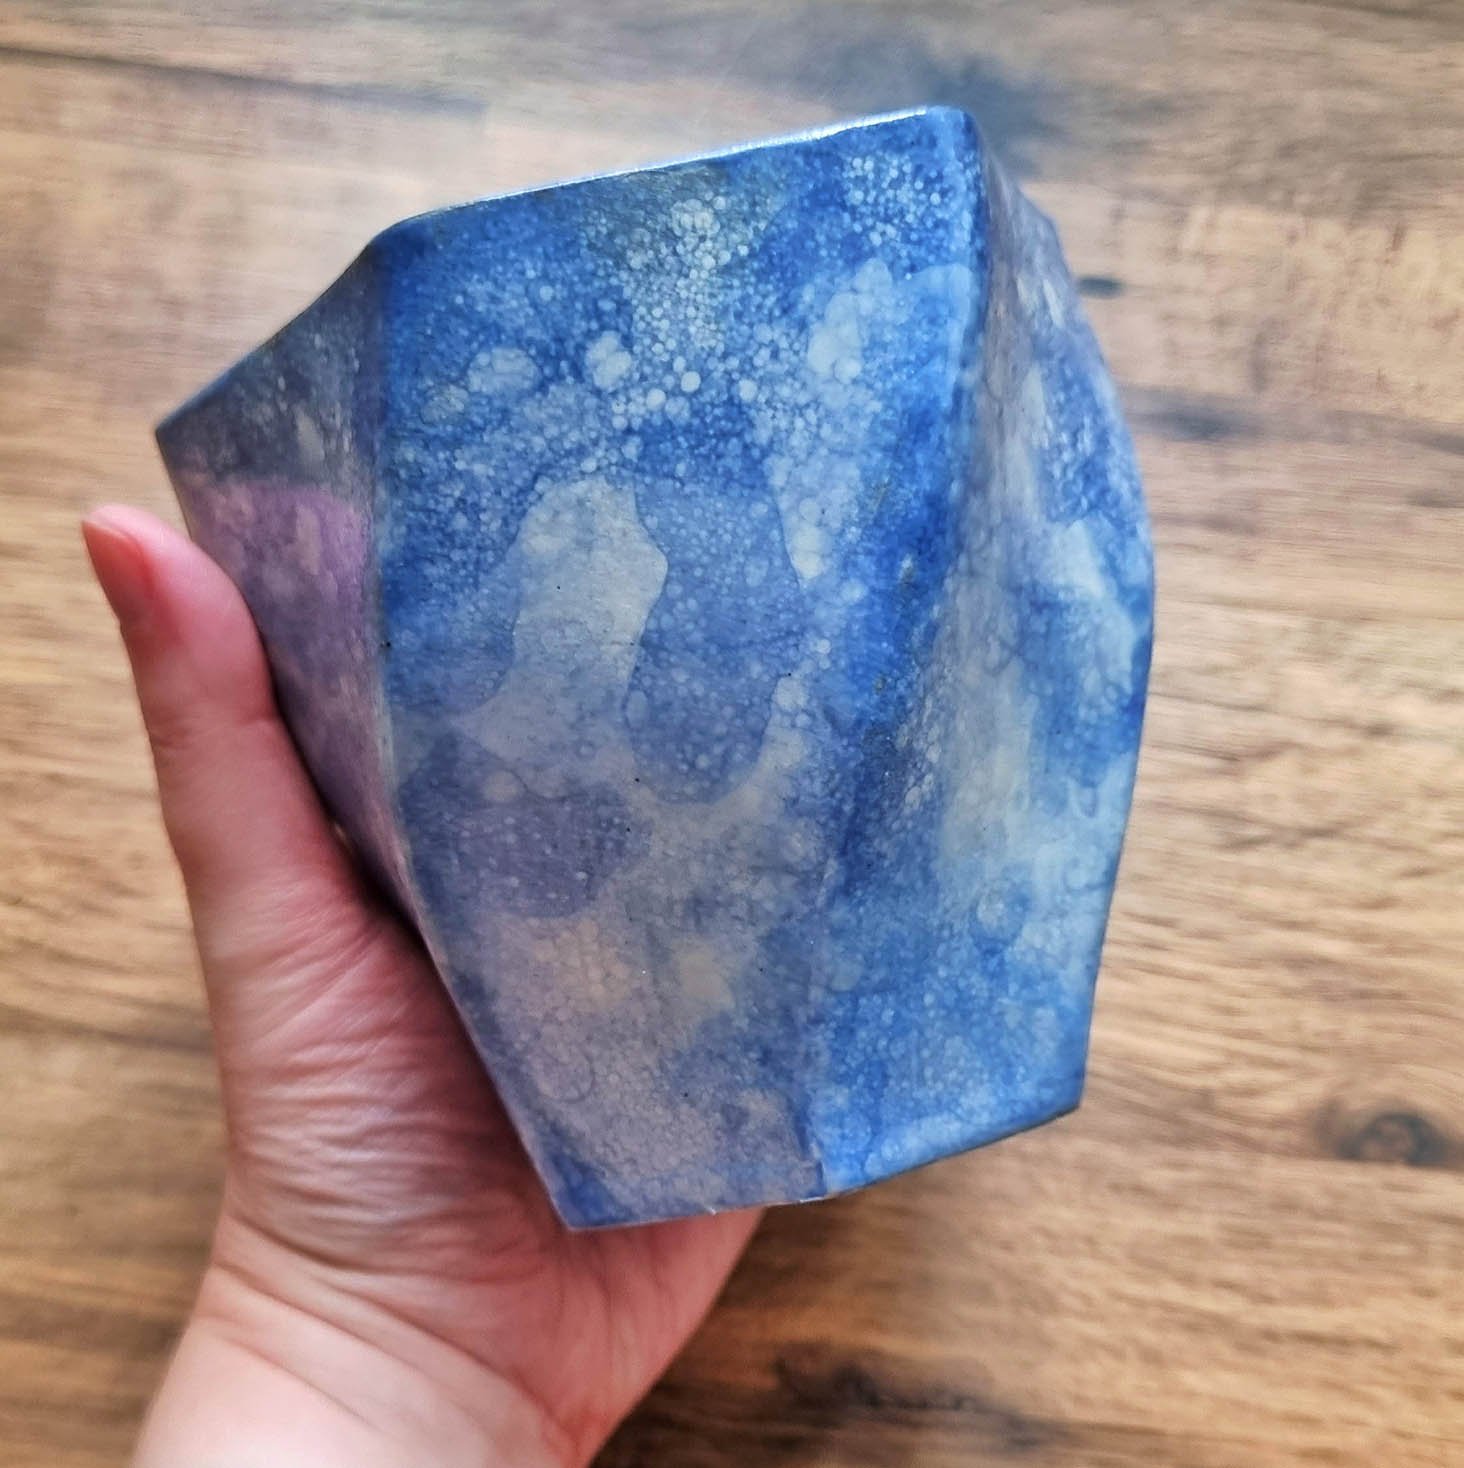
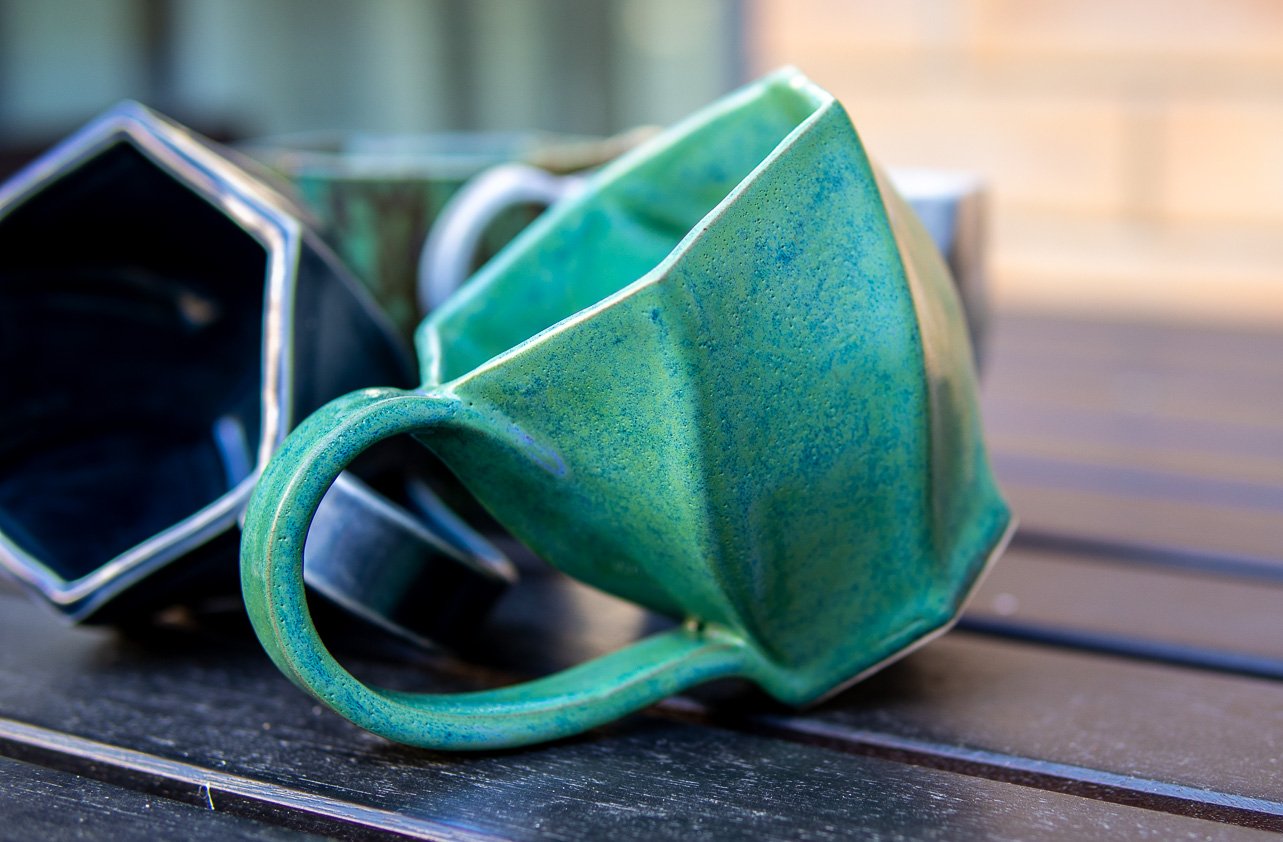
Experiments began with a twisted hexagonal vase, with individual pieces formed on curved 3D printed objects then hand assembled into a finished object. I attempted a large diamond shaped vessel with the same approach.
The process was tedious, time consuming and challenging, but the end result was also so enchanting I had to dive deeper.
I tweaked the process, over and over as I chased this creative rabbit down this particularly deep hole. The Hex Vase turned into the Hex Cup. The lay-flat forms turned into a one part mould, which would later transform into a two and eventually three part mould.
Eventually the process became streamlined, faster, and easier to reproduce. I was onto something.
Not satisfied with merely achieving success with a simple (relatively speaking) shape, I decided to see if the process could handle something considerably more complex.
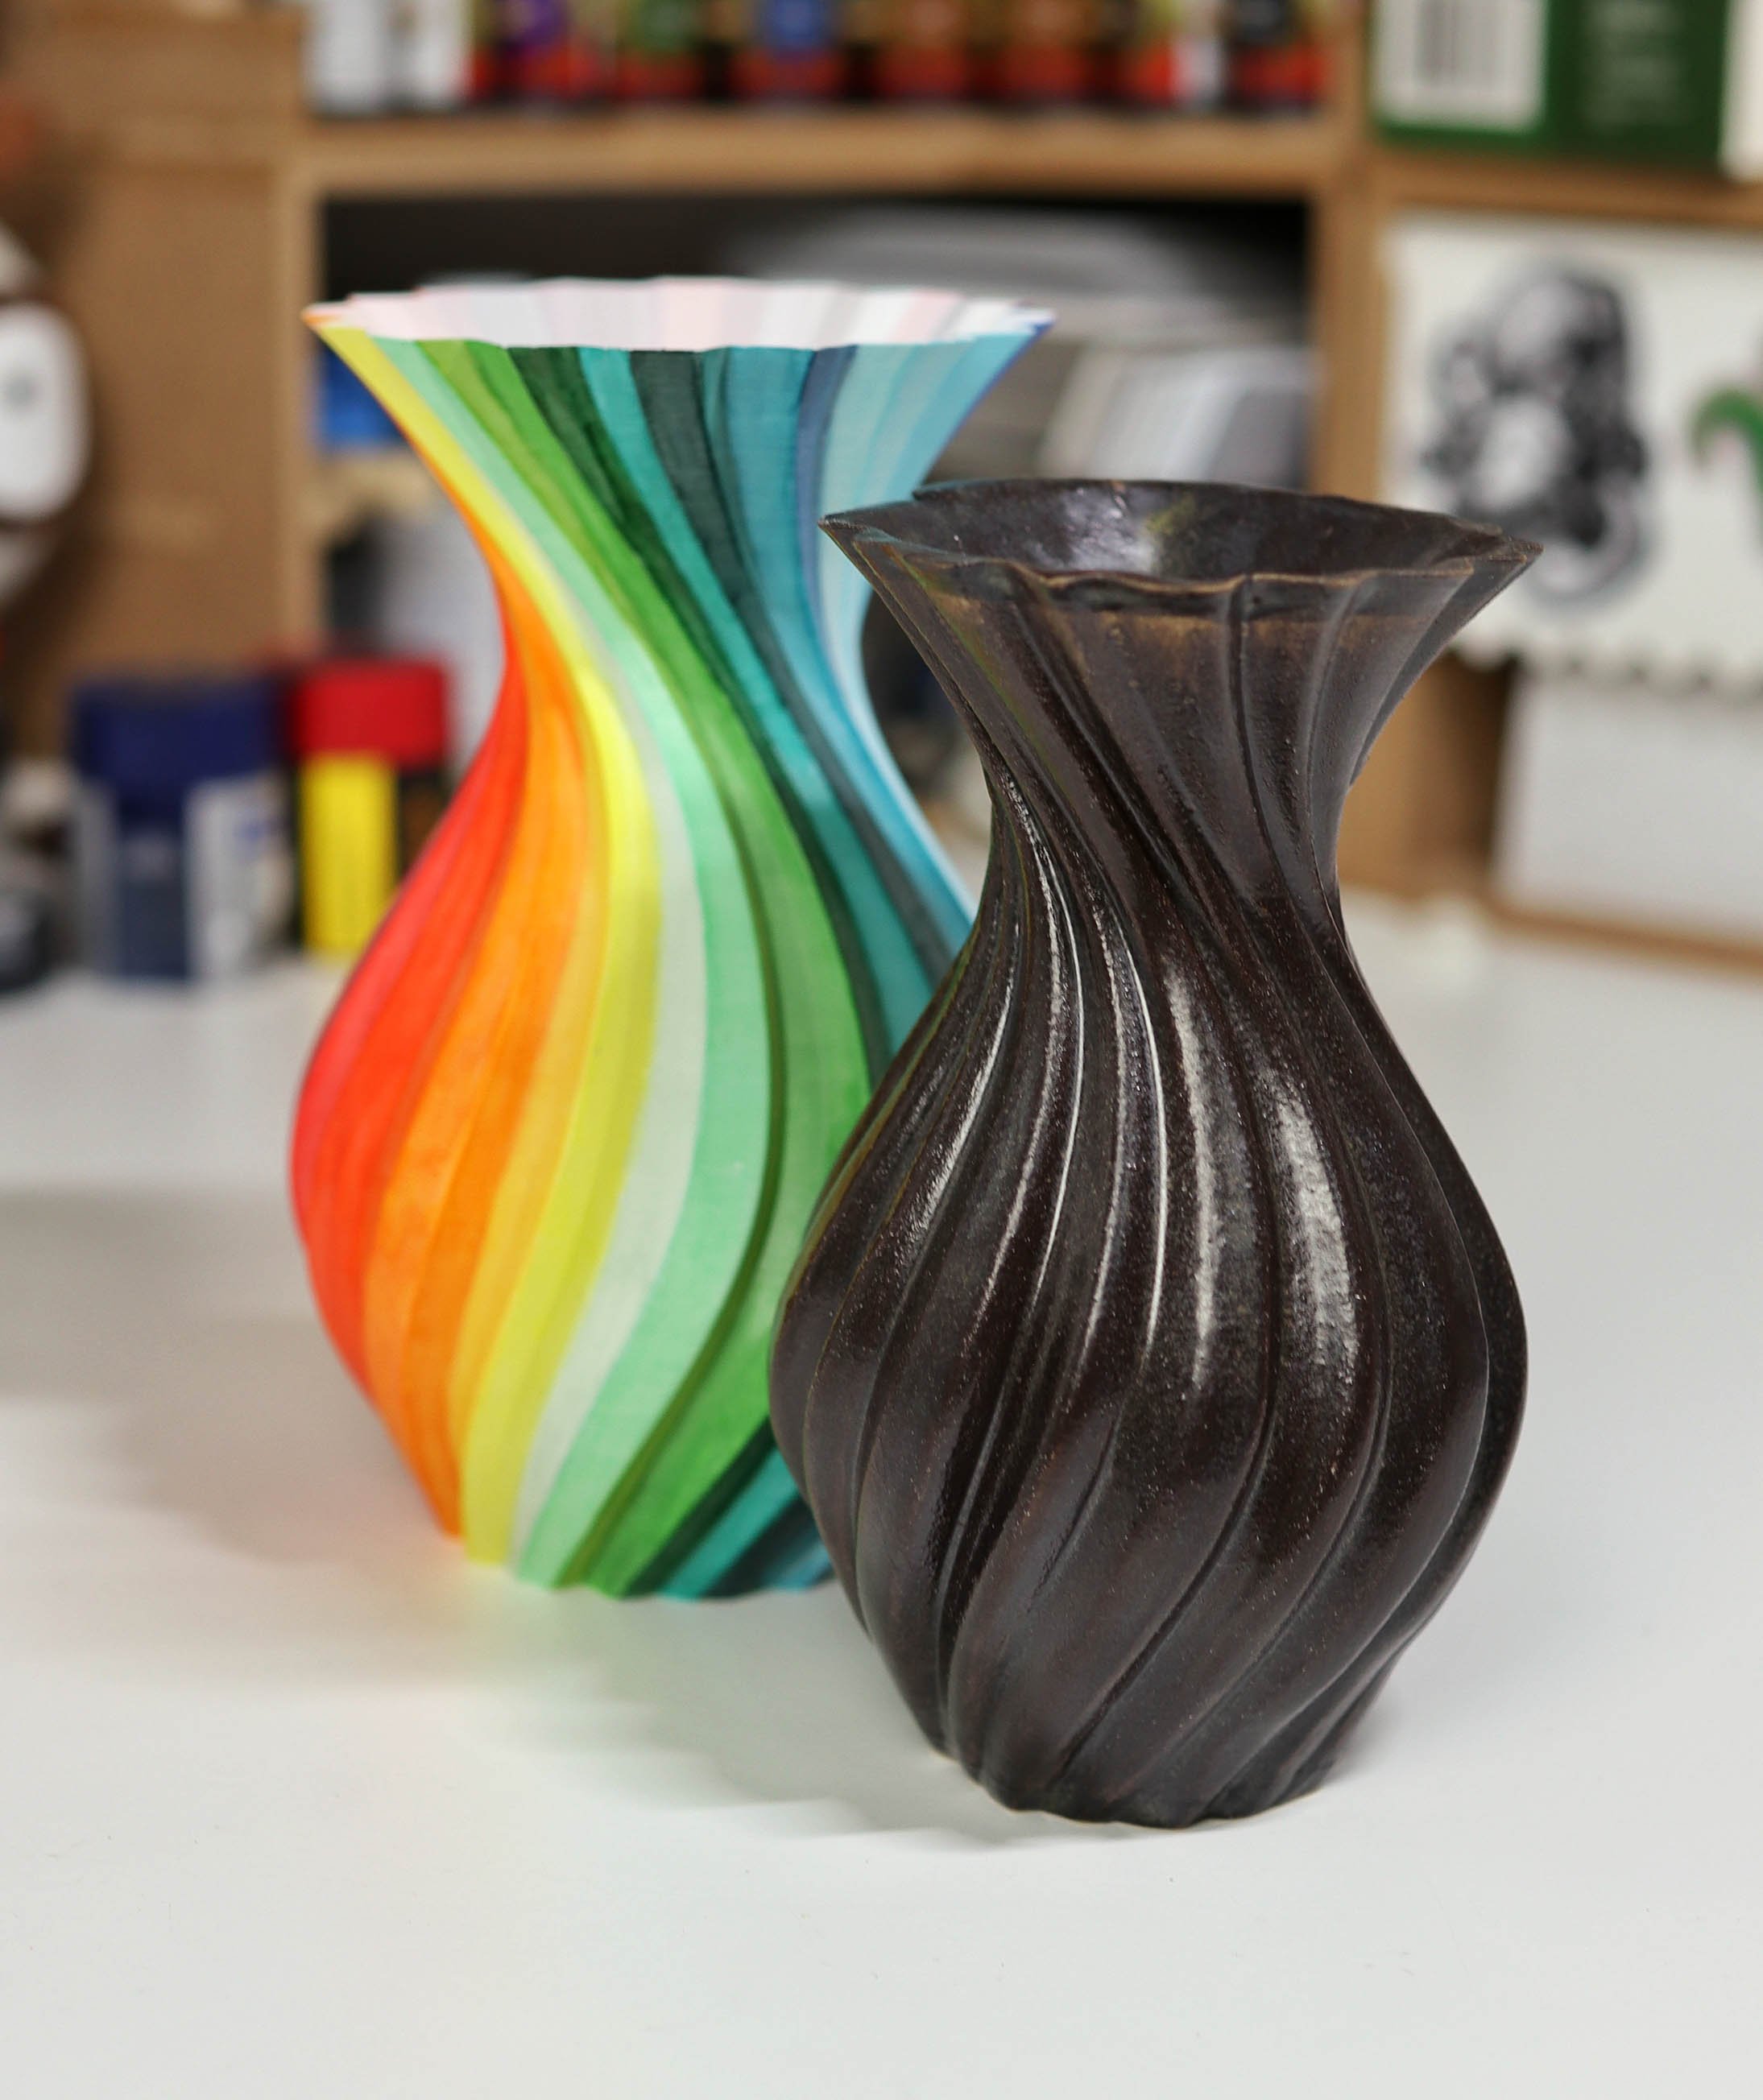
I had previously designed a sweeping wavy vase for the purpose of testing alcohol inks (as seen on the white plastic vase to the right) and wanted to see if it was possible to reproduce this in clay; not using slip casting but using the same slab press method I’d started to perfect.
If I’d thought the Hex Cups were challenging, I was about to redefine that metric.
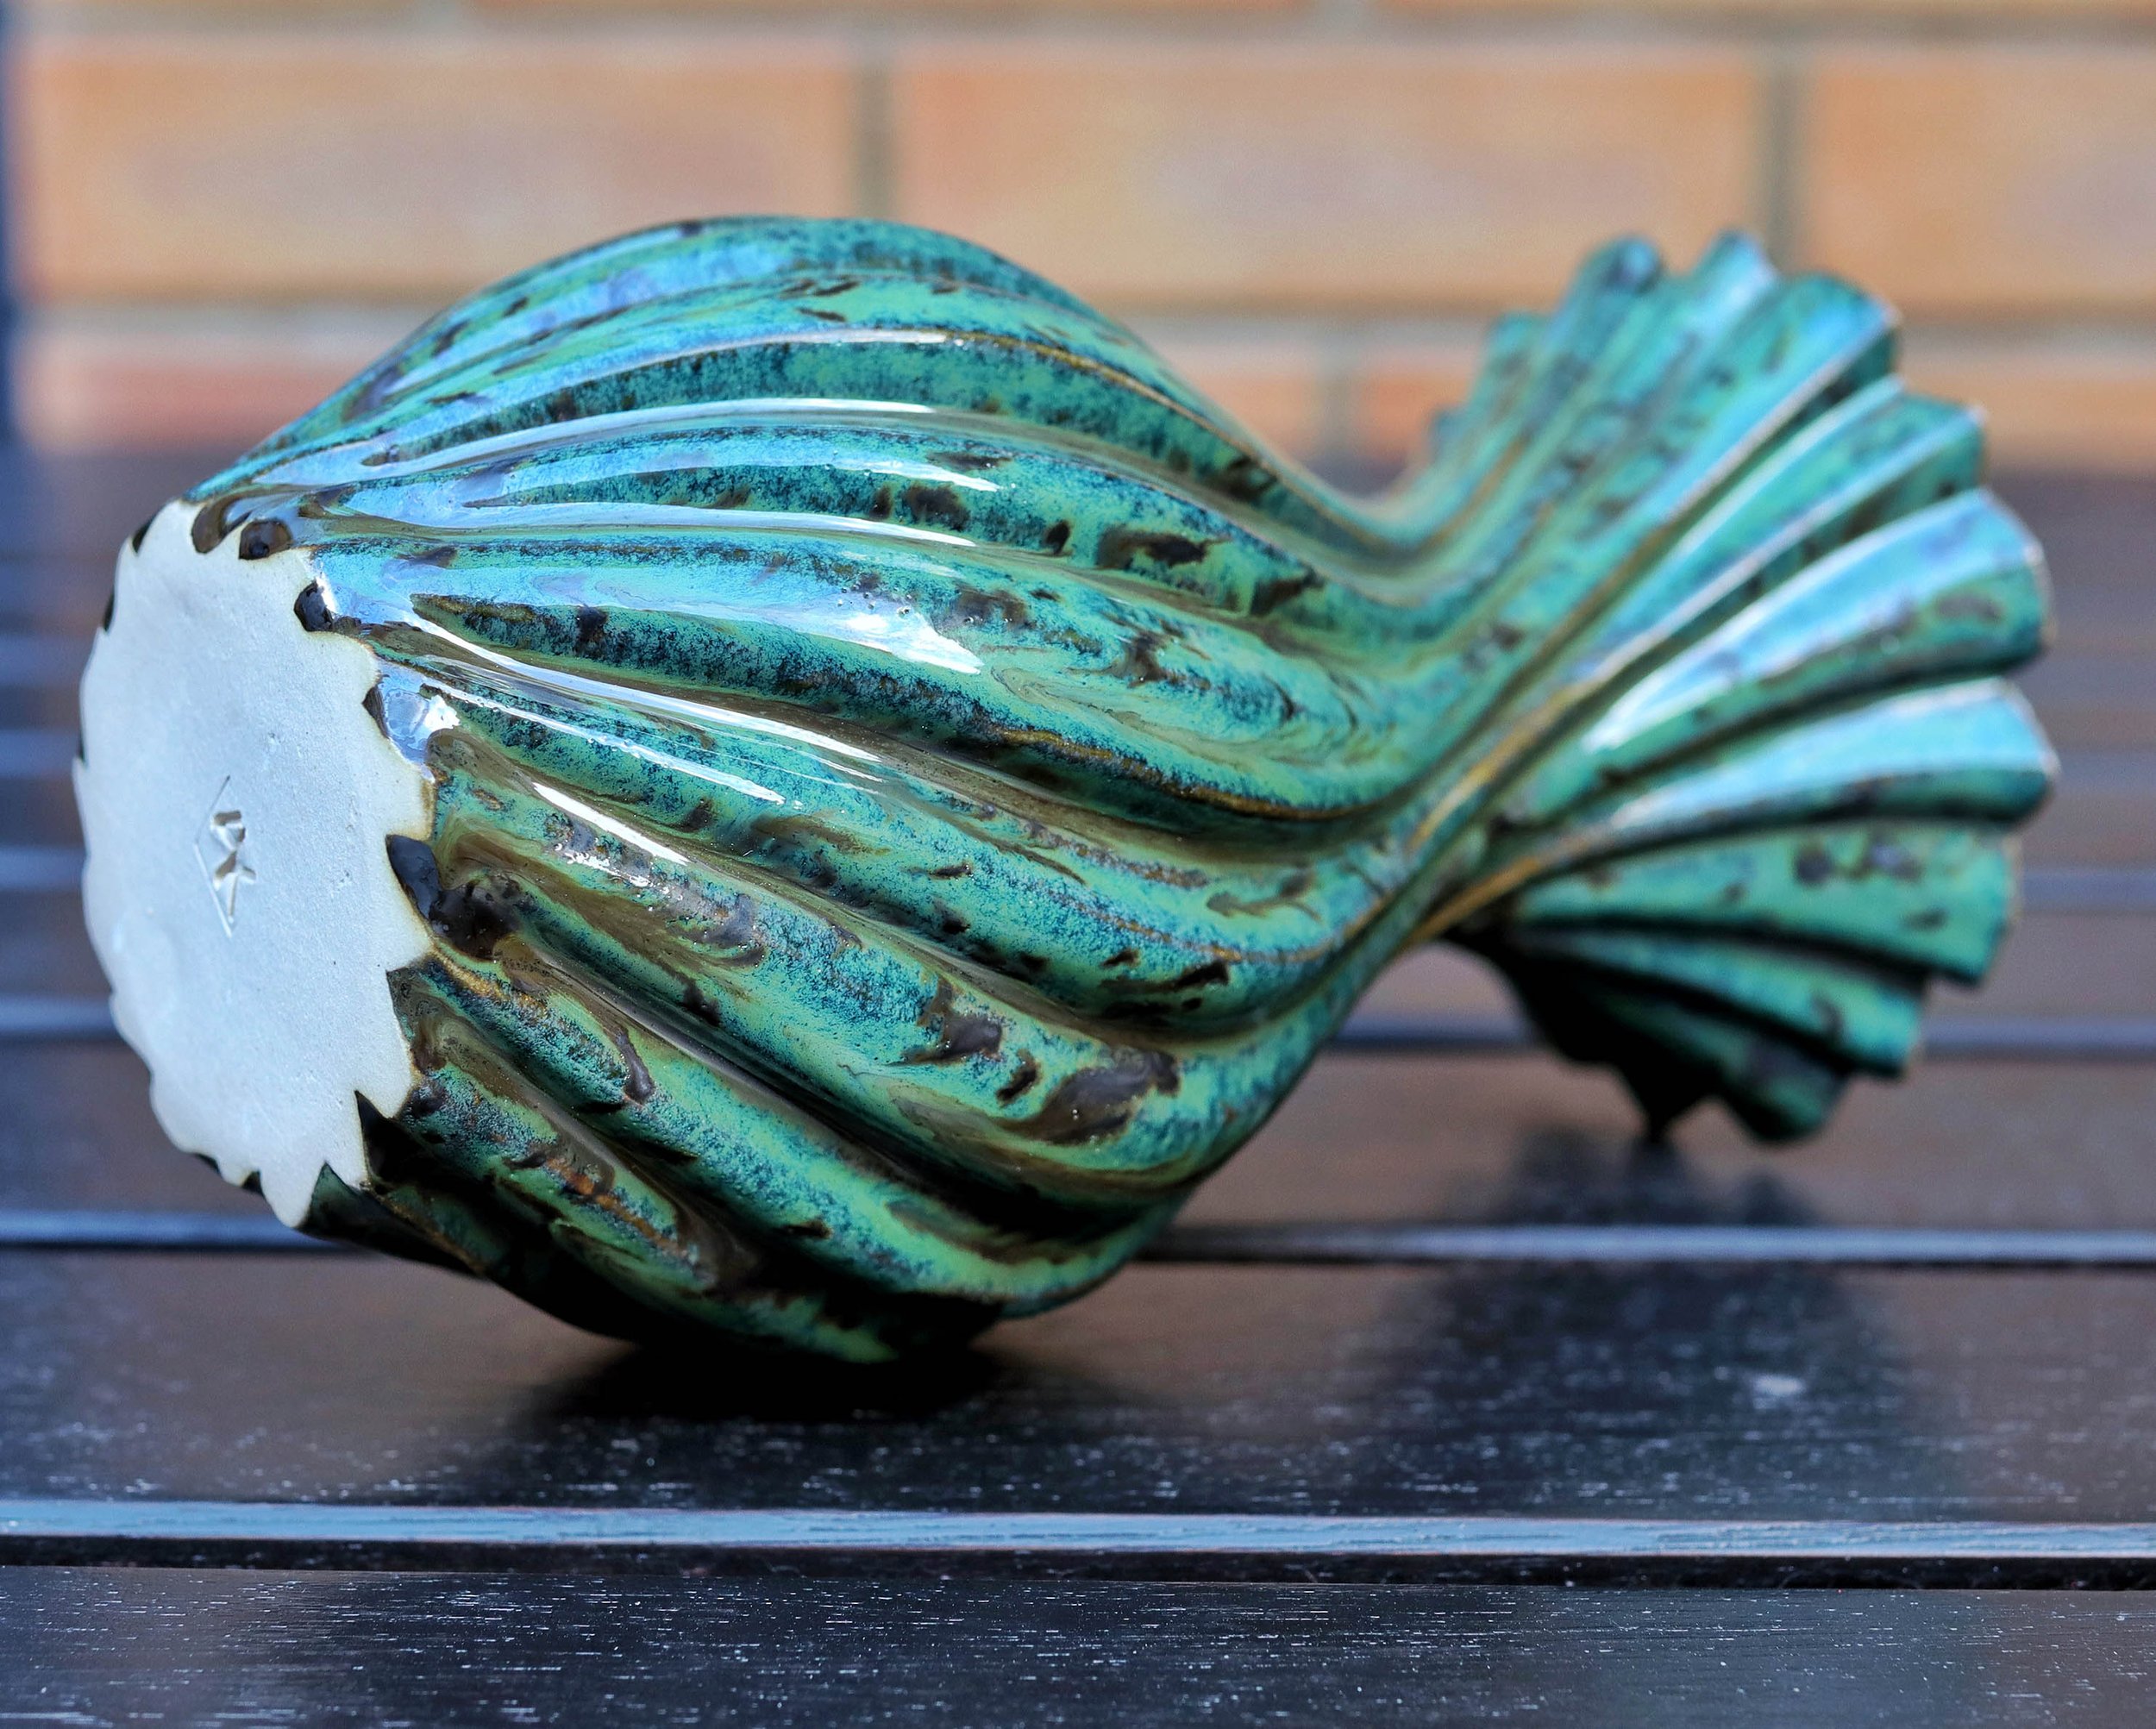
Fortunately, stubbornness and determination win out over technical difficulty once more, resulting in a stunning ceramic vase with undulating curves and deep troughs for glaze to pool in. My second attempt came out so beautifully that it was even featured in an issue of Hackspace Magazine for the way it combines technology with the ancient art of ceramics.
I’m so sold on the process that I’ve put together an instructional video on how anyone with access to a ceramics studio and a 3D printer can create their own stunning slab built pieces based on 3D designs.
What good are big dreams if you can’t pass them on to other people?
Instructional Video
Process Photos
Finished Pieces
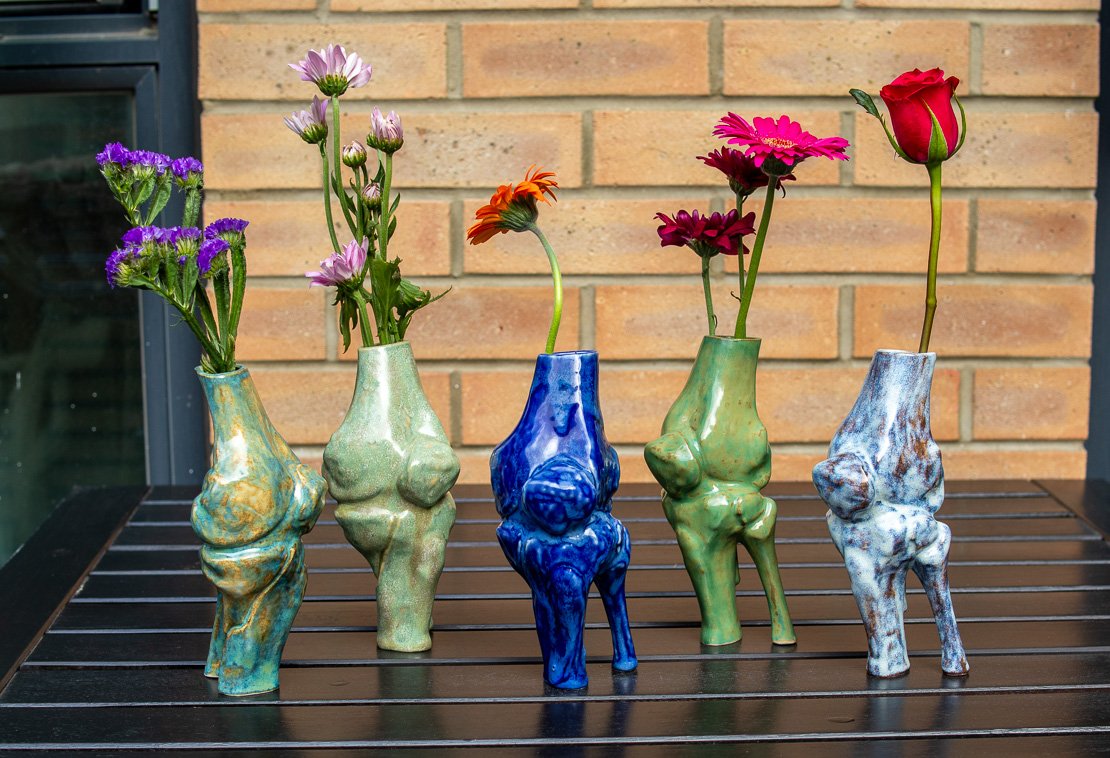
Slip Cast Broken Bone Vase (from CT Scans)
It’s hard to perfectly plan for the future. Life has a way of making its own plans for you.
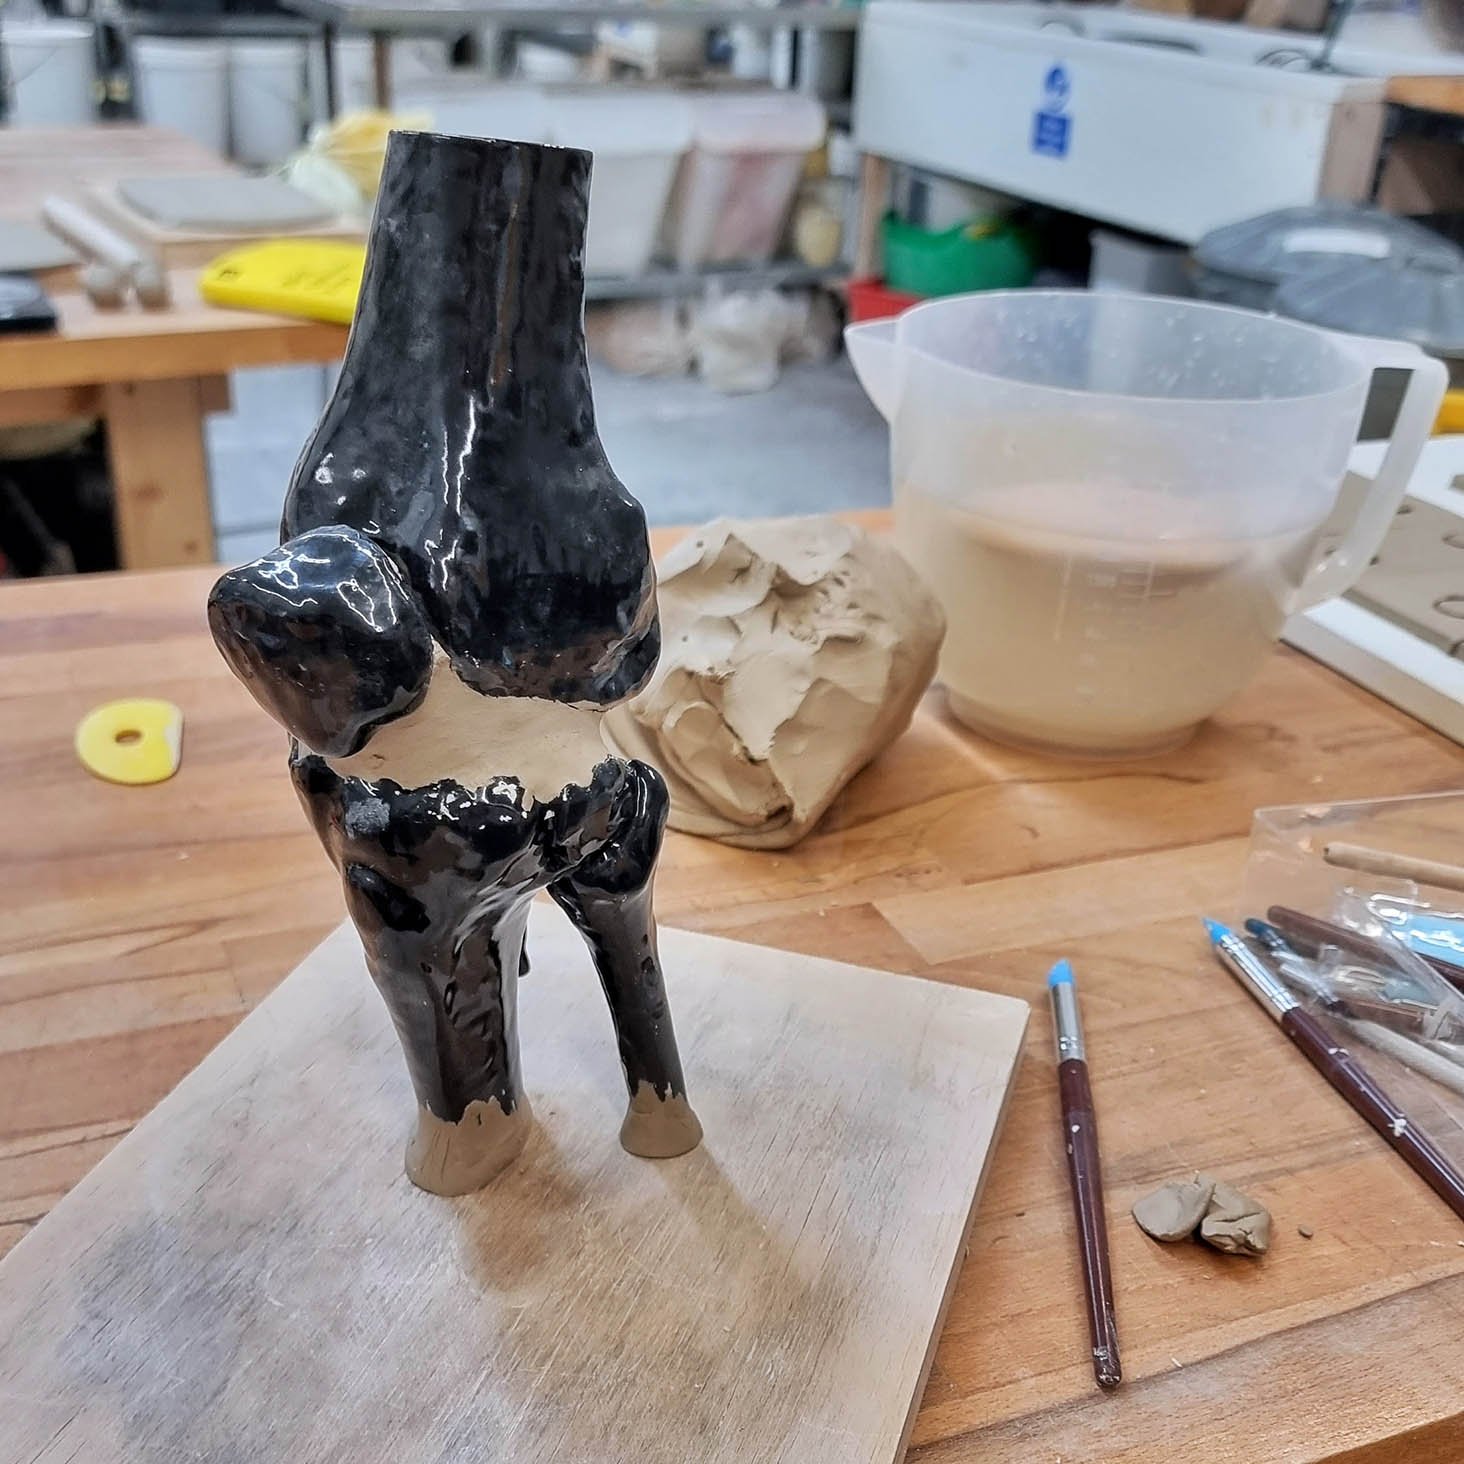
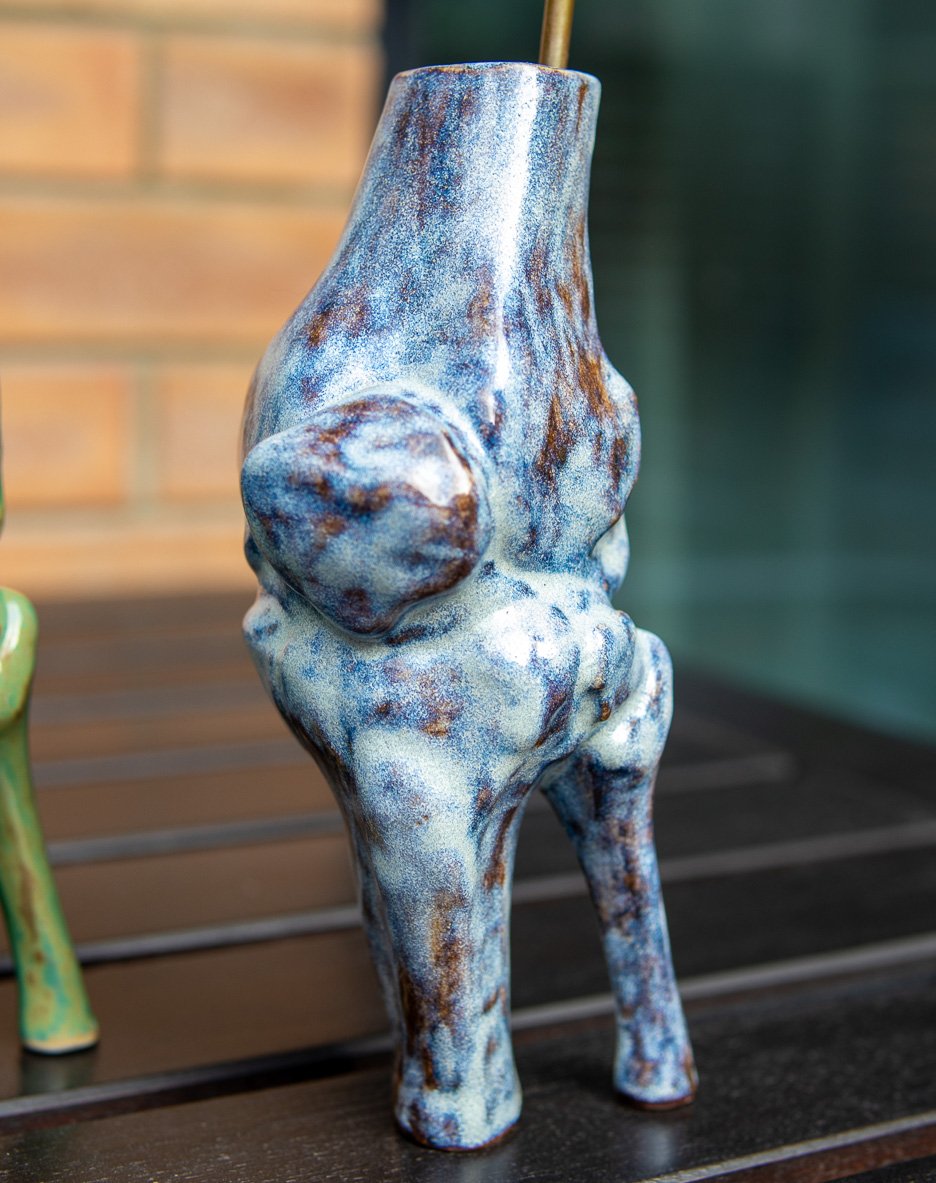
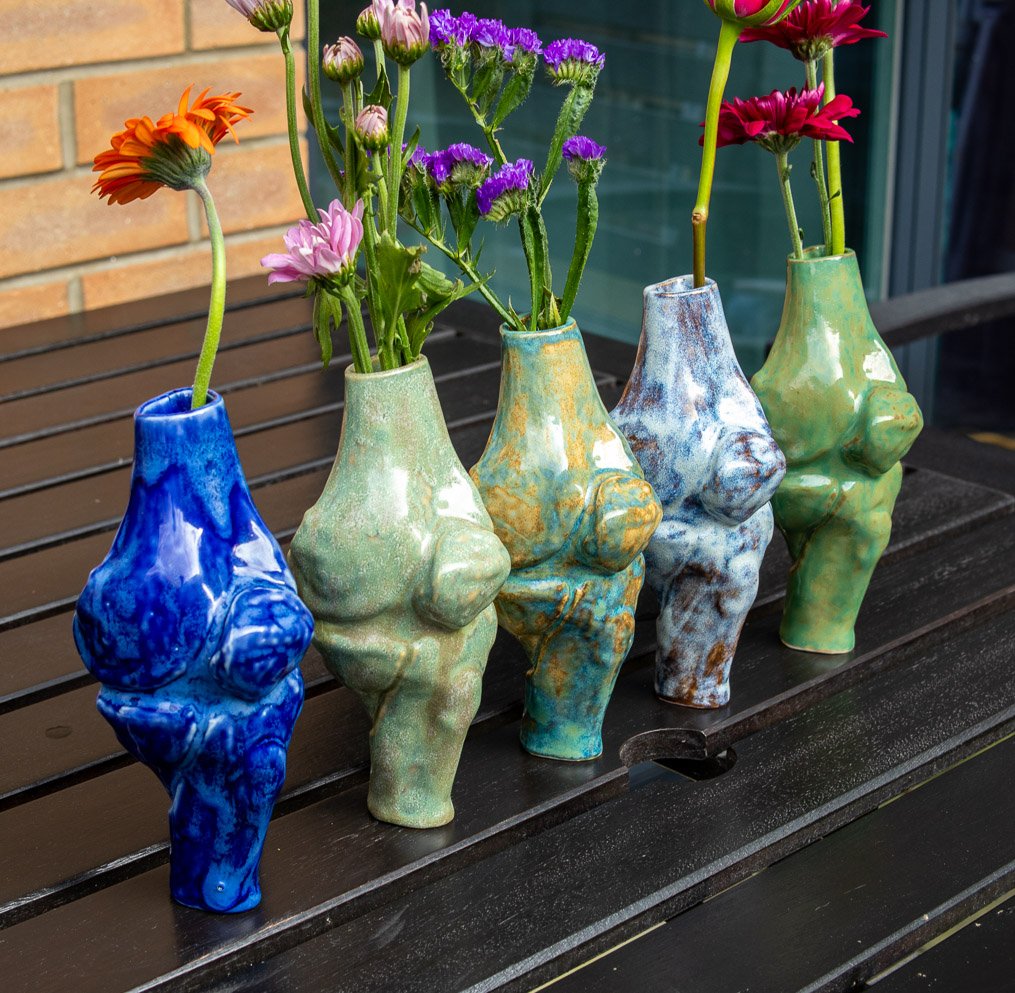
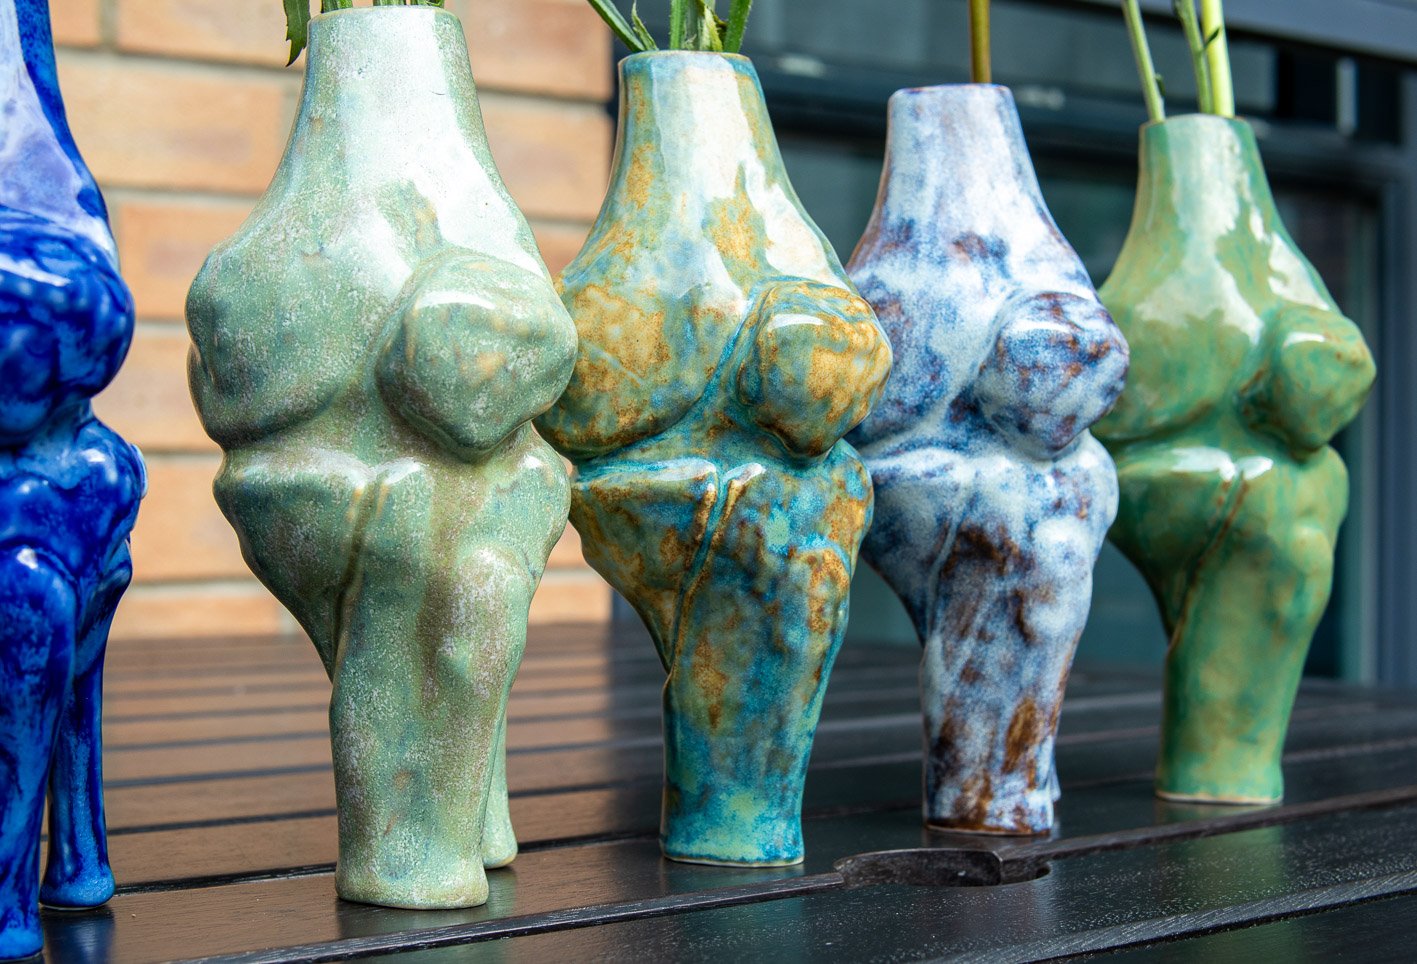
Before a cycling accident landed me in the hospital with a horribly broken tibial plateau, I had no big dreams of pouring over CT scan data, figuring out the best way to 3D print bones or rebuilding my own leg in porcelain. While I had plans that involved learning the ancient art of slip casting ceramics, none of them looked quite like the piece I ended out creating.
Alas, we all know what they say about the best laid plans.
What did come from this accident and the remains of my initial schemes was the best kind of lemonade, made from the sourest of lemons that I did certainly did not ask to receive.
In many ways, this project was a perfect storm of new challenges to tackle.
On paper the process looked rather straight forward, but of course the devil lay in the details. Obtain the CT scan of my knee from the hospital, turn the data into a 3D printable model, create a plaster mould of said model, use the mould to create perfect replicas of my bones in porcelain for all to enjoy.
Easy, right?
The reality was that CT scan data is nothing like the 3D data I was accustomed to, bones are a highly detailed and complex shape, and creating plaster moulds is a challenging process even for simple shapes. And to top it off, I had never done slip casting before, and the process was largely still a mystery to me.
Thankfully, at least one of these problems was easy to remedy. Under the tutelage of skilled slip caster and ceramic artist Eva Radulova I learned the ins and outs of slip casting in record time and felt able to tackle the project.
For the CT scan data I used an open source software called Slicer (an intense irony given that the software used to prepare the model for 3D printing is also called a Slicer) to import the data and give me somewhere to start in transforming what were ultimately thousands of individual slices of bone into a cohesive 3D model.
(Ohhhh, I get the name now.)
As it would turn out, CT scan data is not the clearest or highest resolution, so many hours of clean up and a little final polish in ZBrush were necessary to give me the smooth and hole-less model you see to the right. That said, the literal polish was achieved by printing the models in Polymaker Polysmooth PVB and vapour smoothing them in the Polysher post processing unit.
The slip casting part of the process, the part that I had been repeatedly warned would be difficult with such a complex shape, was every bit as challenging and infuriating as I’d been told.
But the thing about going through a harrowing experience, is that you come out stronger then you ever were to begin with.
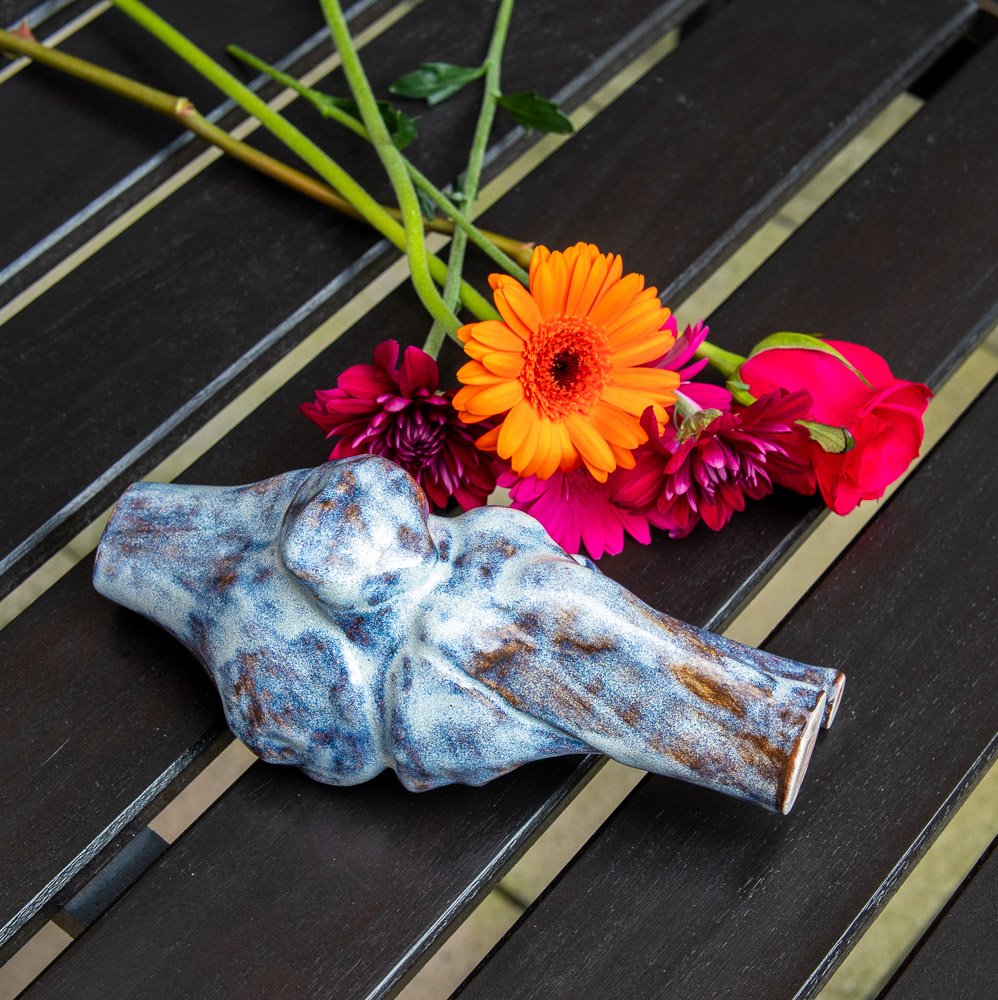
I refused to be cowed by a bit of plaster and liquid clay, and in the end my determination and curiosity paid off in spades. Not only did I succeed at what I was told might not be possible, I created a stunning, one of a kind piece of art that would not have existed had I not nearly lost my ability to walk in the first place.
It’s a pretty damn fine glass of lemonade.


