The Ultimate Picture Frame
The Ultimate Picture Frame
A fully modular, parametric 3D-printed framing system designed for infinite scalability and digital distribution.
A fully modular, parametric 3D-printed framing system designed for infinite scalability and digital distribution.
Project Type
Product Design & Digital Fabrication
Product Design & Digital Fabrication
Key Skills
Parametric CAD Design, Design for Manufacturing (DfM), User Experience (UX), Technical Documentation
Parametric CAD Design, Design for Manufacturing (DfM), User Experience (UX), Technical Documentation
Primary Tools
Autodesk Fusion 360
Autodesk Fusion 360

Overview
Custom framing is notoriously expensive and rigid in its sizing. The Ultimate Picture Frame was developed to solve this problem through a highly engineered, fully 3D-printable modular framing system. What began as a personal design challenge escalated into a comprehensive product line that allows users to build frames of virtually any size. The project culminated in an online commercial release, supported by a custom calculation tool and extensive technical documentation for the maker community.
Custom framing is notoriously expensive and rigid in its sizing. The Ultimate Picture Frame was developed to solve this problem through a highly engineered, fully 3D-printable modular framing system. What began as a personal design challenge escalated into a comprehensive product line that allows users to build frames of virtually any size. The project culminated in an online commercial release, supported by a custom calculation tool and extensive technical documentation for the maker community.


The Challenges
Mechanical Modularity: Designing a system that could scale from a tiny, four-piece frame to massive, infinitely expanding wall art without losing structural integrity or requiring glue, as well as adhering to standard framing sizes.
Hardware Tolerances: Engineering the joints to assemble securely regardless of the wildly different mechanical precisions of end-users' desktop FDM printers.
User Experience (UX): Creating an ecosystem of sizes that didn't overlap or confuse the end-user, supported by robust, accessible documentation.

The Solution & Process
Parametric CAD & Dovetail Joinery: Designed entirely in Autodesk Fusion 360, the system relies on precision straight and corner dovetail joints. This allows the frame sections to friction-fit tightly together without the need for adhesives. An integrated inner channel accommodates standard glass or acrylic panes, while a minimalist, screw-secured back panel provides essential rigidity and versatile hanging options.
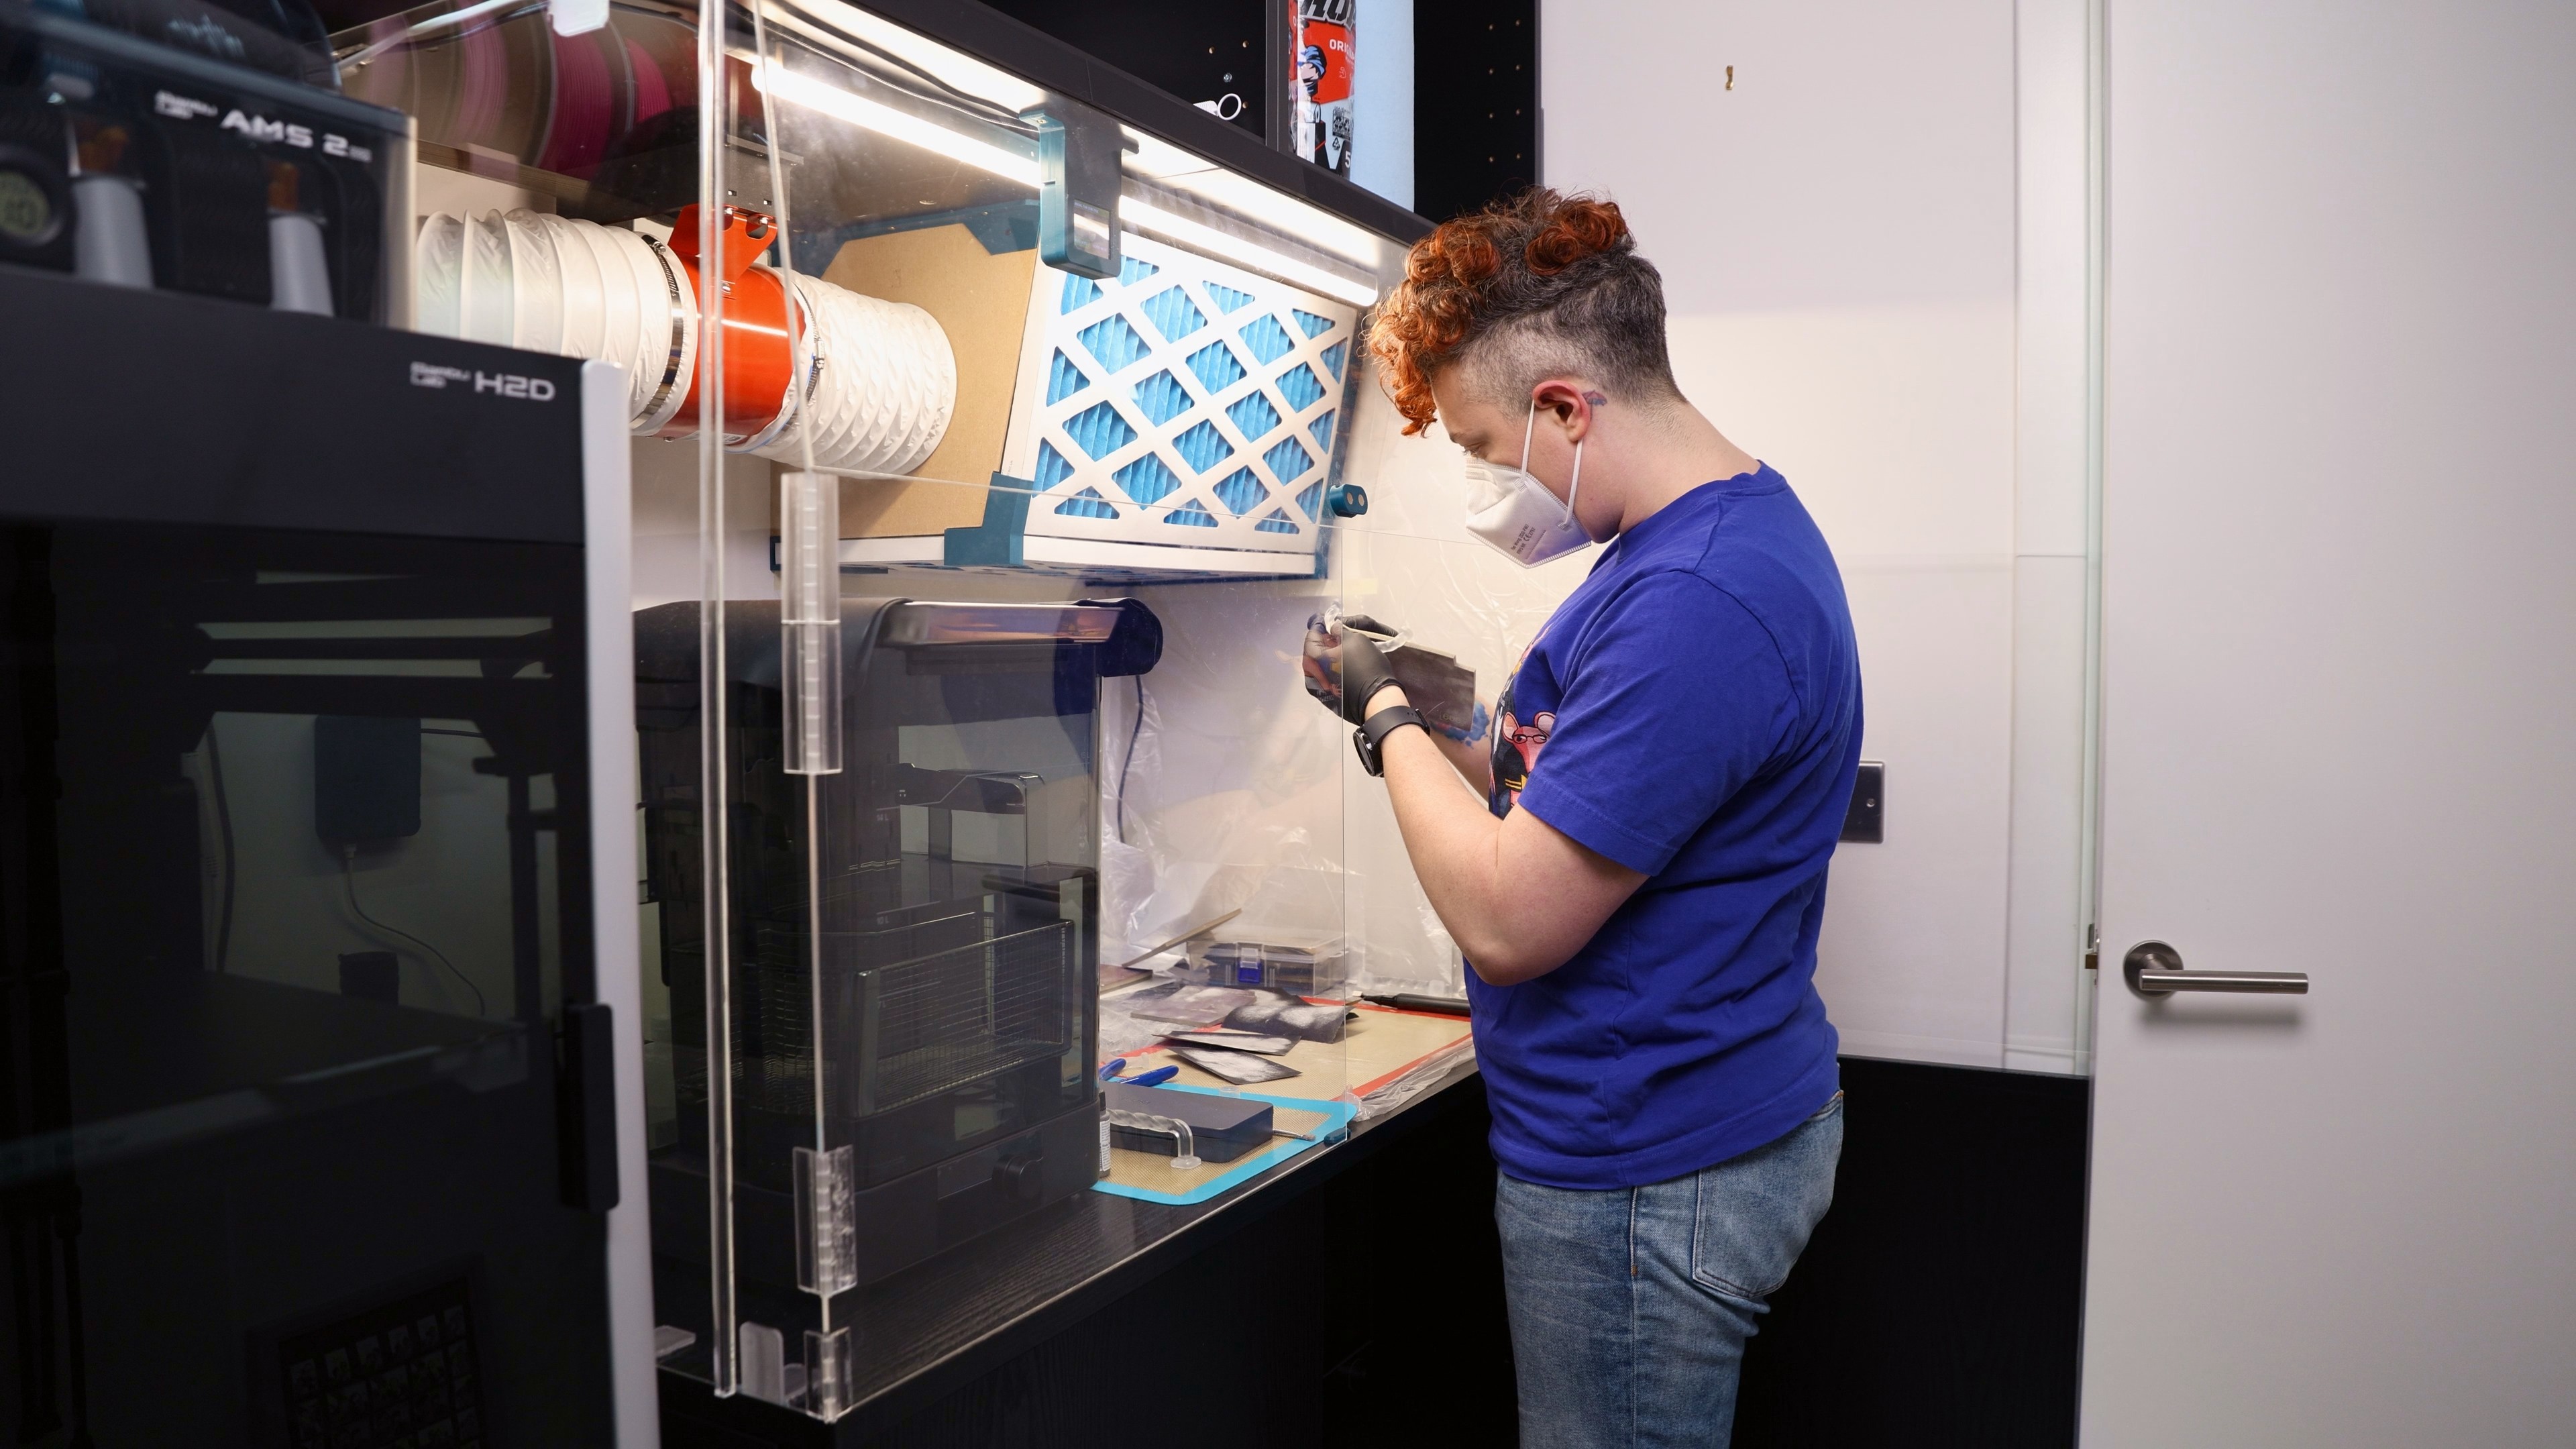
Designing for Scale & Universal Tolerances: To ensure universal compatibility and prevent modularity issues, I engineered four distinct, non-overlapping sizing conventions. Because desktop FDM printers inherently suffer from varying mechanical tolerances, the files were rigorously test-printed and designed to include a range of tolerances. This guarantees that no matter what printer a customer uses, they can achieve a perfect mechanical fit. Furthermore, the parts are optimized to print flat, allowing users to easily swap filaments to create multi-colored or accented frames.
Commercialization & Ecosystem: A successful digital product requires more than just good CAD files. To support the commercial launch of the system, I developed a comprehensive user ecosystem. This included authoring a detailed user manual and building a custom "Frame Calculator" planning tool to help users easily determine which pieces to print for their specific art dimensions.
Parametric CAD & Dovetail Joinery: Designed entirely in Autodesk Fusion 360, the system relies on precision straight and corner dovetail joints. This allows the frame sections to friction-fit tightly together without the need for adhesives. An integrated inner channel accommodates standard glass or acrylic panes, while a minimalist, screw-secured back panel provides essential rigidity and versatile hanging options.
Designing for Scale & Universal Tolerances: To ensure universal compatibility and prevent modularity issues, I engineered four distinct, non-overlapping sizing conventions. Because desktop FDM printers inherently suffer from varying mechanical tolerances, the files were rigorously test-printed and designed to include a range of tolerances. This guarantees that no matter what printer a customer uses, they can achieve a perfect mechanical fit. Furthermore, the parts are optimized to print flat, allowing users to easily swap filaments to create multi-colored or accented frames.
Commercialization & Ecosystem: A successful digital product requires more than just good CAD files. To support the commercial launch of the system, I developed a comprehensive user ecosystem. This included authoring a detailed user manual and building a custom "Frame Calculator" planning tool to help users easily determine which pieces to print for their specific art dimensions.