BMOCTOPRINT
“BMO is very, very special. I built BMO to understand fun, and to play. I built BMO to ‘Be More’.”
— Mo, BMO’s Creator; Adventure Time Episode 05.28

Some projects come to life from a necessity; a desire to fill a gap where nothing else exists, but other projects come from a place of fun and exploration. BMOctoprint didn’t arise from any kind of desperate need (except perhaps the need for more of the beloved Adventure Time character) but instead from a place of joy and curiosity, something completely in line with why BMO was created in the first place.
I use 3D printers extensively in my creative process, and for me, no 3D printer is complete without its own Octoprint instance to control my prints remotely. When I received my Creality CR-10S Pro V2 printer, that meant it required its own Raspberry Pi running Octoprint which provided me with the opportunity to turn the Raspberry Pi into something More.
The idea to transform the Raspberry Pi hosting Octoprint into a BMO actually came from one of my wonderful Patrons and ballooned into an intensely complex build complete with custom PCB, 3D printable parts and a lovely portmanteau name.
In the spirit of BMO’s true purpose of encouraging play, I created this project with the intention of sharing it Open Source, and designed it to be as accessible to as many people as possible.
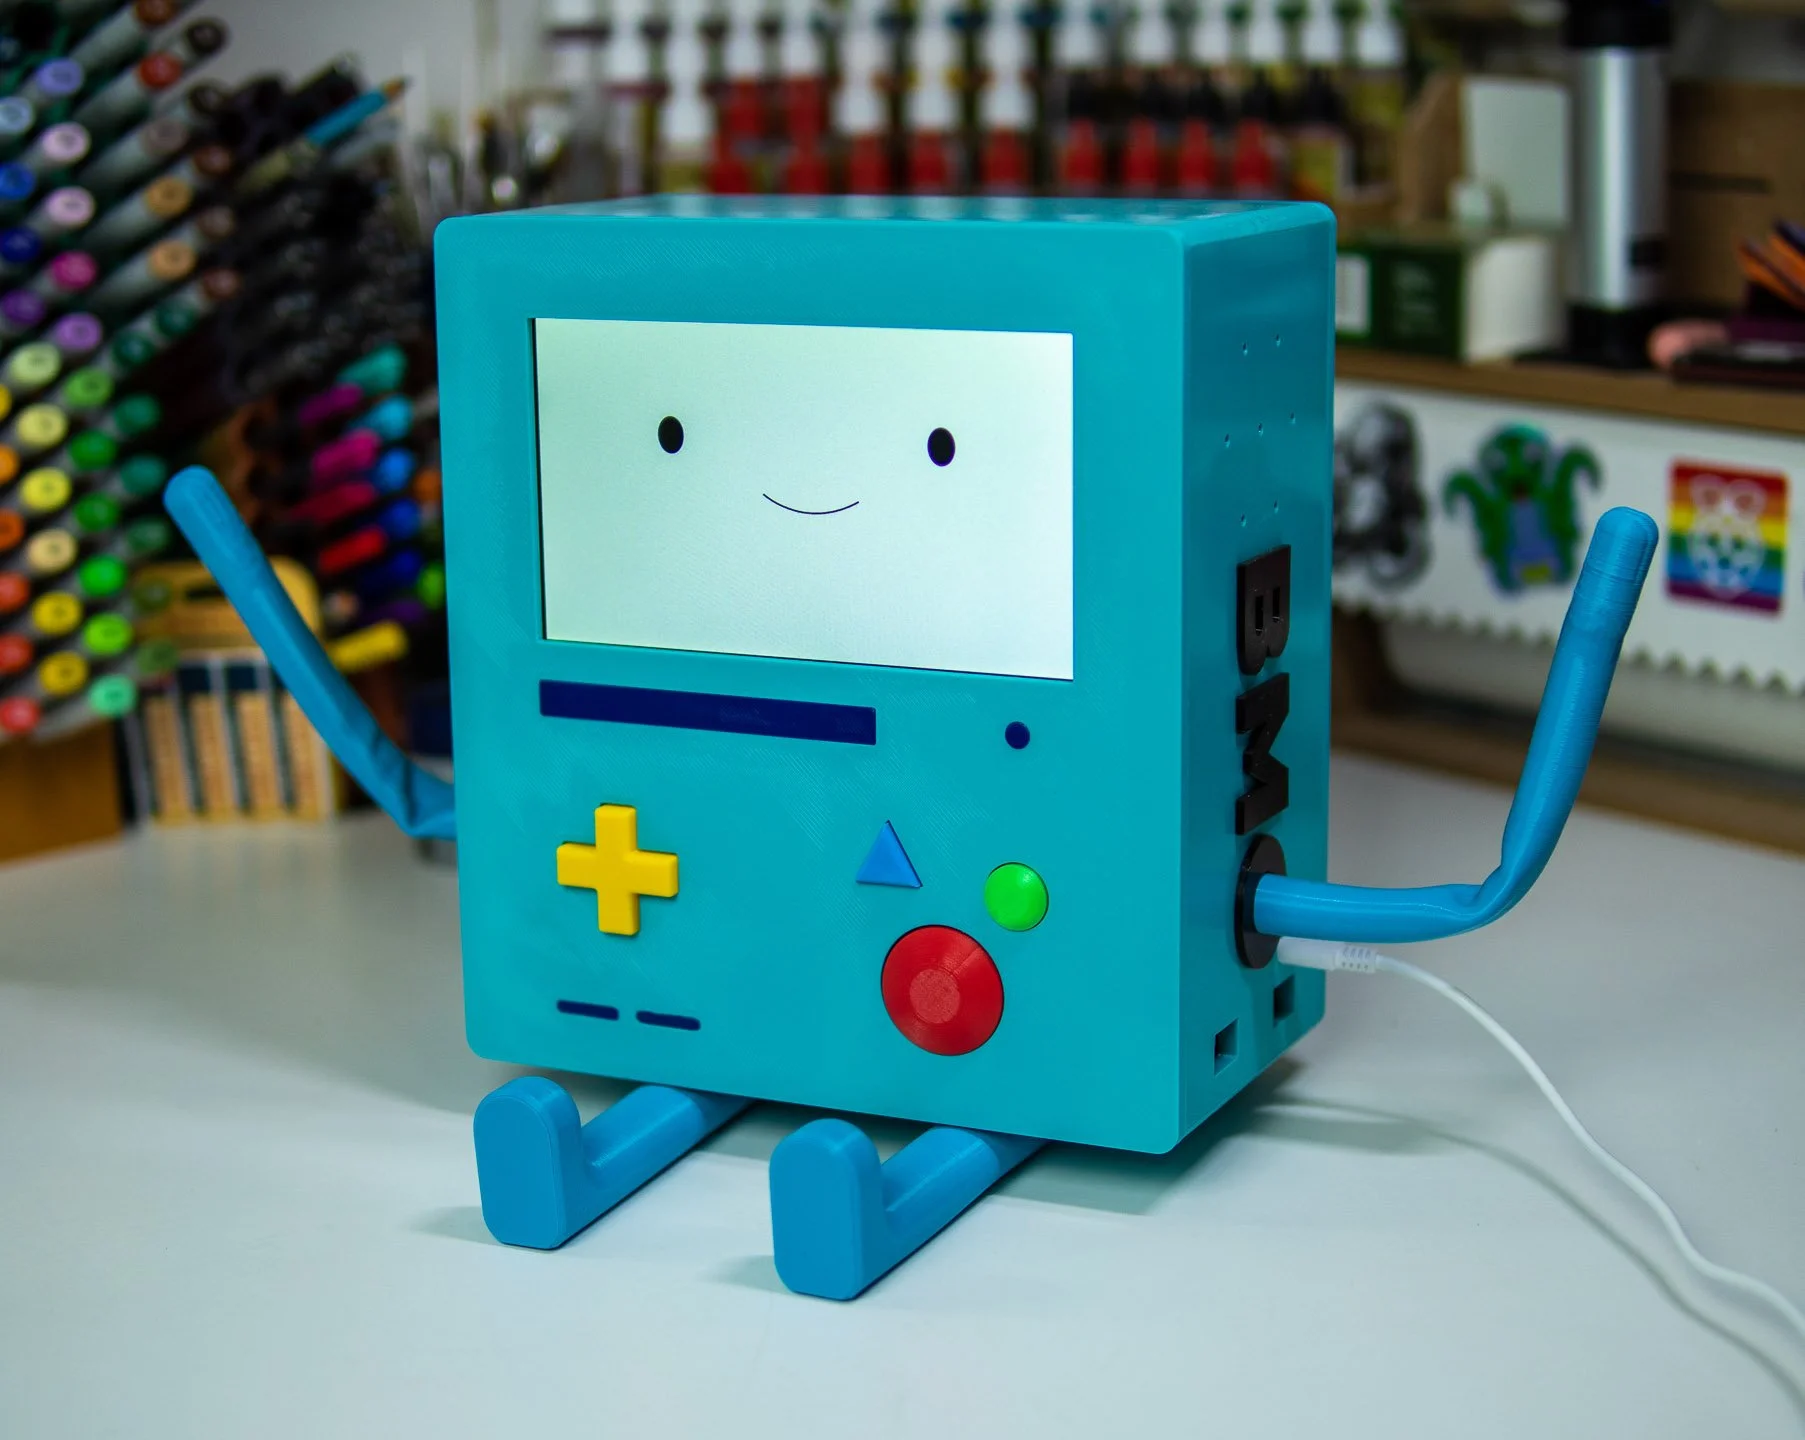
Using the Raspberry Pi 4 as the core of my design I planned out the electronic internals to include a 7” touchscreen, two sizeable I2S speakers plus amplifier, USB connection points (all obtained through Pimoroni, a project sponsor) and the pièce de résistance, a custom BMO button PCB. I designed this, my first ever PCB, using KiCAD and had them manufactured through PCBWay, who also sponsored a portion of this project. The end result was a clean and compact set of electronics that were easy to access and service, if need be.
BMOctoprint’s body was designed in Fusion 360 to be easily 3D printable, using minimal support material and taking advantage of print orientation to leave all outward facing surfaces smooth from the print bed. All pieces attach to one another either through friction fit or with screws that can be removed for complete disassembly. The arms and legs were designed to be printed in a flexible TPU material and reinforced with a piece of armature wire, allowing for poseable limbs reminiscent of a 90’s Gumby figurine.
(A semblance not entirely on accident, I am a child of the 90’s after all.)
Details like a detachable ‘butt flap’ and extra internal space leave room for potential upgrades later, such as a Pi Camera or other sensors.
BMOctoprint in his final form is set up with Octoprint that runs full screen on boot, creating a clean and seamless experience for users. In addition to being able to trigger actions for the 3D printer from the face buttons such as connecting to the printer, pausing prints and changing filament, functionality also includes on demand custom animations and voice lines via the D-Pad and custom Python programming.